We finished our DIY dining table – but did it in a really simple way! Think of it as semi-homemade! Come follow our plans for this wood top metal leg dining table. This post contains affiliate links – full disclosure here.
This table is the perfect custom reclaimed wood dining table for our family – and I’m here to tell you that it’s NOT hard! It’s one of the simpler projects I’ve asked my husband to help us build, and we really like how it came out. Just proving that DIY doesn’t have to be complicated!
Here’s how we did it…
VIDEO of how we built this DIY dining table:
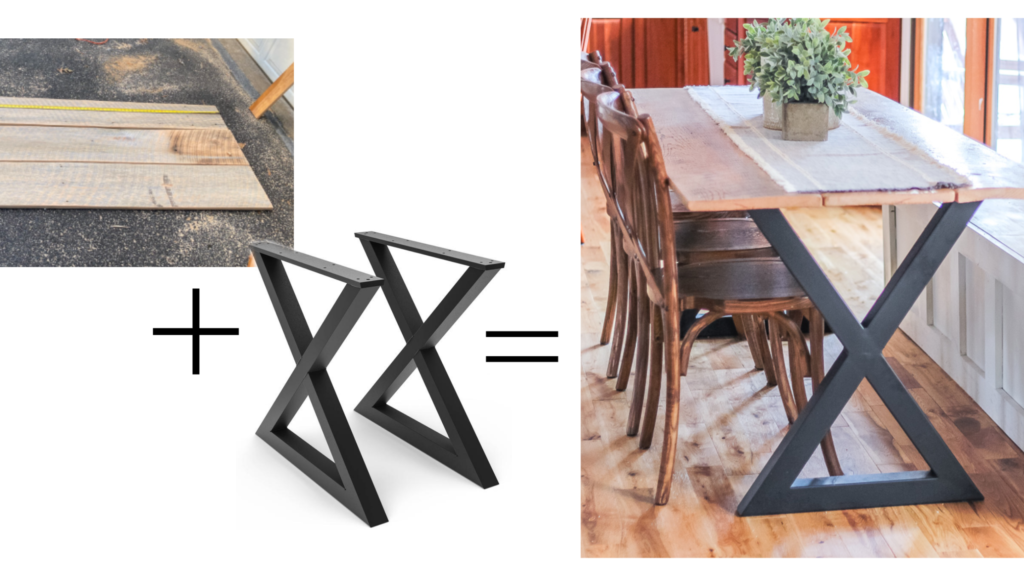
So the way we made this a simpler project than building a base…we bought these from a shop on Etsy with great reviews (and we would agree with them!!)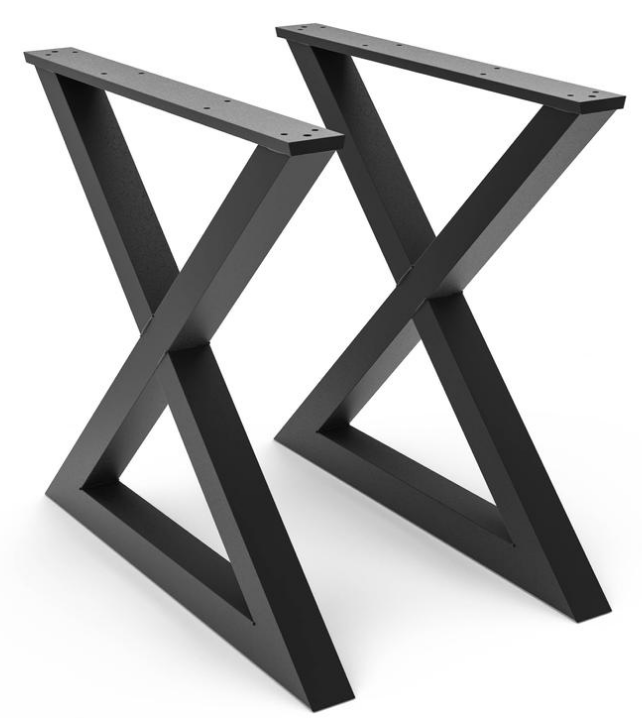
Then we shopped for wood at our local reclaimed wood spot. My husband specifically went in looking for a hardwood to use as the tabletop because he didn’t like how the pine stood up with our last table (since pine is a softer wood). There wasn’t much left, but we did snag up these oak boards to make the table!
As you can see in the video, my husband put on support piece in the middle just to make sure that it was extra sturdy. But dang – this table really is so sturdy and the perfect place for our family to eat!
Built in bench seating:
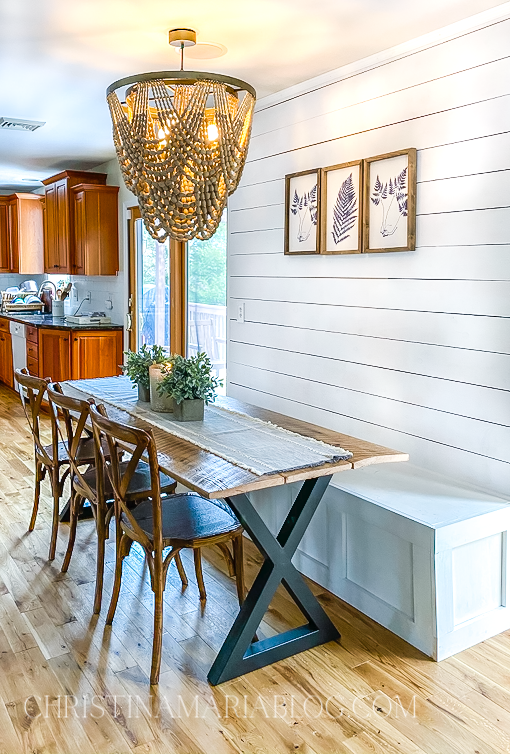
The bench is one of my favorite ways to save space and also add some character into the room. It adds that extra layer of “custom” to the house, but also serves a big need!
My husband used these plans from Shanty 2 Chic to build the bench base. We opted not to build the top piece because it is BEAUTIFUL but would not have worked with the look we were going for with this space.
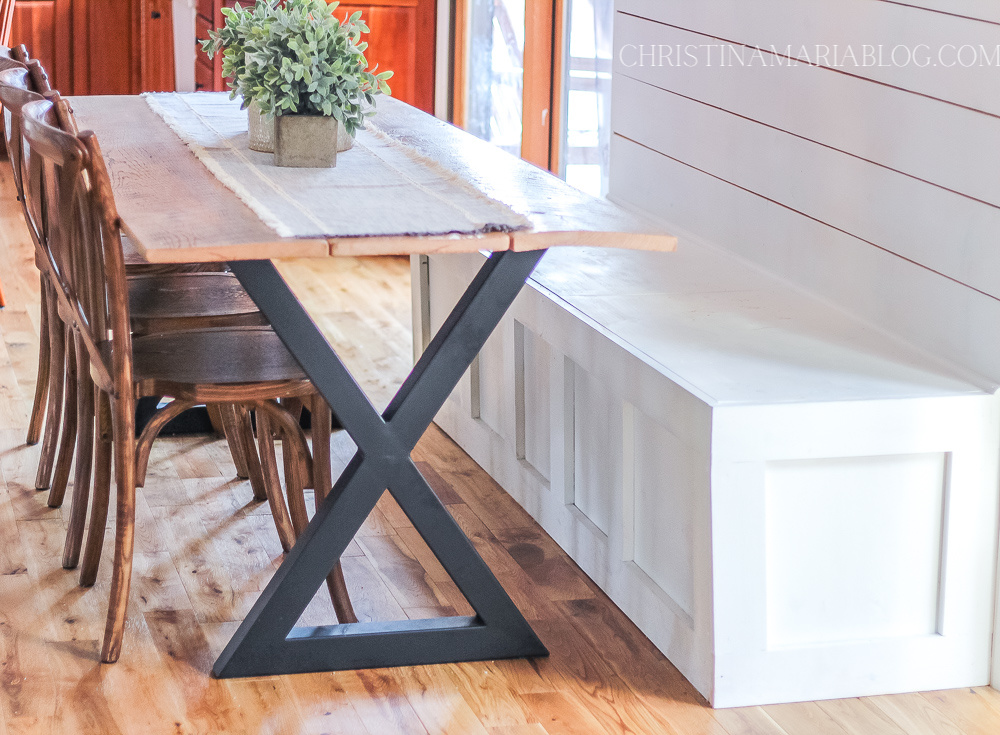
We needed something to kind of divide the living room & the family room walls (and the two different paint colors) so running the wood boards all the way to the ceiling was the best option for this space. They’re literally just pine boards from Lowe’s – NOT true shiplap but gives that feel.
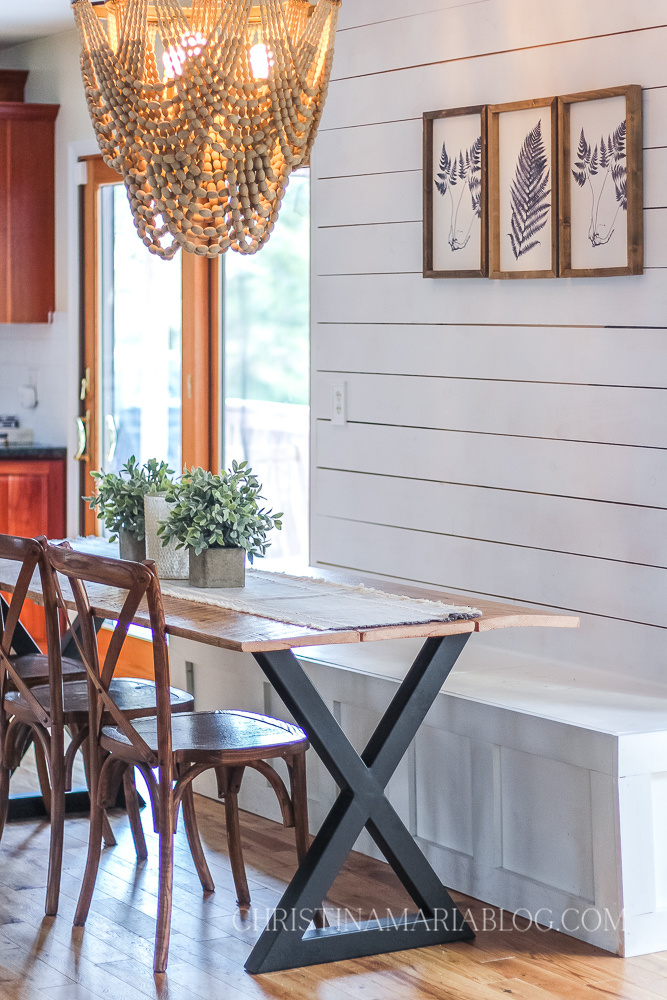
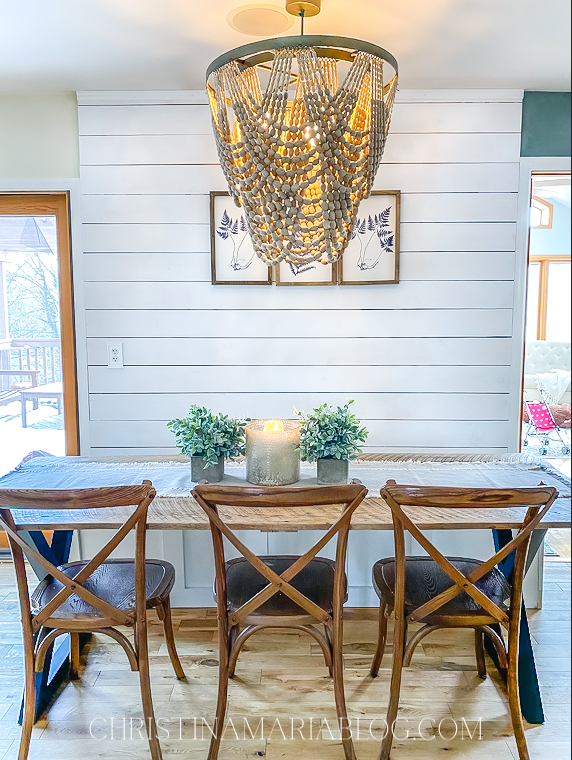
DANG this wood bead chandelier was one of my best Facebook Marketplace finds ever! I was so happy to get this – I documented it on my Instagram stories and loved how excited you guys were about this score too!
Can I also tell you that I had no idea how much of a steal I got those fern prints for at Homegoods? Ahh they’re a knock-off of the Ballard Designs prints and I got them for like $15 each. WAY CHEAPER than these beautiful (but crazy expensive) prints!
I am SO happy with how this project came out – it’s just one more way that we were able to add character and function to our new home. One project at a time – we’re going to make this house feel like ours!
Thanks for following this project. It really is so much more fun to share with you guys than just doing it on our own!
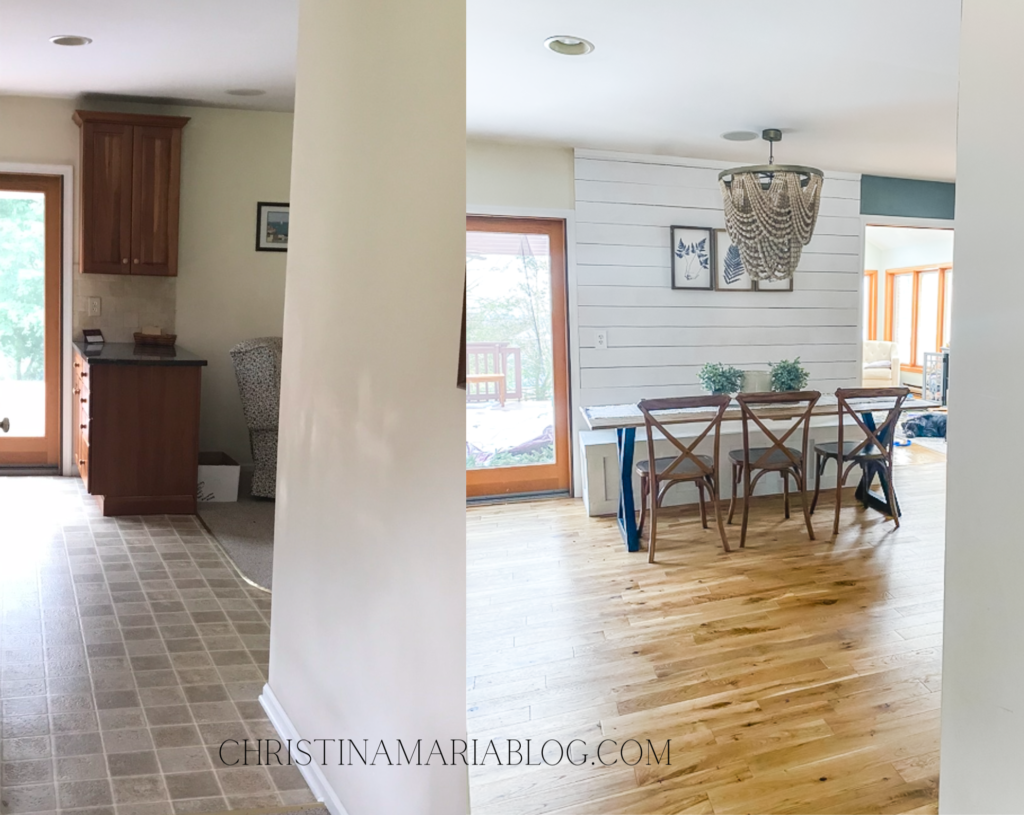
A before & after that is making me so happy right now (did you see the other one in my video??)


Great job guys!
Thanks so much Robyn!!
Loooove it❤️❤️
Thanks Kathy!! We are loving how it works for our family!
That lighting fixture is the stuff dreams are made of!
can you believe I found it on Facebook Marketplace??
Your table is too simple 🙂 Thanks for your sharing.
Looks great! I love the fern wall hangings. May I ask where you got those?
thank you! I got those at Homegoods a few years ago 🙂
Love your table!! How did you stain or finish the table boards??
thank you! We didn’t stain them – just put Polycrylic on them!