This post brought to you by Miracle-Gro and contains affiliate links. All opinions are always 100% mine.
I’m not sure if it’s the nesting, the new home ownership excitement, or the springtime, but I have a sudden urge to turn my “black thumb” into a green thumb! My mom has always been great at gardening, and it really stumps me to think about how I didn’t inherit her talents in this area.
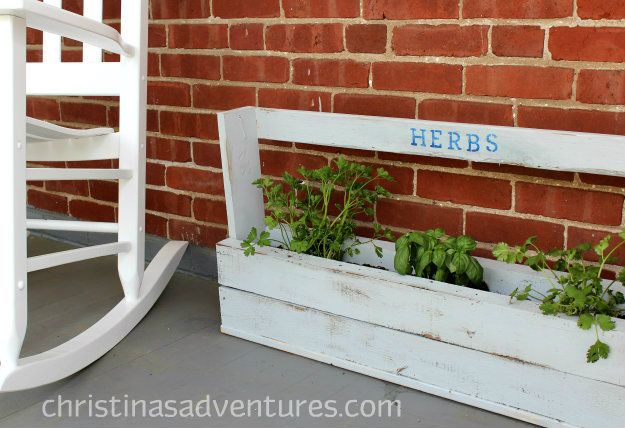
I figured if I tried to make a fun project out of it, maybe I would be inspired to be a better gardener. SO – I made my own simple DIY planter box:
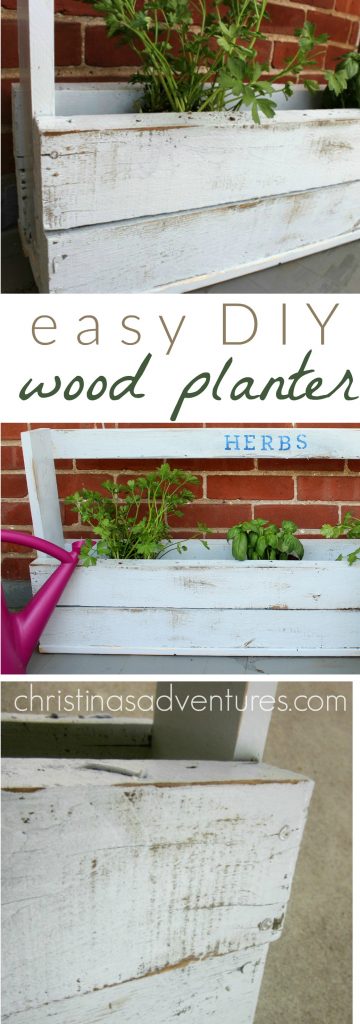
It was really simple to make – it took less than 30 minutes of hands-on time. It’s absolutely something you can make with little to no woodworking skills. The beauty of this project is that it should not be perfect. It should look rustic and beat-up, so it’s really fun to make!!
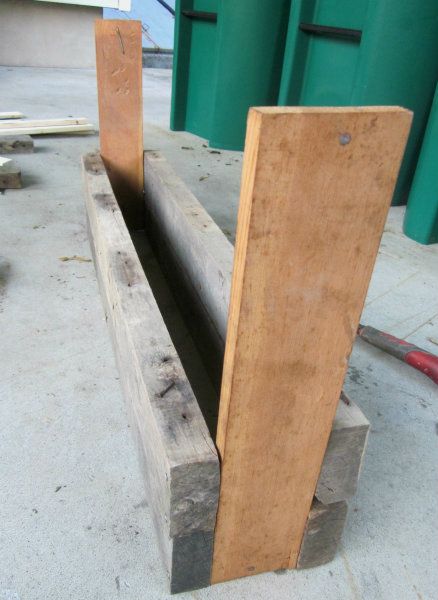
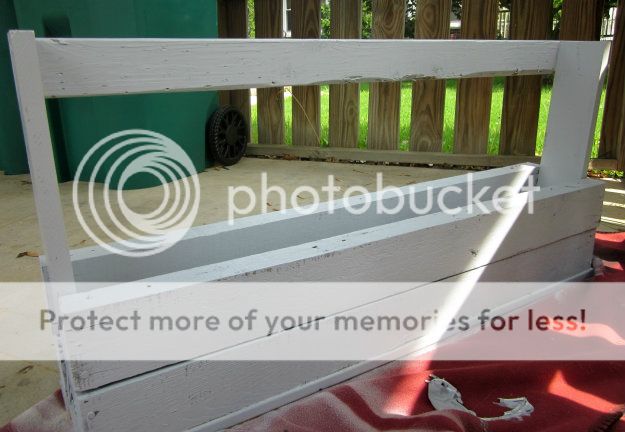
I began by pulling out some old pallet wood, and making them into a box (with no base). Literally just nail or screw them together.
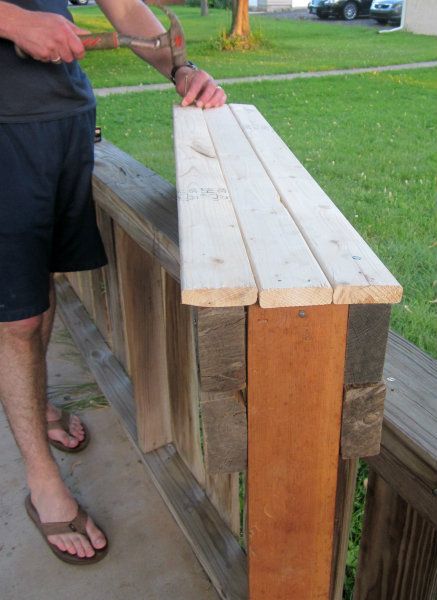
I didn’t have the right size wood on hand for the base, so I got the lovely men at Home Depot to cut down some 1×3 boards for me. We made these the base of the planter:
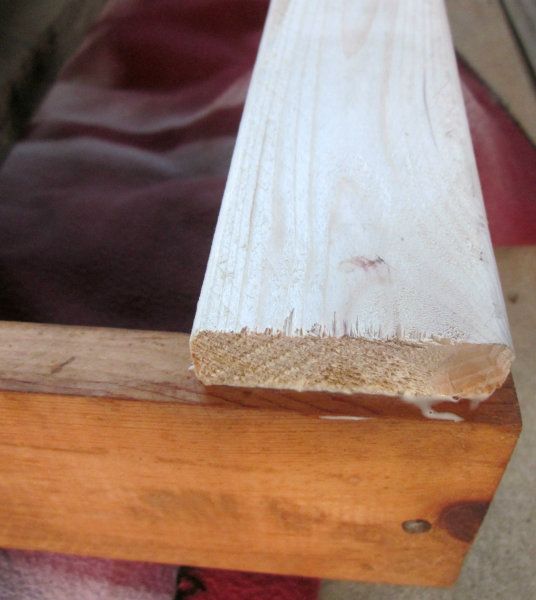
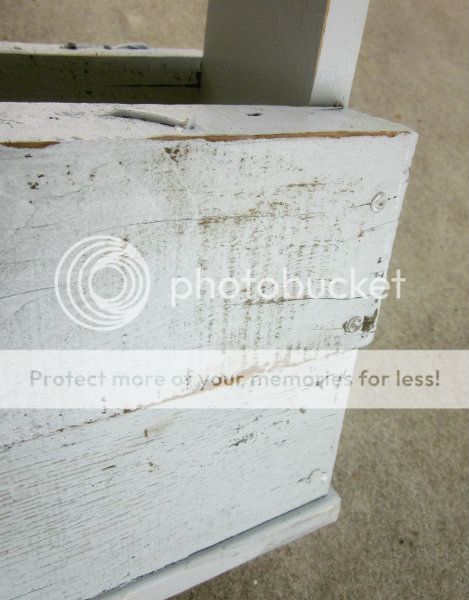
I wanted to have a “top” (just for decorative purposes), and since our boards bowed out a little, we thought it would be easier to use wood glue to attach this 1×3 piece to the top of the sides of the box:
Next comes the really fun part: painting! I love this kind of painting because it’s EASY. You don’t have to worry about priming or perfection – just slop some paint on! I actually did this at night with very little light (yes the neighbors have realized I’m weird…) and it didn’t matter that it wasn’t done perfectly:
I let the paint dry overnight, and then I added a totally optional stencil to the top. I think it adds just the right amount of “cute” to the project – you can look through all of the kinds of fonts and styles here (they’re super inexpensive!)
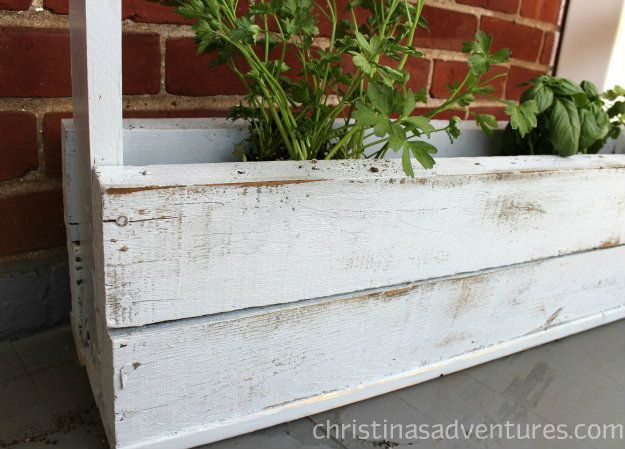
Once that dried, I had fun with my sander. I sanded with a medium-grit sandpaper, and went to town getting the paint to look “worn”
Love this!! I added some glaze too just to darken up the sanded down bits a little. No pictures of that part – I just added some with a rag, and then wiped it down after a minute with a wet cloth. Simple!
I filled the planter halfway with potting mix, then I added some basil, cilantro, and parsley. I filled in around the plants with the rest of the potting mix. Ta-da!
Just to make sure that these were going to thrive, I added some of this plant food to the soil as well. It feeds plants for 3 months – AKA the entire summer, so I don’t have to worry about remembering to do it! Hooray!
Tell me your gardening stories!! Do you consider yourself to have a green thumb? Was it always that way?
Like this post? You’ll also like:

super cute Christina! My hubby has made similar stuff to store his nails and tools in!! I’ll have to nab the next one for myself 🙂
Such a beautiful planter box! And so meaningful too since you made it yourselves…a great addition to your new home!
awwwww! Your first planter box for your new home. 🙂 Love it.
Adorable! love it. The perfect touch to your new home.
This looks pretty easy, and that soil would be good for my “black thumb!”
~Kim
I would love for you to share and link up at my TGIF Link Party. The party is open every Thursday night and closes Wednesday’s at midnight.
http://apeekintomyparadise.blogspot.com/
Have a wonderful week!
Hugs, Cathy
Love the rustic quality of this planter- super cute!