Learn how to make a DIY kitchen island without taking on a massive construction project. Simple construction with stock cabinets + butcher block. This post contains affiliate links – full disclosure here.
Oh I’m so excited to share this project with you! It really came out even better than I had hoped it would, and it’s definitely something that you CAN do without a lot of expensive tools or carpentry knowledge.
I made sure to video most of the process so you can see how it came together (it’s easier than still pictures for this project). So please take 5 minutes to watch this video and see how we went from 2 stock cabinets + a piece of butcher block to an island that feels custom for our kitchen.
Here’s the exact products we used to build this island:
DIY Kitchen Island Build: the process in pictures
To fully appreciate the process, make sure you watch that video above! But here’s the process of how we built the kitchen island in pictures:
Step 1: Purchase cabinets + butcher block that fit your space. Our butcher block was 72″ long and 25″ wide (this is the exact one we used). These are the cabinets we purchased (ours are 15″ wide). You’ll also need to measure out a piece of cabinet grade plywood to cover the backs of the cabinets + go across the length of your island. Bonus tip: have them cut it down for you at the hardware store!
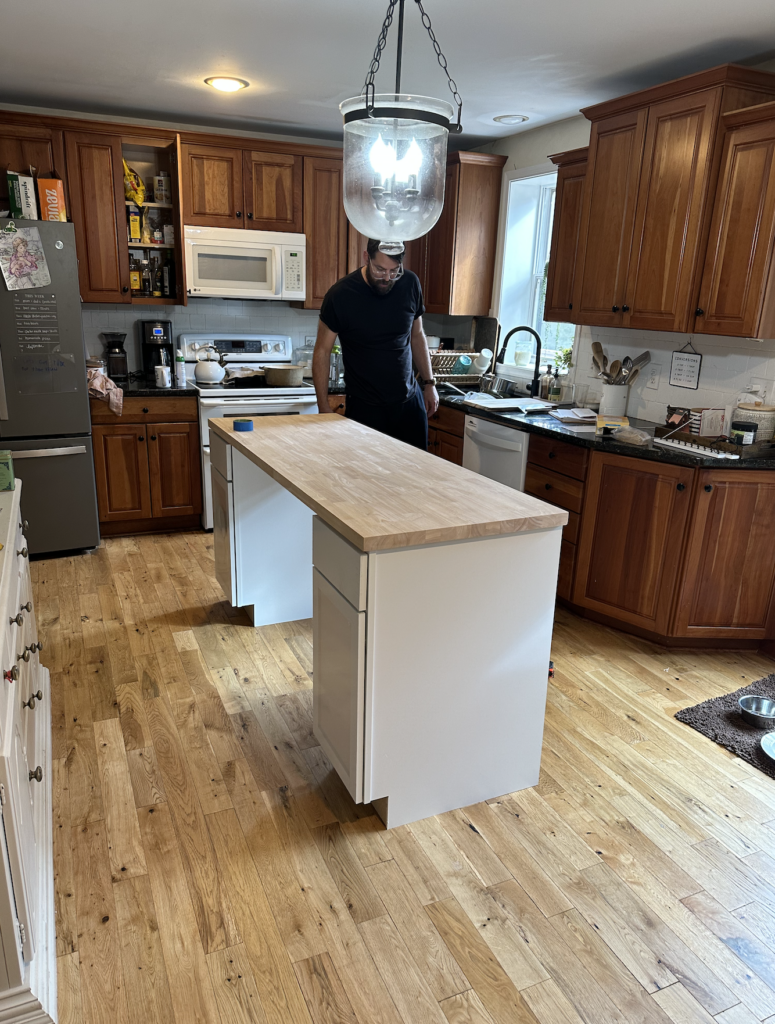
Step 2: measure out a piece of cabinet grade plywood to cover the backs of the cabinets + go across the length of your island. Bonus tip: have them cut it down for you at the hardware store!

Step 3: Build up the bottom of your cabinets with 2×4’s. This will help give your trim something to adhere to once you get to that point of the project.
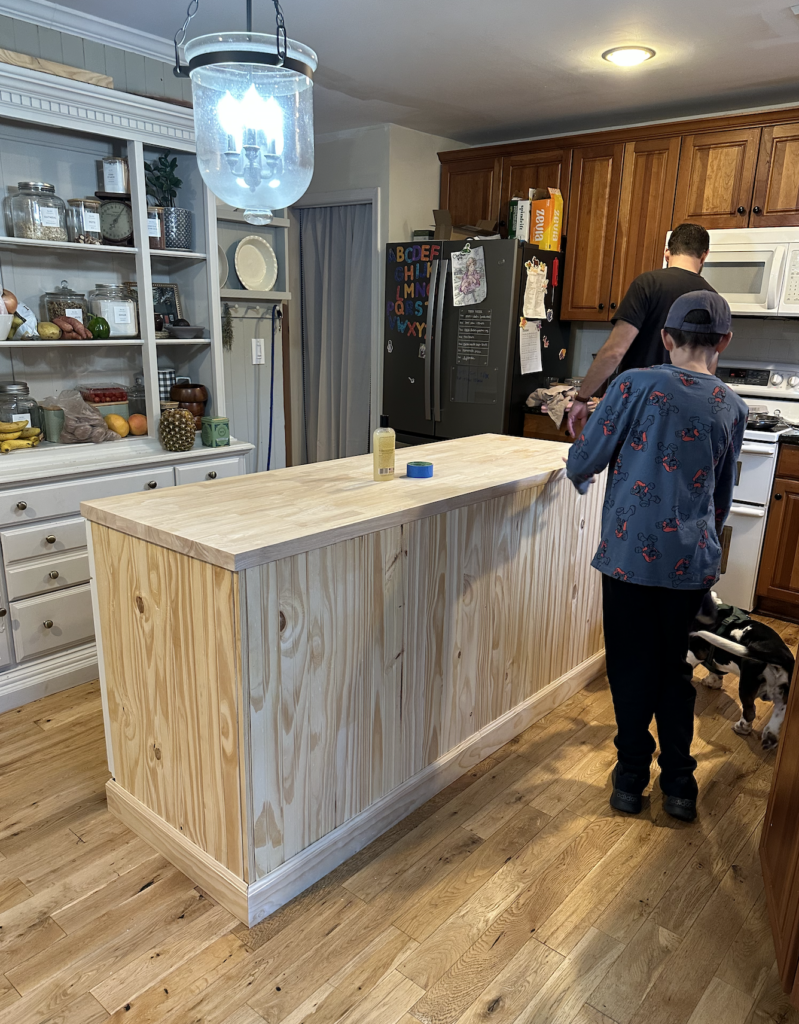
Step 4: Add beadboard planks. Use a brad nailer to attach the planks to the sides and the back of the island.
If you do not have one, this is a great option that will help you through many projects!

Step 5: Add trim to the bottom.
Mitering the trim at a 45 degree angle gives it a beautiful professional finish. Make sure your trim will cover your 2×4’s that you put under the cabinet fronts.
DIY kitchen island: The finishing process
Congratulations! You’re done with the building process. Now it’s time to finish it off to fit your style.
Step 6: Sand, prime, and caulk. Prep work is SO important to the finished product! If you don’t prep well, it won’t hold up over time or will look messy.
Step 7: Paint! Make sure you use a good paint brush (these are the ones I swear by + always have) to get in the corners and grooves, then use a small foam roller for the flat parts. Remember – thin layers with less paint is MUCH better than a thicker layer!
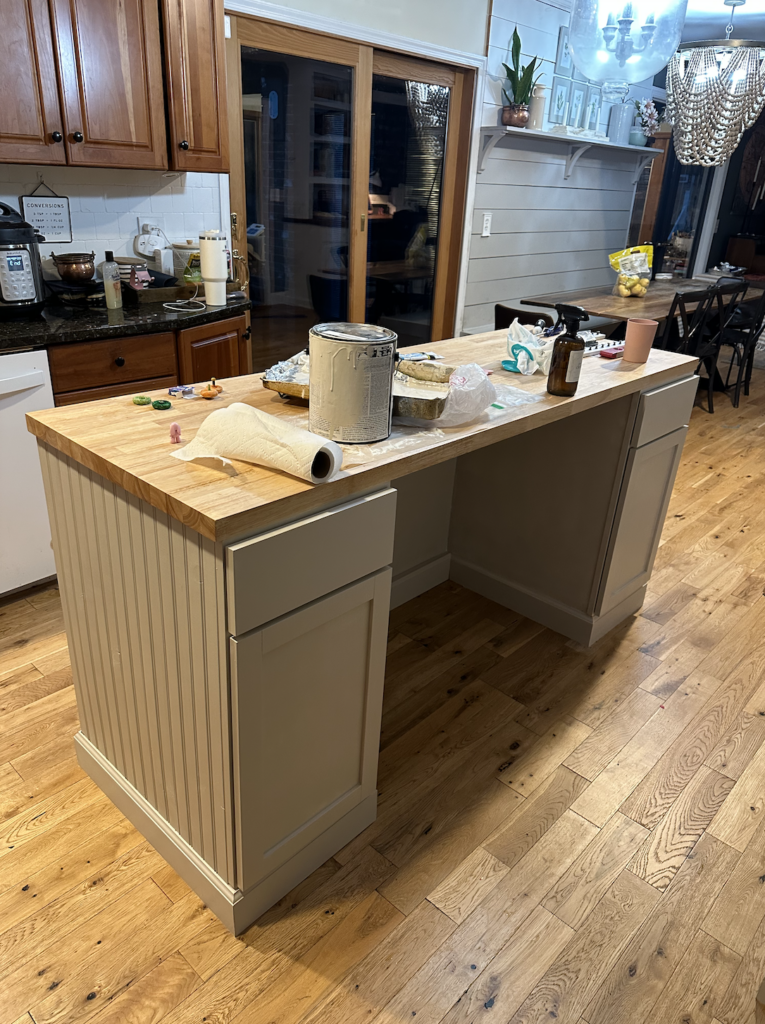
Step 8: Seal the butcher block. I chose to use this product instead of staining + using polycrylic. This will make it food safe as well! The reviews are amazing and I love how it looks.
Step 9: Add Hardware. I love these knobs I used on our hutch – we had enough leftover to use them on the island. The color is beautiful and they’re great quality (and so well priced!)
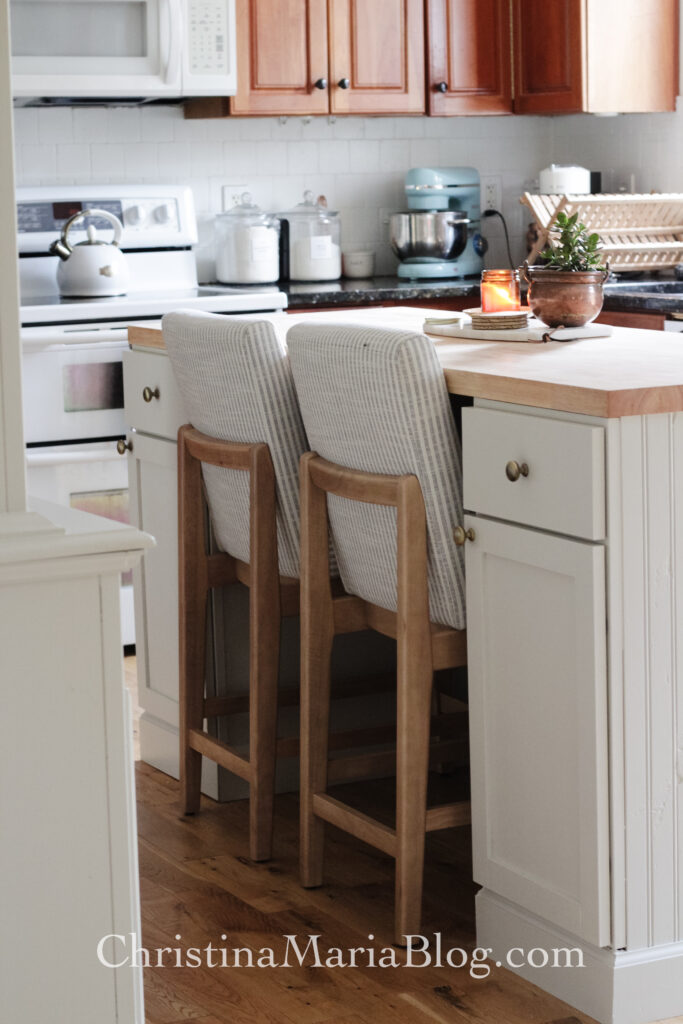
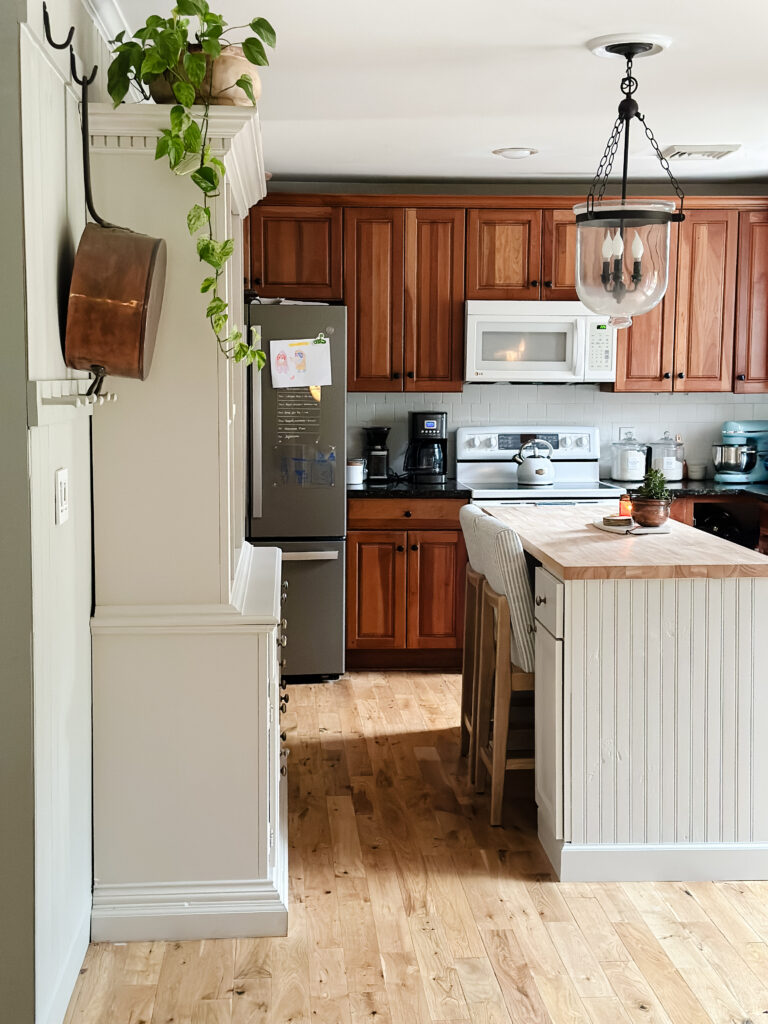
Finished pictures of our DIY kitchen island:
I mean, I just love it. Truly love it. It functions so well for our family, and looks so good in the kitchen space. I’m so glad we tackled this project and didn’t let it intimidate us!
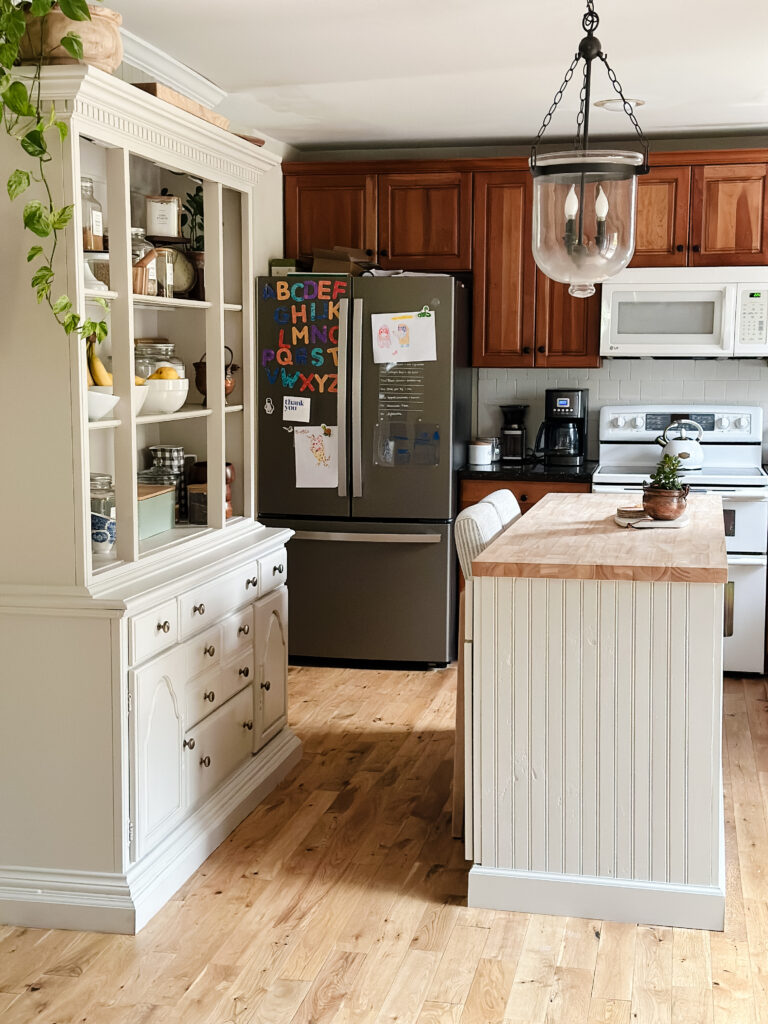
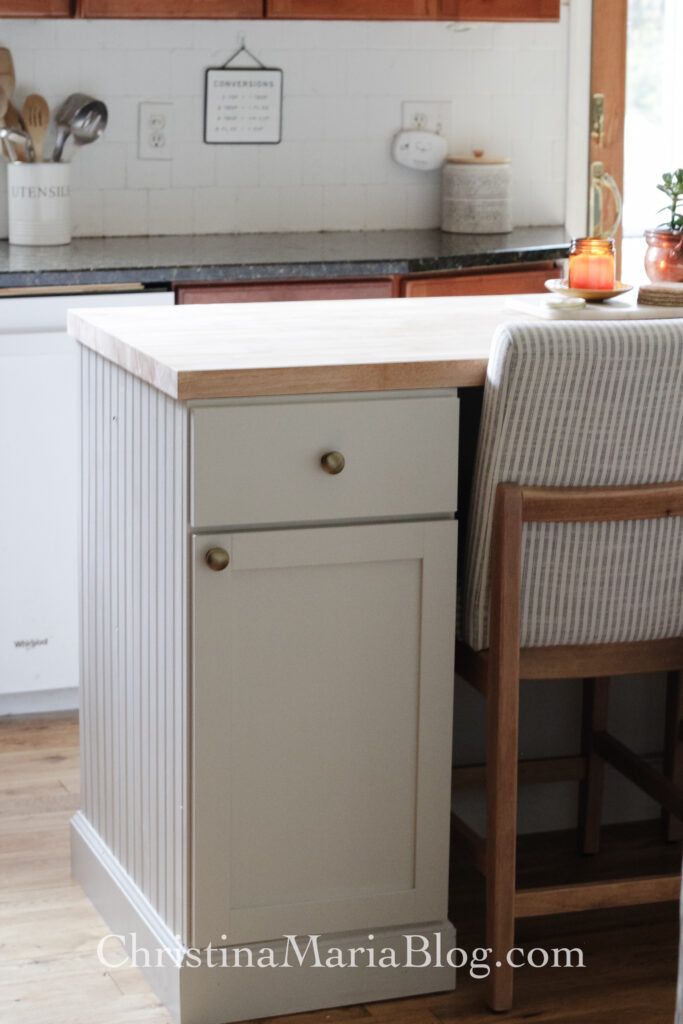
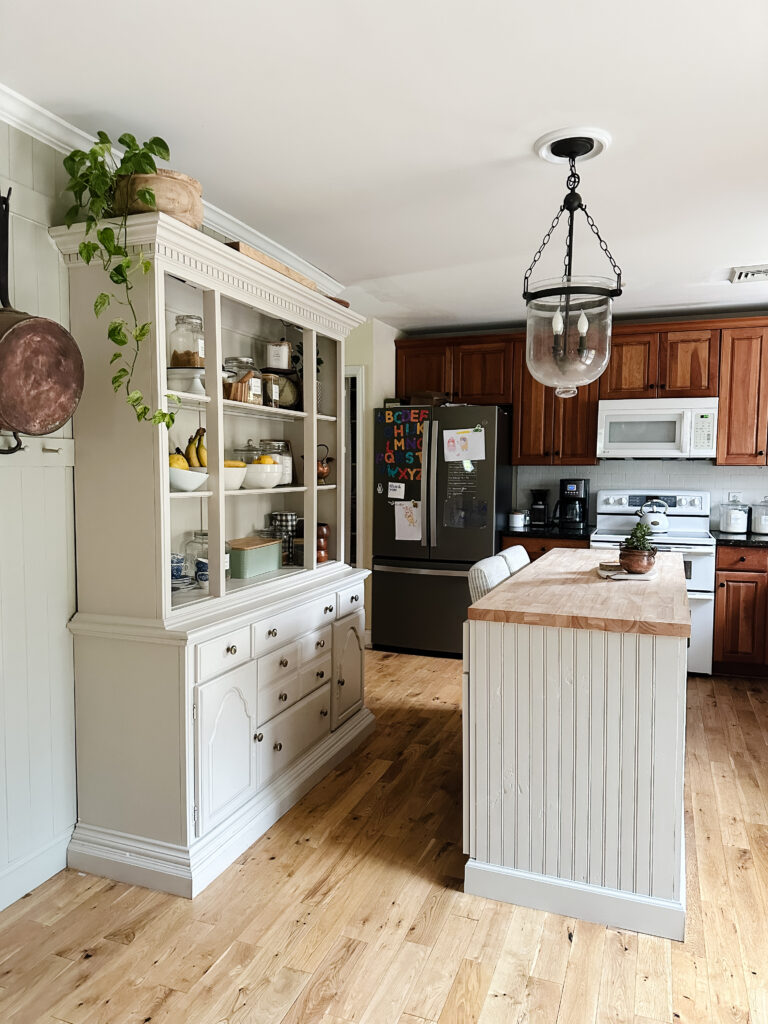
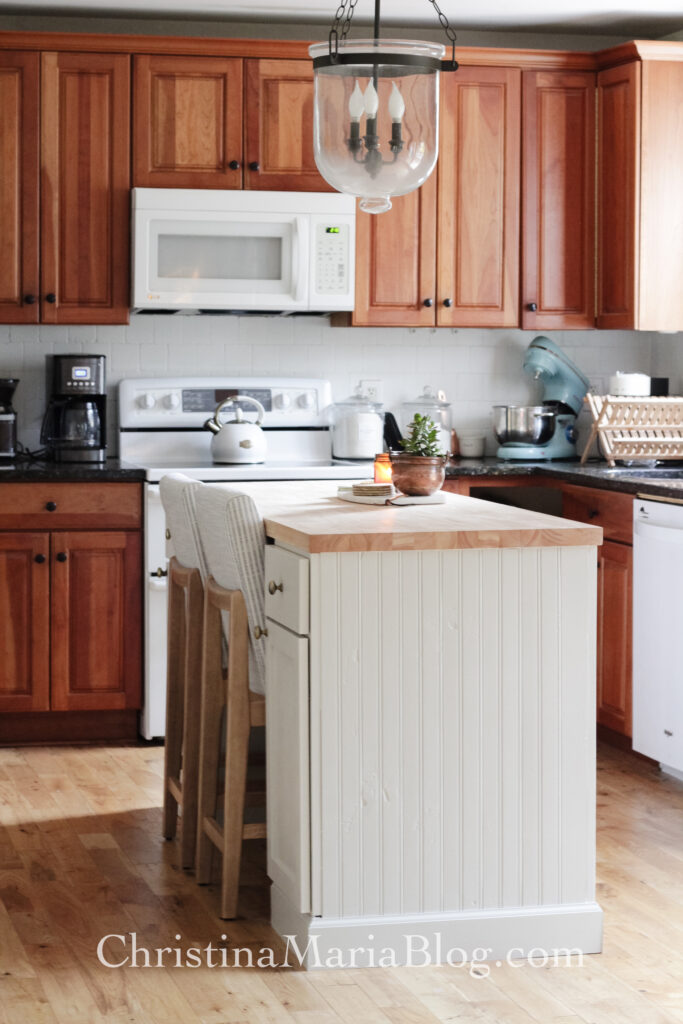
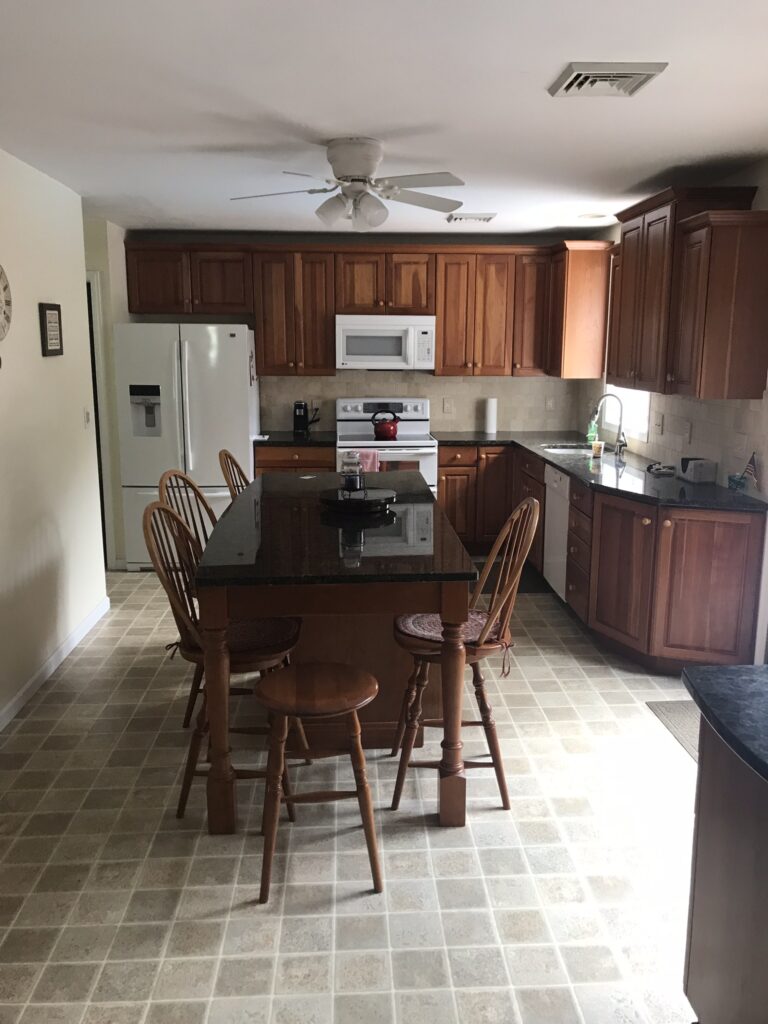
And just for fun … and to remind you that change TAKES TIME … here’s what our kitchen looked like when we bought it in fall 2019:
And today:


looks great what is the floor on this love ii.
Beautifully done, Christina! What a great space for all the fun baking and cooking now!
Looking good! Love the island!
Love the stools. Where did you get them????