This is a sponsored post written by me on behalf of Seattle’s Best Coffee®. All opinions are 100% mine.
Warm weather is just around the corner! Even though it just snowed a foot here in PA…I’m looking forward to warm days, sunshine, and lots of time outside! We loooove ice cream in the warm months, but I also don’t want to dread being in a bathing suit. I have been experimenting with healthy ice cream recipes, and I finally found the perfect simple no-churn recipe!
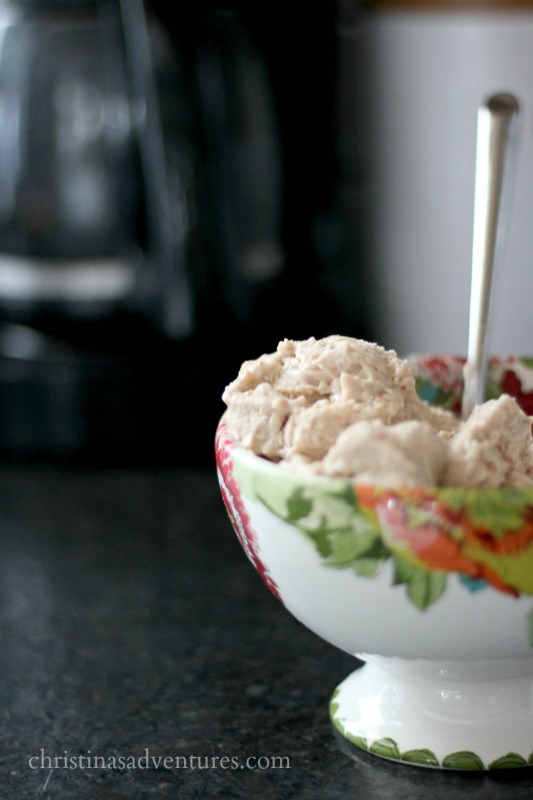
It’s creamy, guilt-free, and only 4 ingredients! AND it’s no-churn, so no ice cream maker is required!
My absolute favorite flavor ice cream is coffee, so naturally that was my first choice for a flavor. My son & I went shopping for Seattle’s Best Coffee® at Walmart – he was excited to find the 3 (his favorite number):
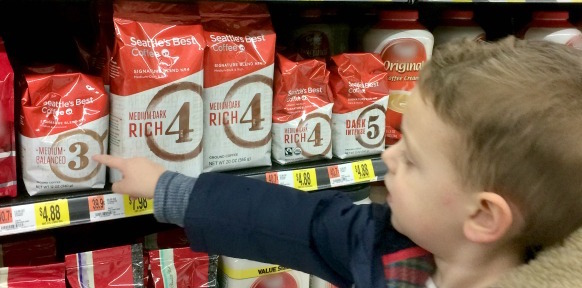
We love Seattle’s Best Coffee® & the variety they have at our local Walmart. Thankfully, it’s super budget friendly as well. Since the quality is so high, it’s like getting a free upgrade on your daily coffee! We honestly love how it tastes – it’s really smooth and a lot better than other brands we’ve tried in the past. My husband asked if we could buy this coffee every week! You can Discover Seattle’s Best Coffee at Walmart here.
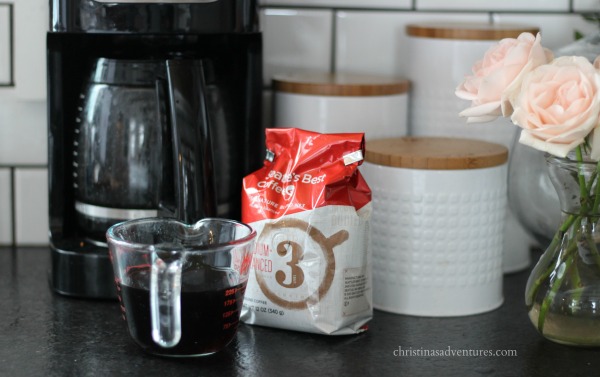
Here’s what you’re going to need to make your healthy ice cream:
- 2 cans full fat coconut cream – chilled overnight
- 10 pitted medjool dates
- 1/4 cup maple syrup
- 3/4 cup brewed Seattle’s Best Coffee® (room temperature)
Here’s a video to show the process I used to make this recipe (keep reading to see text directions)
Instructions:
- Soak dates in warm water for 10 minutes.
- Put soaked dates & maple syrup into a food processor (or blender) until it forms a date paste.
- Use a blender to blend date paste, coconut cream and brewed coffee
- When using the coconut cream, make sure to only use the full fat cans and don’t use the water that separates from the cream in the cans.
- Beat until combined & creamy
- Pour into a freezer-safe container. I used a 9×9 baking pan, but you could also use a loaf pan. I lined mine with wax paper, but that’s not necessary either (but it does make clean up easier!)
- Freeze for 4+ hours
- Once you take it out of the freezer, make sure you let it sit for about 10 minutes before you scoop & serve

And that’s it! I hope you enjoy your healthy no churn coffee ice cream as a guilt free treat this summer!

That looks like a yummy treat! Loved the video.
Thanks Sonya! It really tastes so good!