Our DIY raised garden bed build is DONE! Here’s the picture process of how we built this on our own in a month.
Oh my goodness! We’ve been planning this out for over a year, but actively building this garden space for a little over a month now. I am SO excited to share this with you today!
This will be a picture heavy post, and I’ll be answering some questions on my Instagram stories tomorrow. I don’t have time to write them all out on my blog tonight, but I wanted to share the picture journey of how we built this garden. Man, it’s been a process but we are beyond excited that it’s done and we’re so happy to share it with you guys!
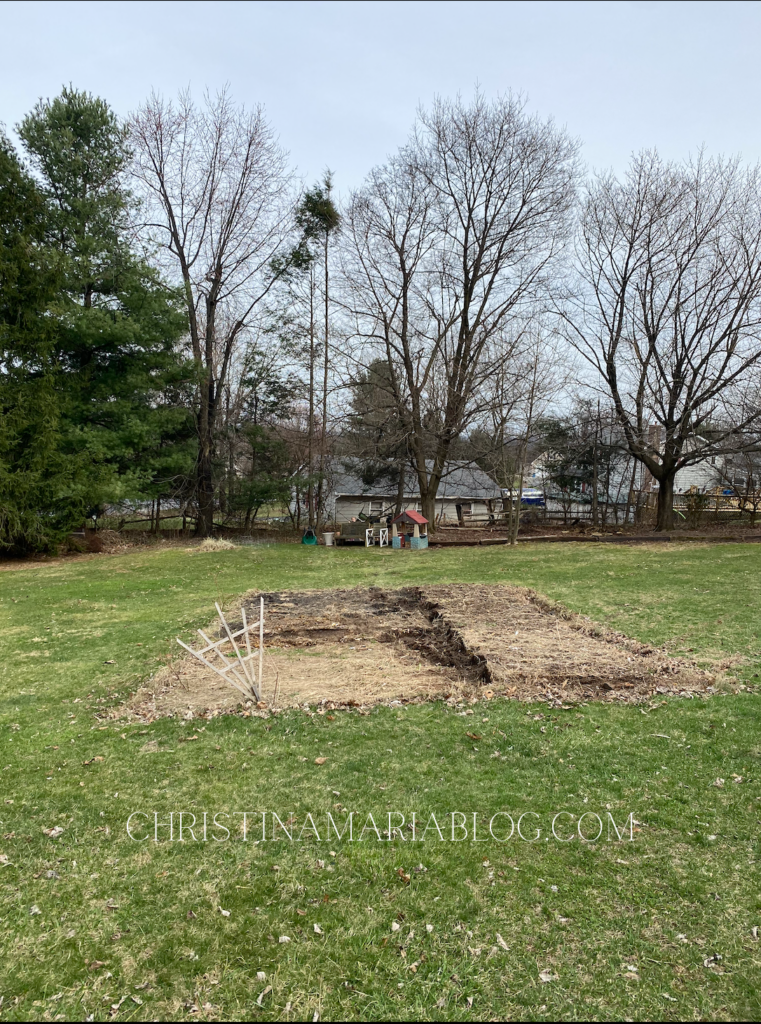
How we started:
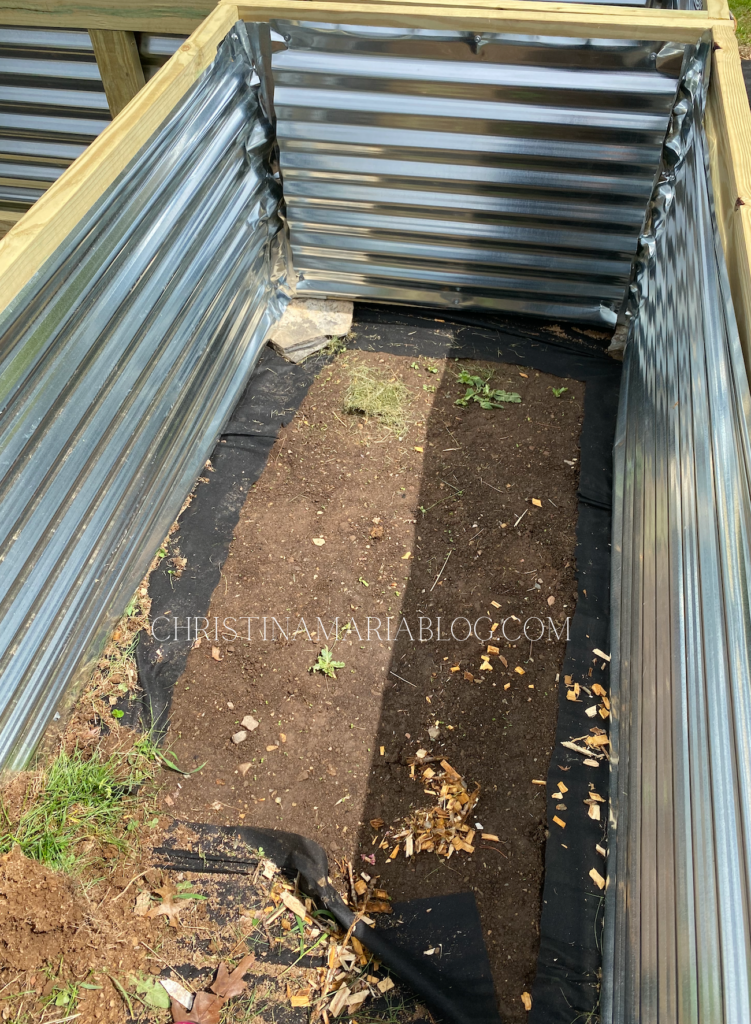
You can see our garden from last summer in this post. This year, we took out the (rotting) wood border and it left us with this:
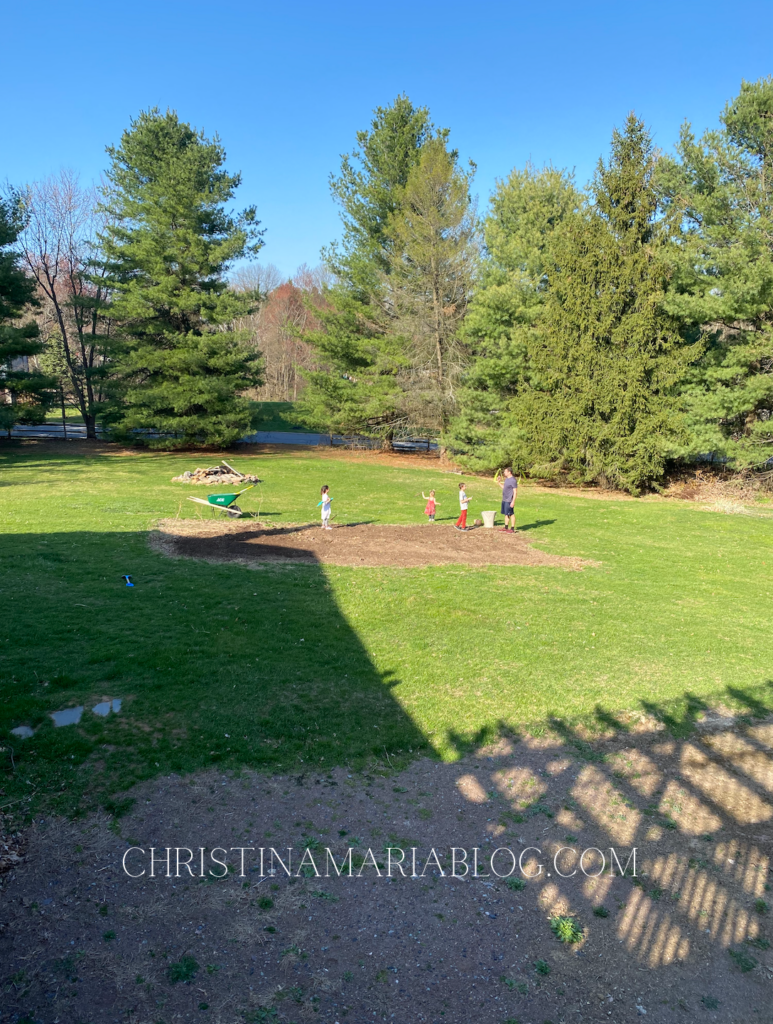
Then we worked on leveling it all out…
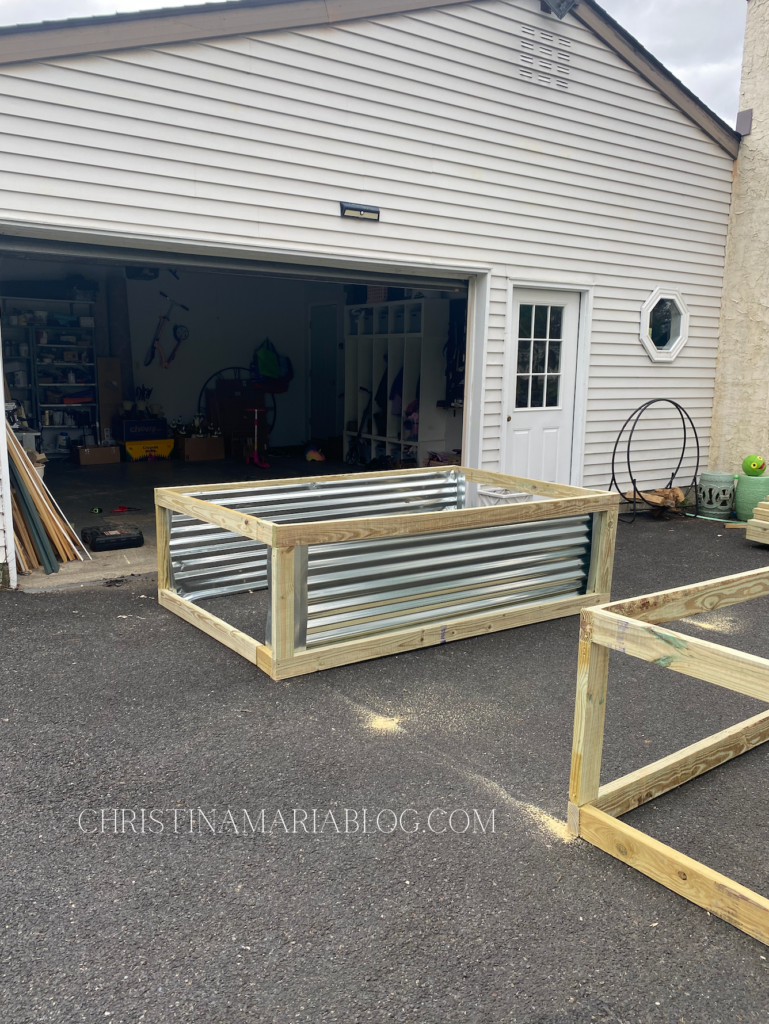
Building the raised garden beds:
Then we officially begun the building process!
I shared more about our process for choosing this style for garden beds in this post.
We started placing the beds in our backyard, and got nervous about how it was looking 🙃 We knew it could look great in time, but felt like we wanted to explain ourselves to neighbors who were wondering what the heck we were doing back here!
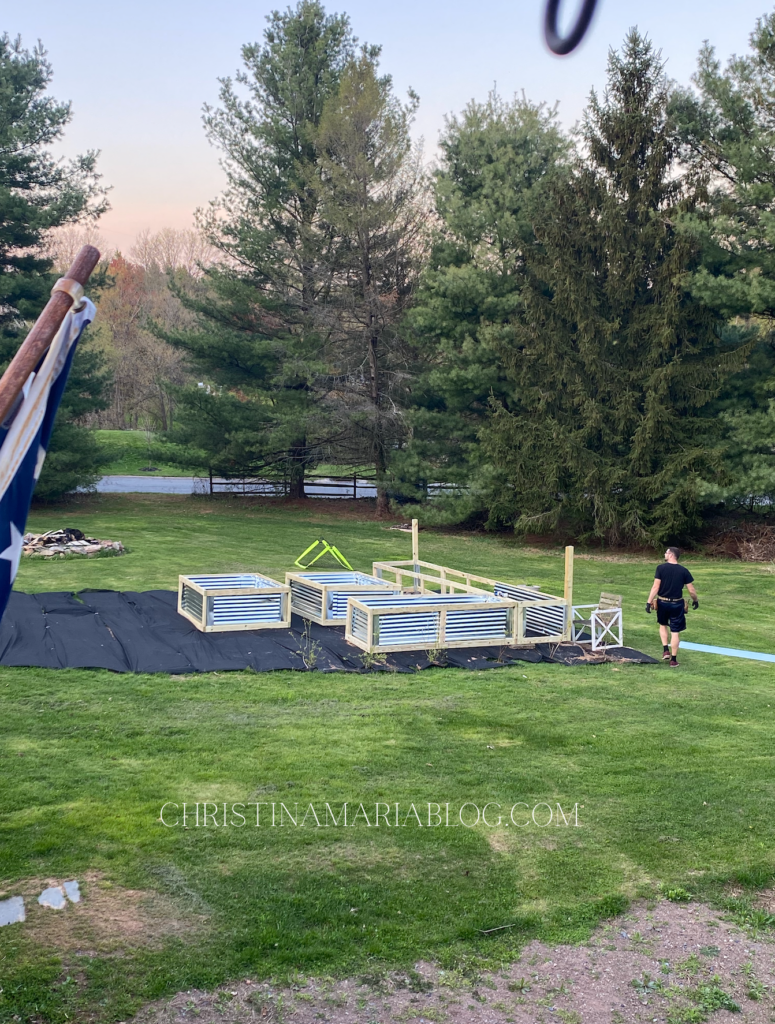
I know weed paper is controversial, but we did cut it out of our boxes. We left it in the pathways and also between the boxes for easier weed control:
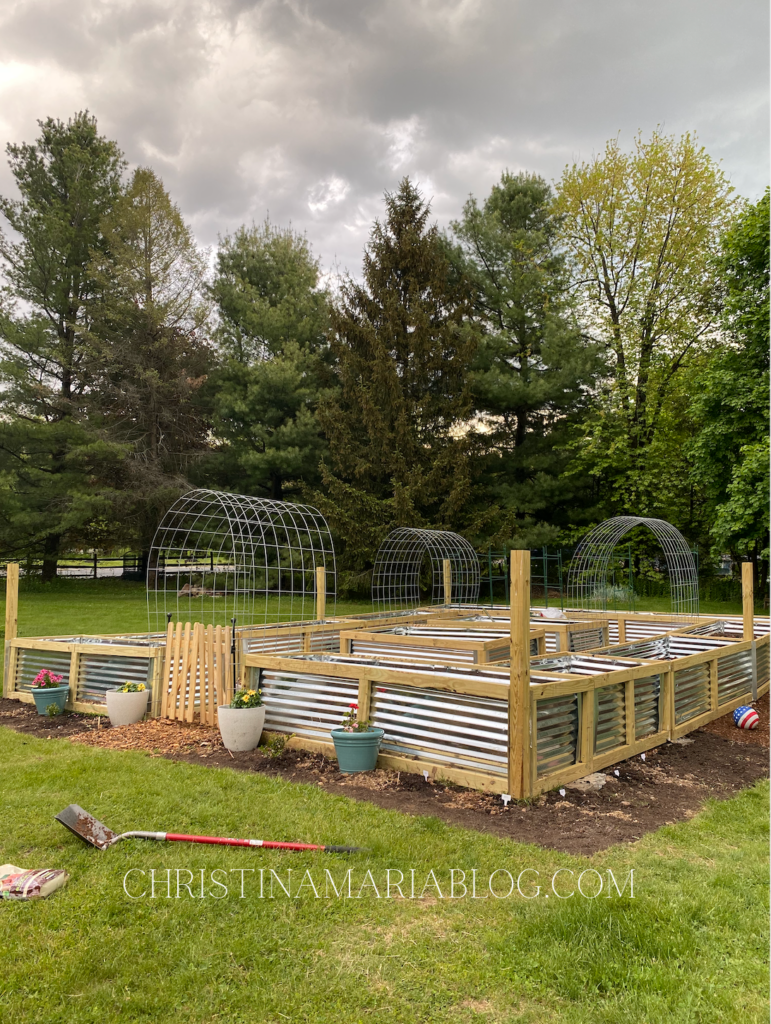
Once we got the cattle panel trellises in – it realllly started to look like a more intentional garden plan.
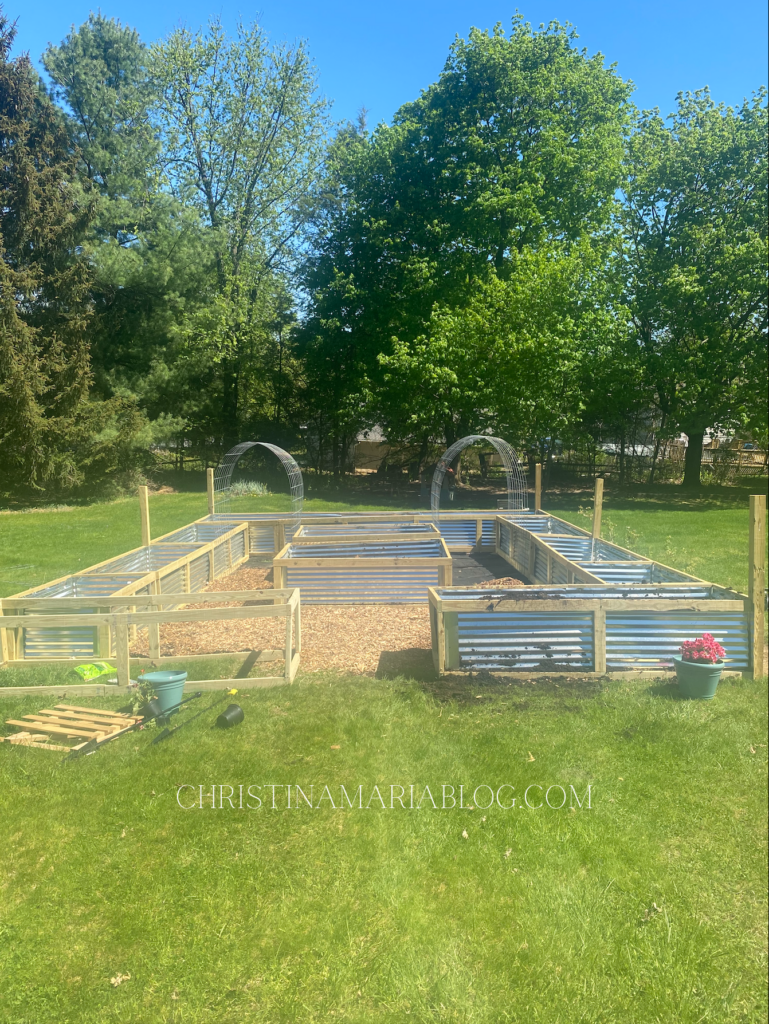
We used free wood chips from a local arborist for our pathways. We originally were going to do stone, but it was an extra expense we didn’t need this year. Possibly another year but we’re really happy with how this turned out!
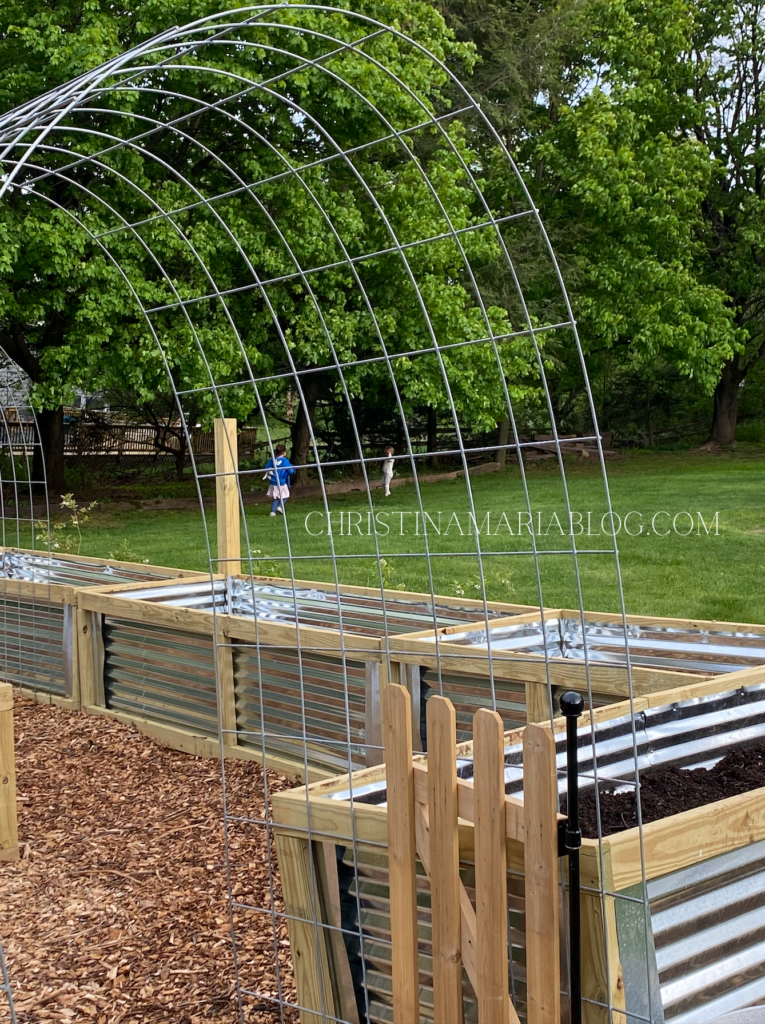
I just love these trellises more than I can say, and can’t wait until there are plants growing all over them!
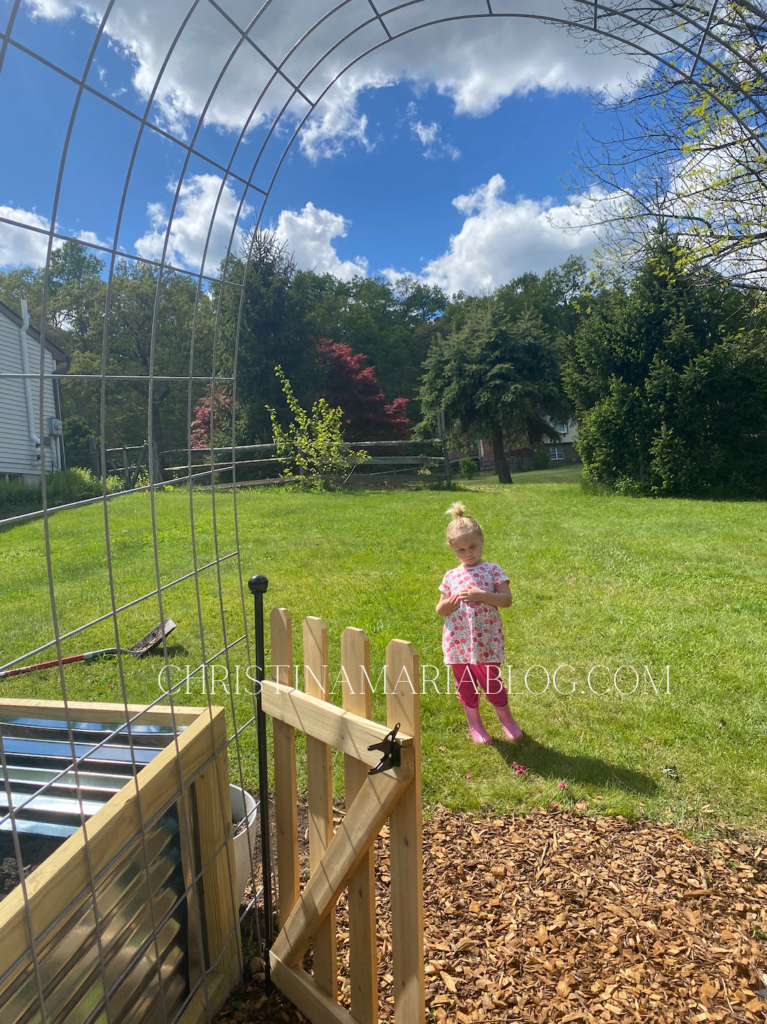
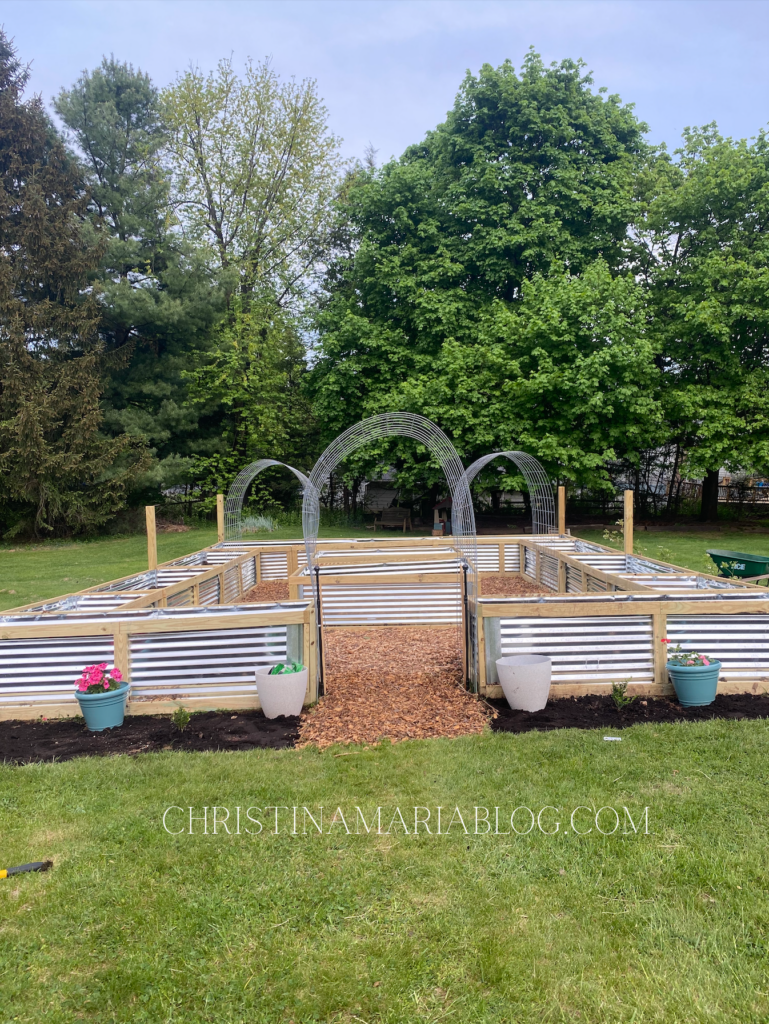
Here it was allllmost done. We just hadn’t installed the chicken wire or the lights on the 4×4 posts on top yet.
You can see how we filled our raised garden beds on a budget in this post.
Finished DIY raised garden bed build:
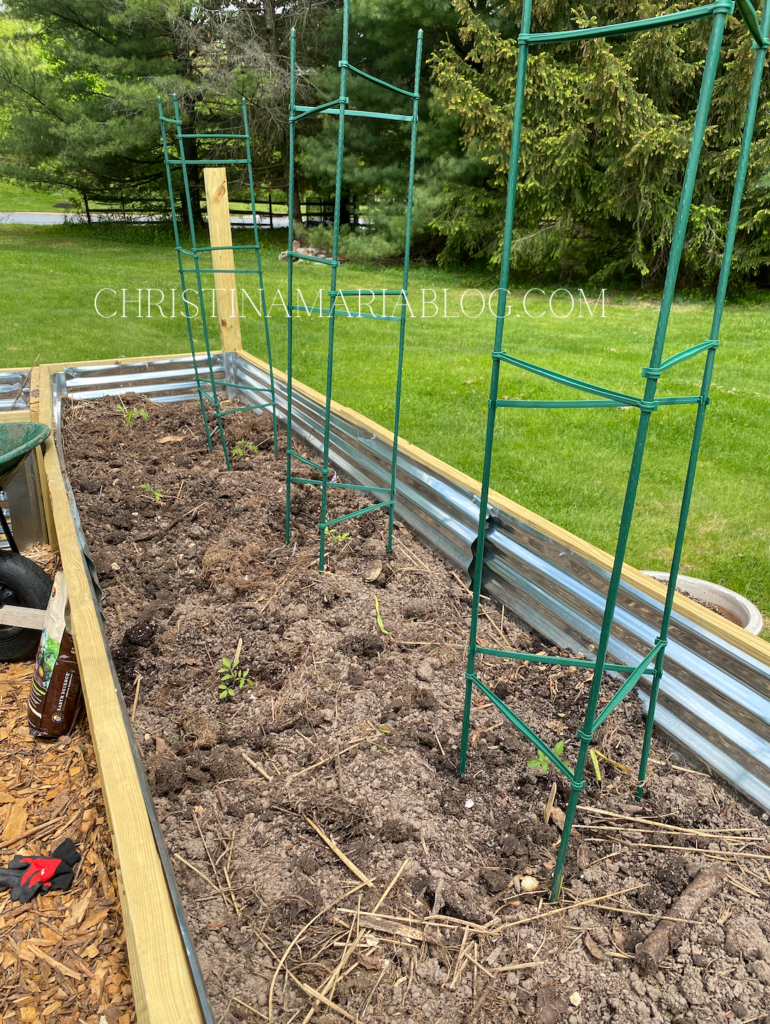
And now it’s done, and there’s mannnny baby plants and seeds ready to sprout filling those raised garden beds! I am giddy with excitement, and I can honestly say that the kids are too! We’ve all been working so hard on this almost daily for a month, so it feels so exciting to be at the “fun part” now.

UPDATED TO ADD:
We used our garden for our first summer last year and LOVED it so much! We learned a lot, changed some things, and are SO glad we put the hard work into the build last year so we can enjoy it for years to come.
Here’s a few pictures of the garden from last summer:


It’s absolutely beautiful! What a magnificent job! Congratulations on all your hard work-it most definitely shows! Enjoy that spectacular garden!
ah thanks so much Amanda! I really appreciate that!
Stunning!!! I look forward to seeing the plants grow and you guys enjoying bountiful harvests! <3
What a great family project! I know your children will always remember this, and they will enjoy the vegetables that come from all this hard work so much more than any vegetables from the store! I would definitely plant some kind of permanent evergreen plants around the perimeter to hide the metal, so that it looks good all year round, just my 2 cents:).
Amazing! Modelling our new garden after this! We’re the cattle trellis that you used light or heavy duty? Thanks!
How did the metal do with getting watered? We’re worried that if we build these, they might rust quickly.
absolutely no rust! 🙂