Budget friendly bathroom makeover design plan – how we plan on making over our kids bathroom on a tight timeline AND tight budget!
Oh man this is so exciting – we’re doing a budget friendly bathroom refresh in our kids bathroom, and I am sharing my design plan with you today! We just started and I am sharing it all on my Instagram stories and also on my TikTok.
Budget friendly bathroom makeover design plan:
Here are the requirements for this bathroom design:
- Must fit within our budget
- Needed to fit with the rest of our home’s style
- Had to function better
So besides the budget, which will vary from family to family, I wanted to make sure that this bathroom didn’t stick out like a sore thumb in our home. It’s pretty close to the family room, and it’s also the bathroom that any guests would use. Since my kids often leave the bathroom door open and you can see it from our family room – I didn’t want it to scream “KIDS BATHROOM OVER HERE”.
BUT I also wanted the kids to love this space and to have it be a cute space for them. So my goal was to design a bathroom that could grow with them, but also have some fun kid elements, and would work with the rest of our house.
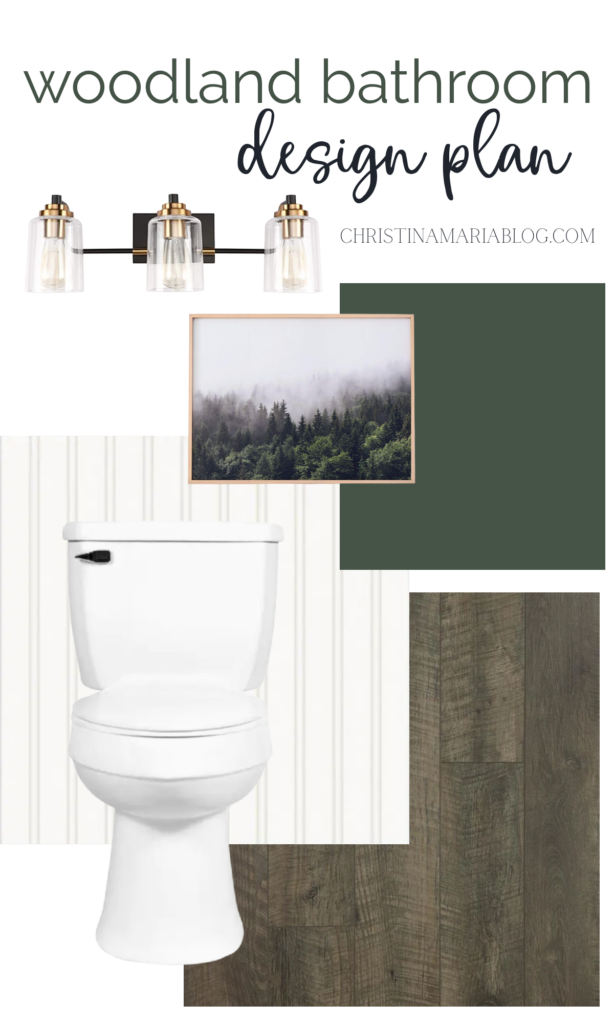
Here’s the basics of my design plan:

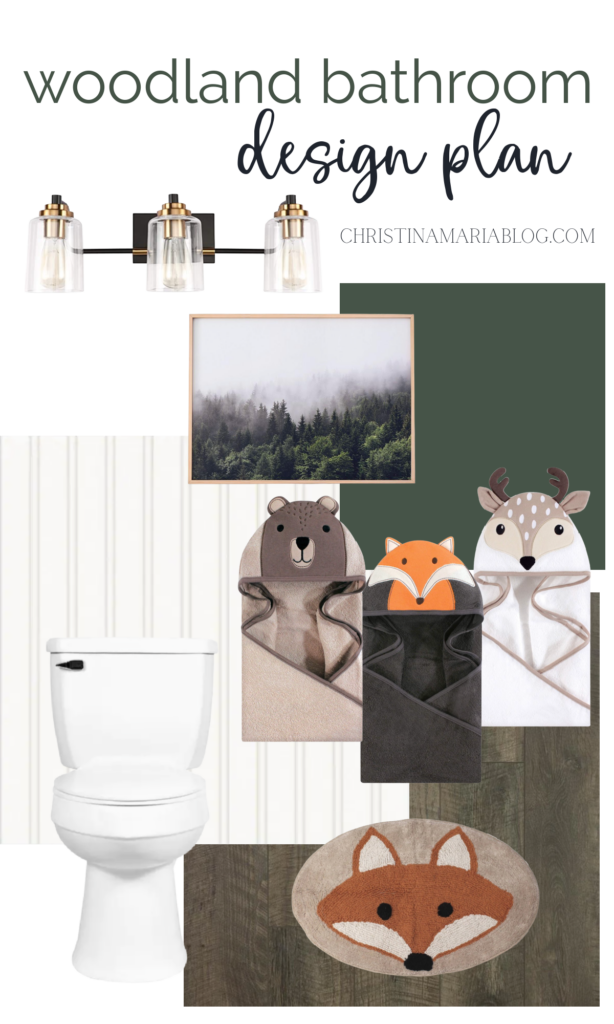
And then when we add in some fun kid accessories:

Eee aren’t those hooded towels adorable? And I fully know that my kids won’t always be excited about woodland animal hooded towels *😭 So I’m embracing these years while I still can! And for now, these towels and bathmat will help add that fun kid feel to the bathroom.
Now as for the specifics of the pieces in the room (and this isn’t all of it…it’s just the few pieces I can share right now!)
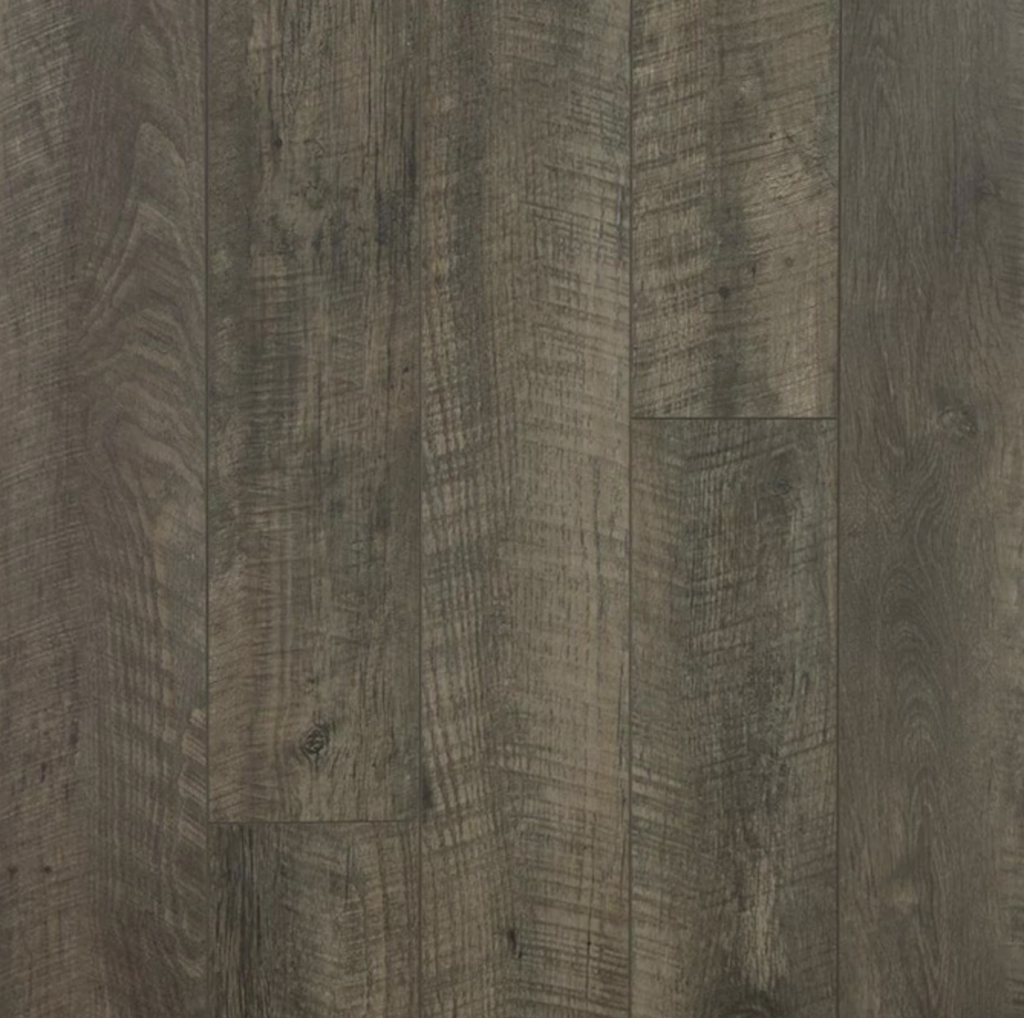
Luxury Vinyl Planking floor:
So we were going to just leave the floor as is. BUT then I priced it out and realized that we could squeeze some of this new flooring into our budget. I bought this flooring based off of the reviews and pictures I found online. I can’t speak for how it holds up over time but we’re really happy with how it installed easily over our existing floors! It cost under $100 for us to do the floors in the bathroom so I’m really glad we made it work.
Click here to shop the luxury vinyl planks we bought.
We’re not strangers to luxury vinyl planking either! We put it in both of our bathrooms in our last home and also in our previous kitchen. We looove how easy it is for moisture – which is key for a kids bathroom!
Beadboard – but make it wallpaper
OK hear me out. I was planning on doing “real beadboard” on the bottom half of the walls and painting it white. BUT. When I was looking online at the reviews and people kept complaining that it didn’t hold up well to moisture. I knew that if I wanted to have it near my kids sink and bath area, that wouldn’t work out well.
I will almost always opt for an actual wall treatment instead of a faux finish like wallpaper. But for this situation – the thick textured beadboard wallpaper seemed to be holding up much better in bathrooms, and it got much higher ratings.
So – I’m going to try it! 😬
This is the beadboard wallpaper we’re going to try – super budget friendly!
Other elements in our bathroom design plan:
Other things on the list to do in this bathroom:
- paint the existing vanity
- add new hardware
- build a frame around the mirror
- add a new light fixture
- take out the towel rod and add hooks instead
And here’s links to the items I bought/am buying for this room makeover:
I’m excited by how many of you guys are excited about this project right alongside me! It makes it a whole lot more fun to do it with all these friends cheering me on – thanks for being that for me!


Love it!
Going to look so great!
Thank you!! I really love where it’s going!
I love it all! I’m so excited to see the wall paper!!
ahh it gets delivered Sunday! I’m itching to try it!
So so cute!!! Love the woodland theme!!
Love the plans for your your kids/guest bath. I also used LVP in my entire house and just love it. Mine is from FIRMFIT, wide plank, antique look wide plank with the beveled edge and textured finish. Just love it.
Years ago I used the GRAHM & BROWN paintable beadboard wall paper below the chair rail in my dining room and it too is a great product. Was planning to put it in both baths, but moved before I could do it. Like the LVP, once installed and painted, no one can tell it is wallpaper and it is so much easier to install and works well in damp areas like baths and laundry rooms. You will enjoy it. NOTE: Check you installation instructions from G&B as they used to reccomend a special wall primer for this paper before installing it.
Looking forward to seeing the finished project. You have a classic, timeless base to work from and can change the accessories as needed to be age appropriate for the kids. That is the way to go – not just redoing things again in a few years.
Thank you so much for your thoughtful comment, Jill! I really appreciate your insight! And yes – that’s exactly what I’m hoping to do. Create a more classic base and add fun touches on top of that for the kids. I can’t wait to get more done!
I’ve used that wallpaper before to update a bathroom cabinet and door. It’s super easy to work with. I had ‘real’ beadboard in my bathroom in a former home and knew I wanted to add it on some way in my condo. You’re going to love it!!! Can’t wait to see the results!
I really like your plan for the bathroom. Very classic. I used Martha Stewart beadboard wall paper (don’t know if they still make it) on the lower half of my bedroom approximately 6 yrs. ago and except for a few scratch marks (foster kittens) on the lower part of a small section, it has held up beautifully. And though it said you could paint over it once, I have successfully done so several times with great results, so I hope you have the same wearability with this one.
Love it Christina! I’ve used the Allen and Roth bead board wall paper before and I loved it! This is going to be great can’t wait to see the finished space!