We created this DIY built in desk for our homeschool room and created lots of extra storage as well as a desk space that can grow with the kids.
Can I tell you that I think this is one of my favorite projects we’ve ever done? I think it’s because:
- it’s super functional, and will WORK so well for our family (the first thing you should make happen when designing any space!)
- this project was a major pivot from the original plan for this space – but worked out better than I thought it would.
- we did it all in one weekend (it was crazy, but we did it!)
- we were able to create a space for the people I love the most, and it also fits seamlessly into our home
- …this is only Phase 1 of this project! Phase 2 will come at a later date … but not yet.

All sources are linked at the bottom of this post – please scroll to the bottom to shop anything mentioned in this blog post!
Full disclosure: Lowe’s sponsored my Instagram stories and post, but they are not sponsoring me for this blog post. But I did feel like I wanted to put some of the information here on my blog so it could “live” here and you guys could reference it if you wanted to recreate pieces of this project in your own home!
How we started building this built in desk:
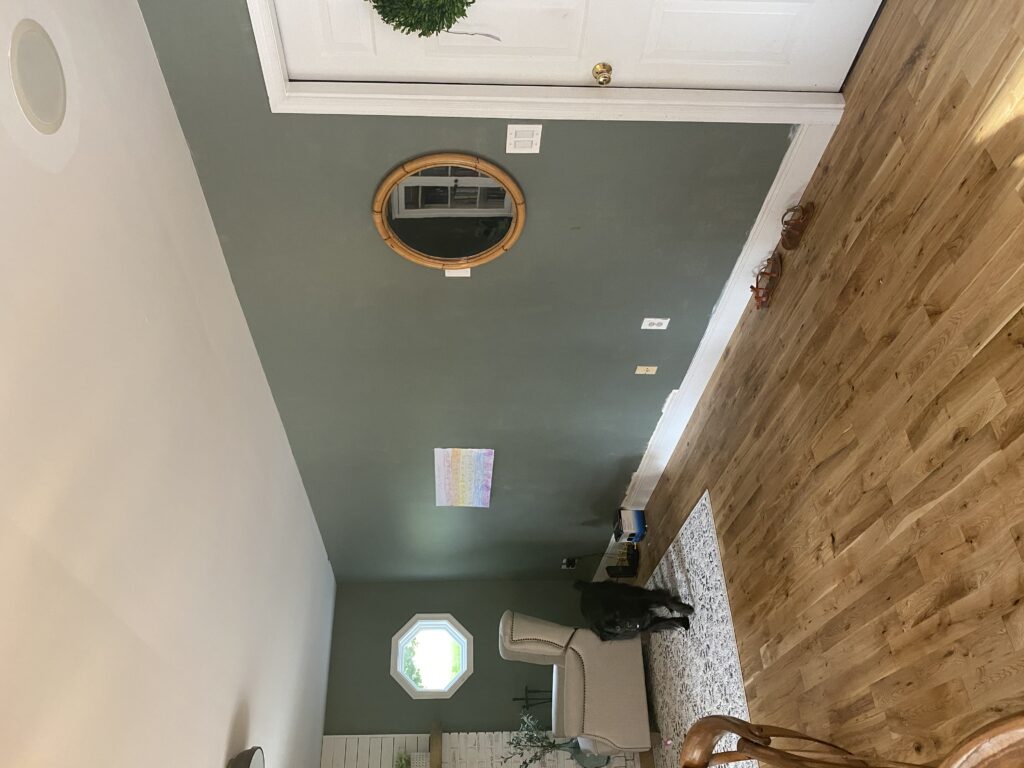
This wall was just a big blank wall in our living room. Since we’re beginning the homeschooling journey this year (like so many of you!) we knew we needed a space to make our own. We literally had no extra closets to put curriculum or homeschool materials in, and using a surface besides our kitchen table was ideal too. I wrote a blog post about my favorite homeschool room ideas here, and we ended up using bits and pieces of so many of those inspiration spaces to make this spot come together in our home!
We ordered cabinets from Lowe’s – they’re just stock cabinets that they had in stock at our local store, which worked well for us on a tight timeline!

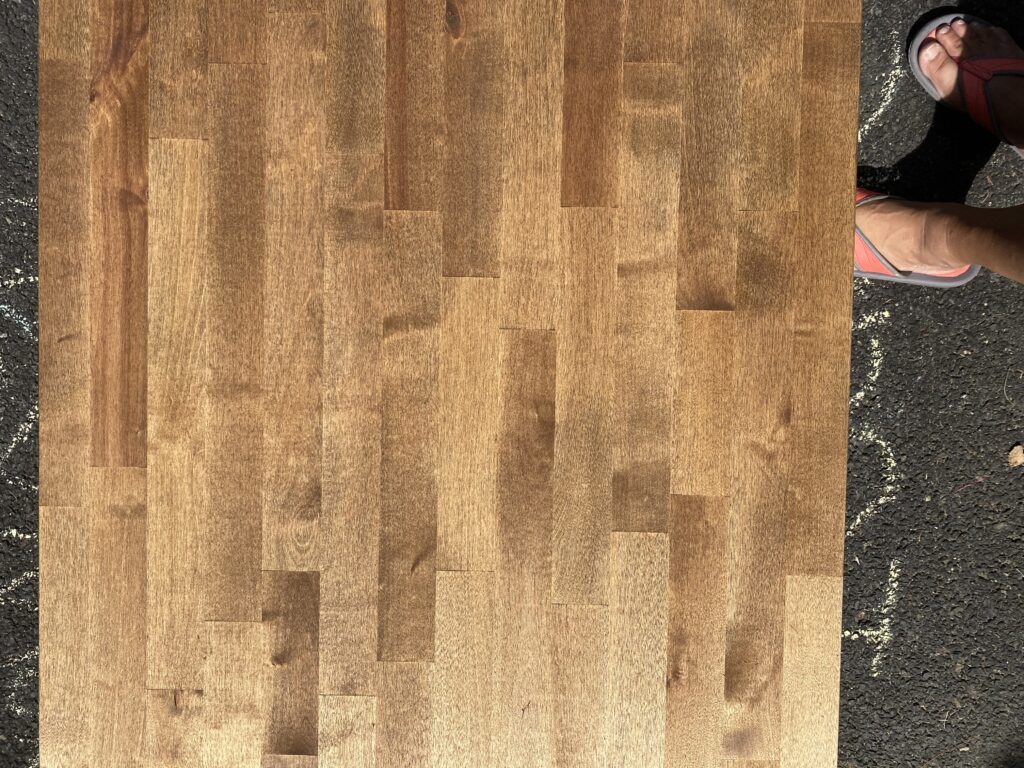
Then we also ordered butcher block from Lowe’s (2 8-foot pieces) and got to work cutting, sanding, and sealing them. I used my favorite stain color (Minwax Early American) and matte Polycrylic.
Closing up the toe kick area:
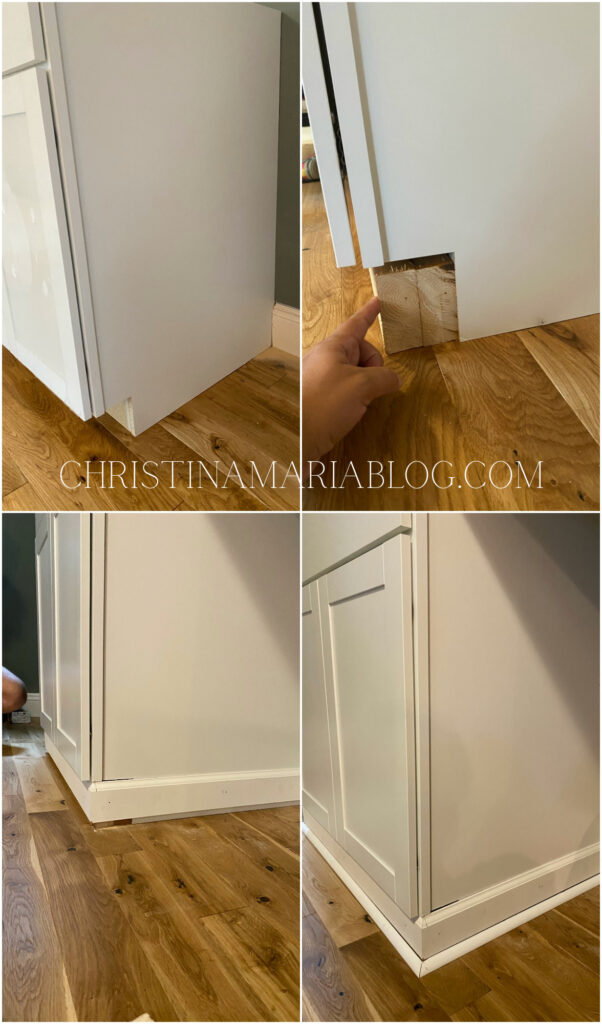
So while the stock cabinets were an easy solution for the base of this built-in unit, I didn’t love how the toe kick area looked. I wanted it to look less “kitchen cabinet” and more “built in furniture” for this built in desk.
I had the idea to close the toe kick area up but I hadn’t seen it done anywhere and didn’t know how it would work…and I LOVE IT.
Here’s what we did:
- I added 2 2×4’s to the toe kick area first. We glued them together and then screwed them into the toe kick area.
- I bought inexpensive trim at Lowe’s and definitely measured wrong SO we had to go back out to the store to get quarter round. Oops.
- We used thick quarter round on the bottom (mitering all the corners along the way) and used wood glue to attach it to the floor.
- It looks kind of weird until you caulk it and THEN it looks perfect together and like it was meant to be!
Creating a cozy reading space:
While I’m very aware I’m not recreating a classroom in my home, I DID love creating cozy reading spaces in my classroom. So of course I wanted to create one for my favorite kids! I am so glad we decided to make this cozy corner and not take the cabinets all the way to the wall on this side.
Also: I really want to replace this window with a larger rectangular window someday, but hey! We can’t do all the projects all the time and we can’t get it all done at once. Just one project at a time!
OK onto the book nook – we made these simple DIY ledges (which we have made so many times – it’s the perfect beginner DIY project!!).
Notice how we covered those cords? I didn’t want to have to worry about kids and cords so we used these cord channel covers and they worked so much better! The nice thing is they’re paintable so you can camouflage them even more! Ours are covered up by the bean
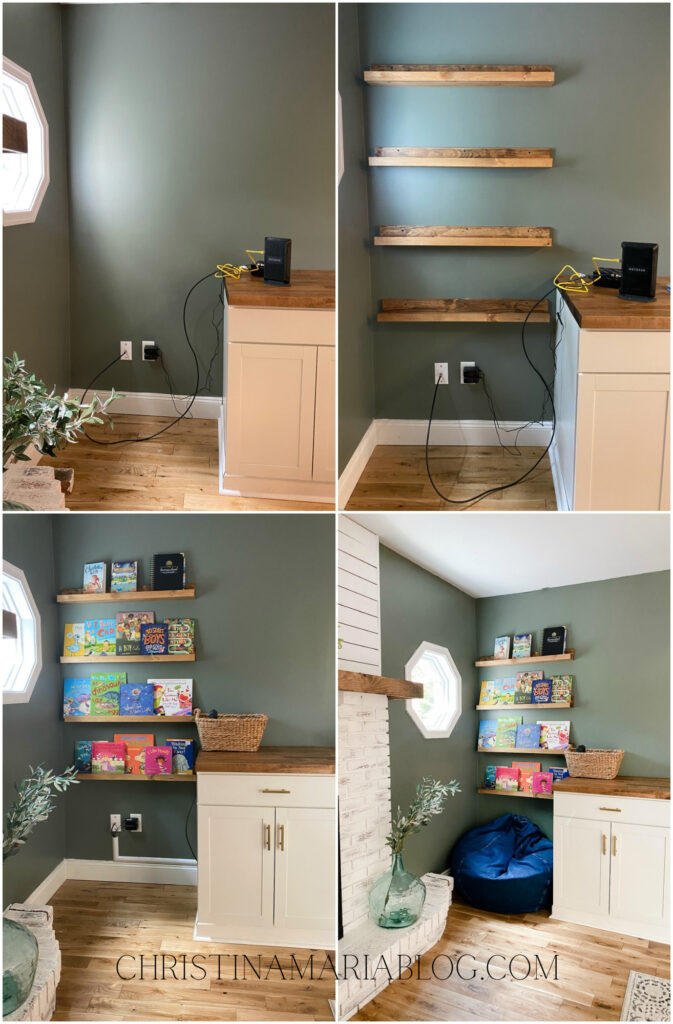
Then we also used an old basket to put our router and internet booster in – the cords jusssst reached so we can’t move it over any further!
The giant chalkboard:
This will be a whole other post/Youtube video but the whole thing cost under $50 and I love how it turned out so much! It brings just the right amount of function and visual contrast/weight to the center of the wall.
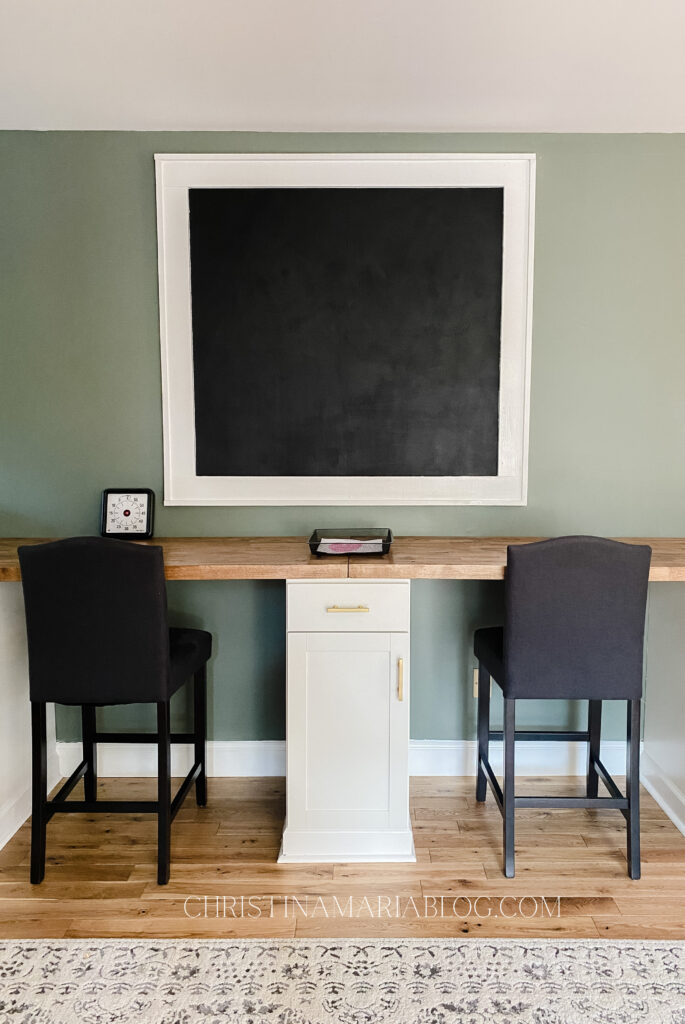
Also – those chairs? Facebook Marketplace for the win!! I was so happy to find some chairs that fit perfectly secondhand (they are counter height chairs since these are actual cabinets).
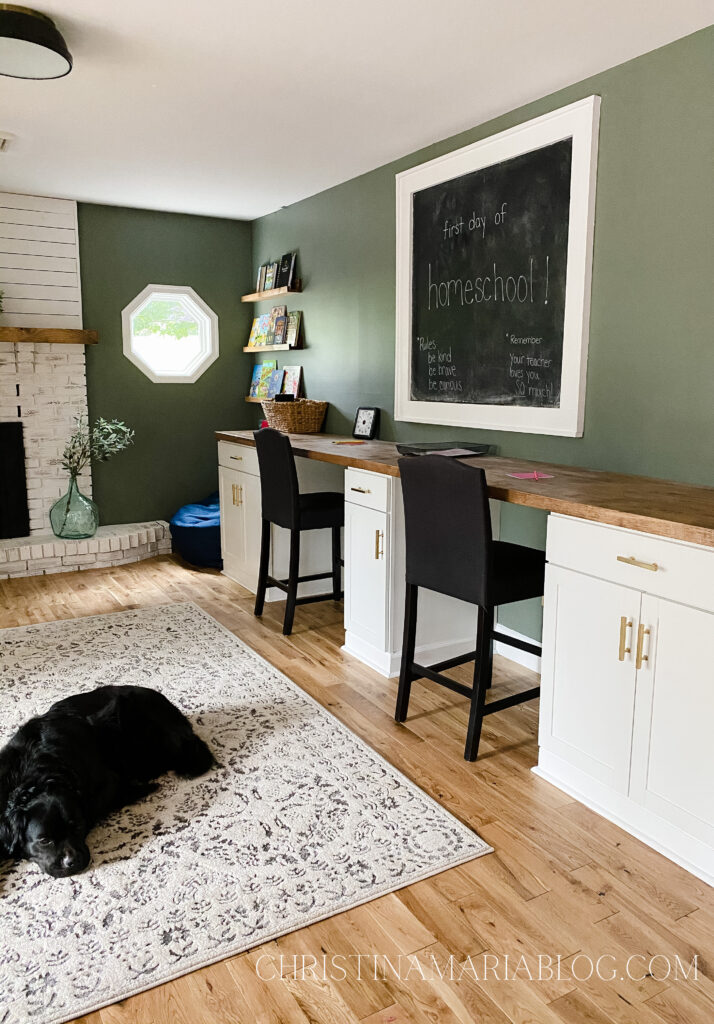
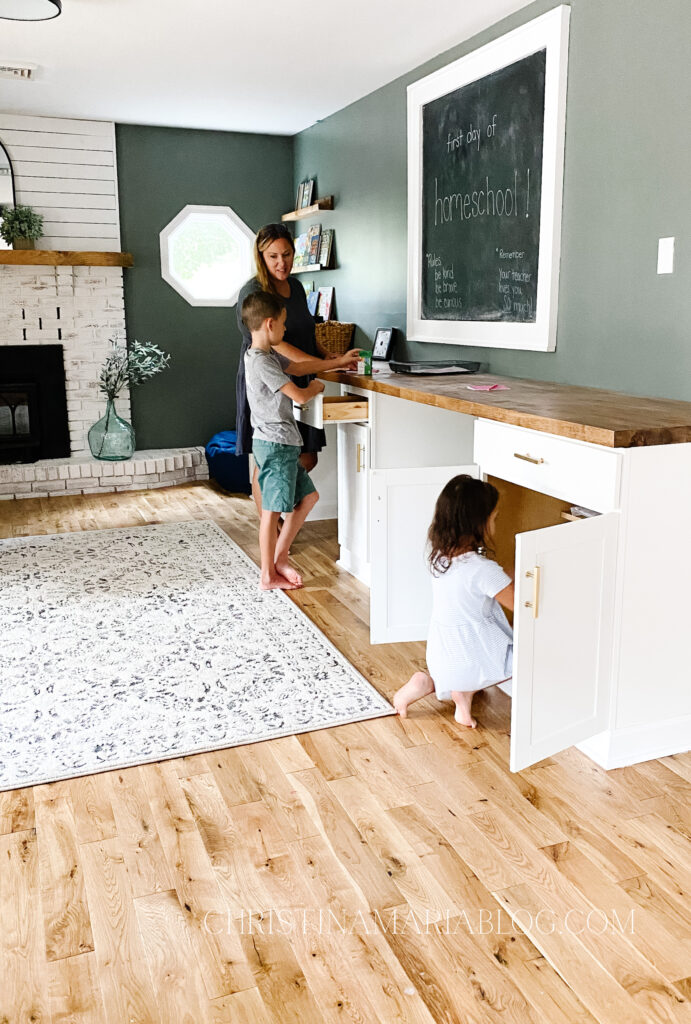
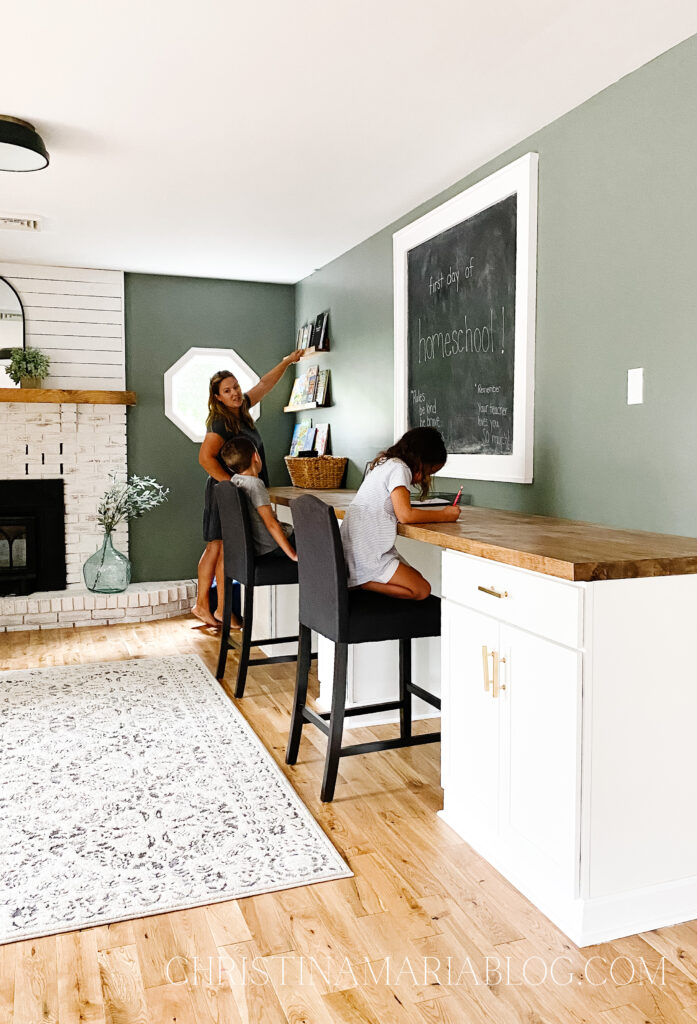
Our built in desk in use:
Really the biggest reason I love this desk is because it functions so well for us. It’s perfect storage for all of our homeschool supplies and curriculum, as well as a great place for the kids to tygvbdo work. But it’s also valuable space as our family gets older no matter what we’re doing for school! The kids don’t have room for desks in their small bedrooms and we don’t have a designated office, so this will be a hardworking space for our family.
Phase 2 of the project…
So as I mentioned before, this is only the first part of the project! We eventually want to build open bookshelves to the ceiling on top of the cabinets on the right and left side (the same width as those cabinets). That storage will also be so appreciated and we will get so much use out of them! BUT we’re on a budget and that doesn’t fit into it for a little while.
Plus, I want to take a little break from projects to really focus on homeschooling with the kids and starting the year off really well. I don’t want them to have to be learning in a construction zone – at least for the first part of the school year.
Sources for our built in desk:
The paint color for the walls is Sherwin Williams “Retreat”.
If you missed how we made over the fireplace (with lime wash & extending the fireplace lines to the ceiling) you’ll want to check out the whole post here!
Just click on each of these pictures to be brought to the exact source where I bought each product:
If you liked this post or want to reference it later, could you do me a favor and pin any of the images on this page? It’s a way of sharing my (free) content and helps to support my business. Thank you so much! It has been so much fun sharing this project with all of you!


I absolutely love every beautiful project you’ve done!!! Incredible!! 🥰❤️
What color is your wall paint? Love it!
Thank you! It’s Sherwin Williams “Retreat” 🙂
Your diy project looks like a very experienced professional contractor did the work. In other words, you nailed this project. I would love to have this exact project in my home. From the beautiful painted wall, to everything else in between. Thank you so much for sharing.
Hi I am not on Instagram can you please tell me where you got that great chalkboard for $50. Love the paint color we had a similar color , tavern green in our living room I loved it
Thanks
Hi Debbie! We built that chalkboard out of smooth plywood for the back (painted with a few layers of chalkboard paint) and framed it out with pieces of pine 🙂
I love it great job!!! Thanks for getting back to me, your the best!!!
aw anytime!! Thank you!