All the details on how we built this indoor plant wall and propagation station. This is a project anyone can do and I’ll show you how!
I have to tell you that this is one of the simplest projects we’ve done, and it is also one of my favorites!
It’s unique, simple, inexpensive, and shows off products from so many small businesses. Basically all of my favorite things!
I’ve been sharing the behind-the-scenes progress in my Instagram stories as we’ve been building this wall (check out the “plant wall” highlight to see how it’s all unfolded over the past month). But today I want to share the pretty pictures, small shops, and some frequent asked questions about this indoor plant wall.
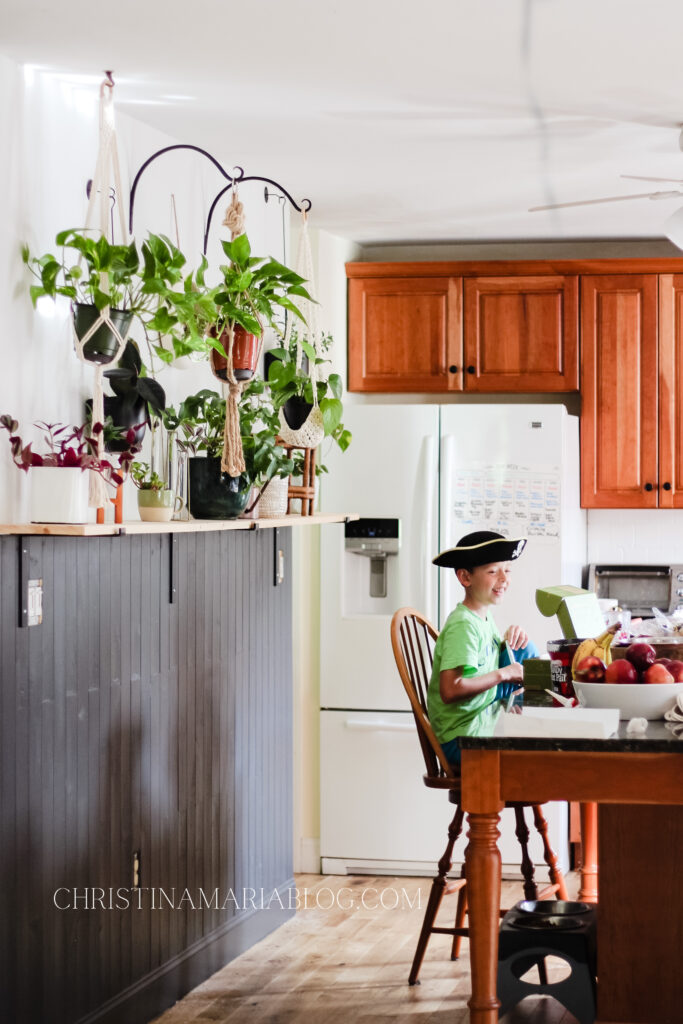
First: the dark vertical shiplap:
Ok so this isn’t actually true shiplap but that’s what everyone calls it! These boards are thin tongue and groove boards that we got at Lowe’s. We had some leftover from the far wall on our hallway project, and we were able to use the boards here in the kitchen, so this project really ended up being even cheaper for us than it would have been if we had purchased everything new.
The paint color is Sherwin Williams Iron Ore – I LOVE IT! It’s a new color for me and it’s just so cool. It really changes colors throughout the day from a smokey gray to a green to a blue. It’s perfect for what I was envisioning!
The white paint color on top is one of my favorite white paint colors: “White Cotton” from HGTV Home by Sherwin Williams (you can buy it at Lowe’s).
Also – I took on the tongue and groove boards all by myself! I’ve been trying to get more confident in my DIY skills lately (my goal is to do a big project from start to finish without asking my husband for help). I’m not there YET but I’m getting a lot closer! I did the bottom of this wall 100% on my own, but he did help me hang the brackets because we were in a hurry and I take longer since I’m still a student!
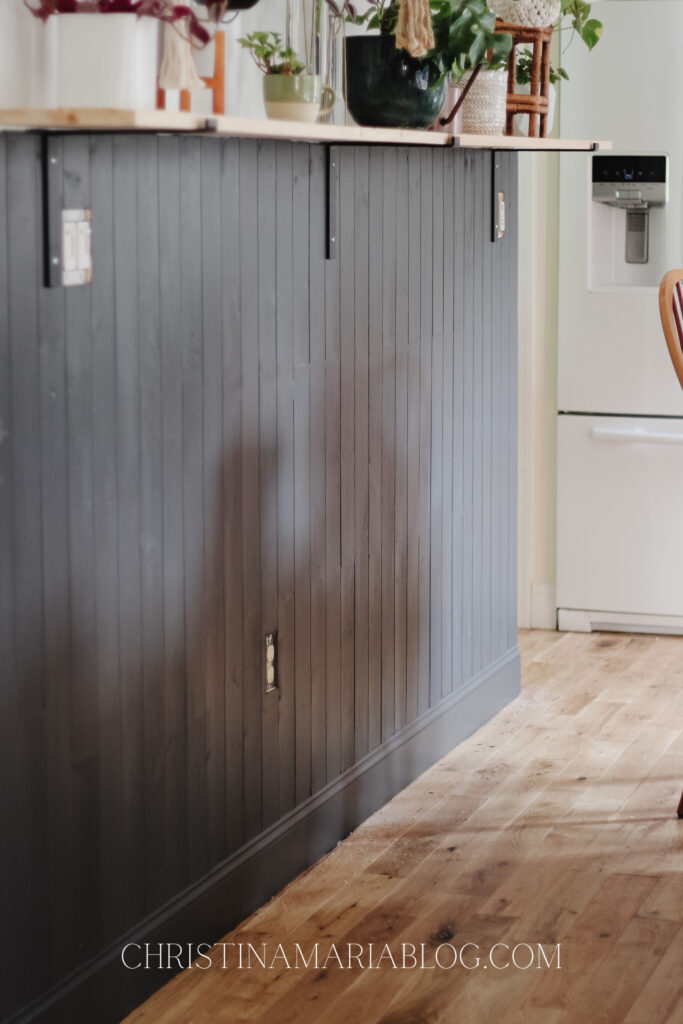
I debated whether I should paint the molding white or dark…and I am LOVING how it looks dark!
The plan is to make the whole wall dark all the way around … it’ll all be the same gray. So we’ll paint the entire baseboard on this “floating wall” dark gray to have a uniform look. I can’t wait to get started on the other side of this wall now that this one is almost done!
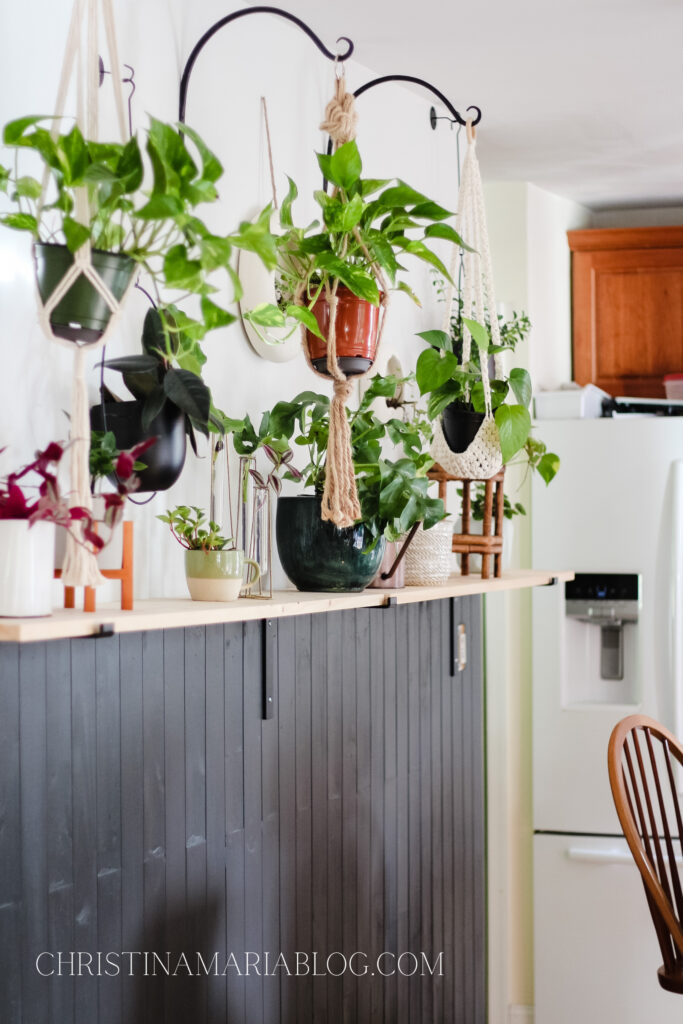
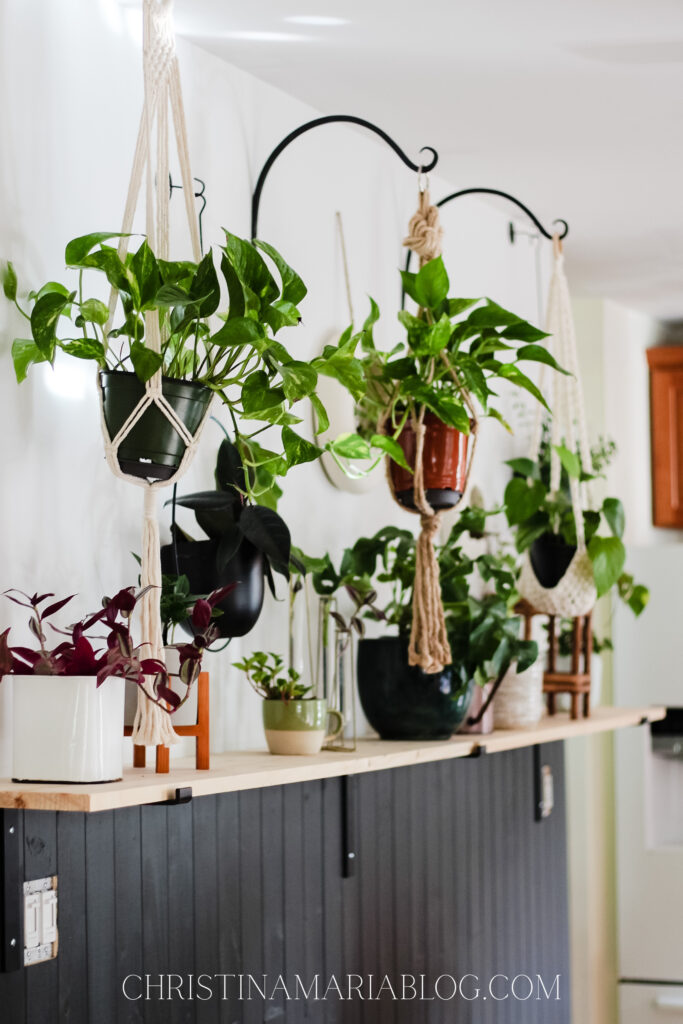
Where to buy plant hangers:
While it would be selfishly nice for me to be able to provide affiliate links for these products – I really got almost all of them at small shops or secondhand! Like this for example:
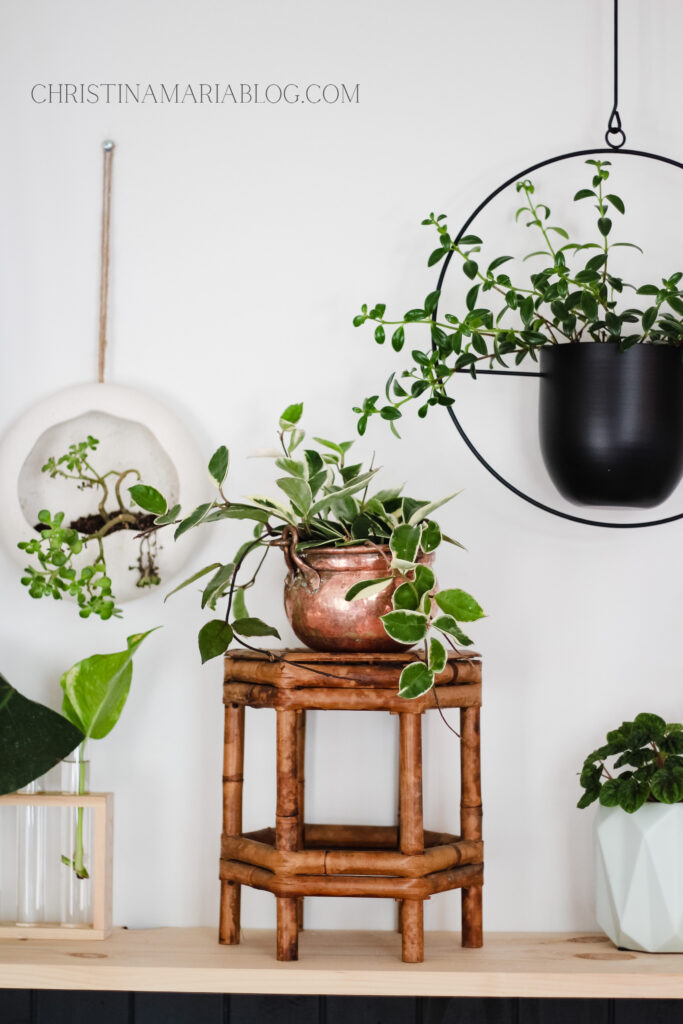
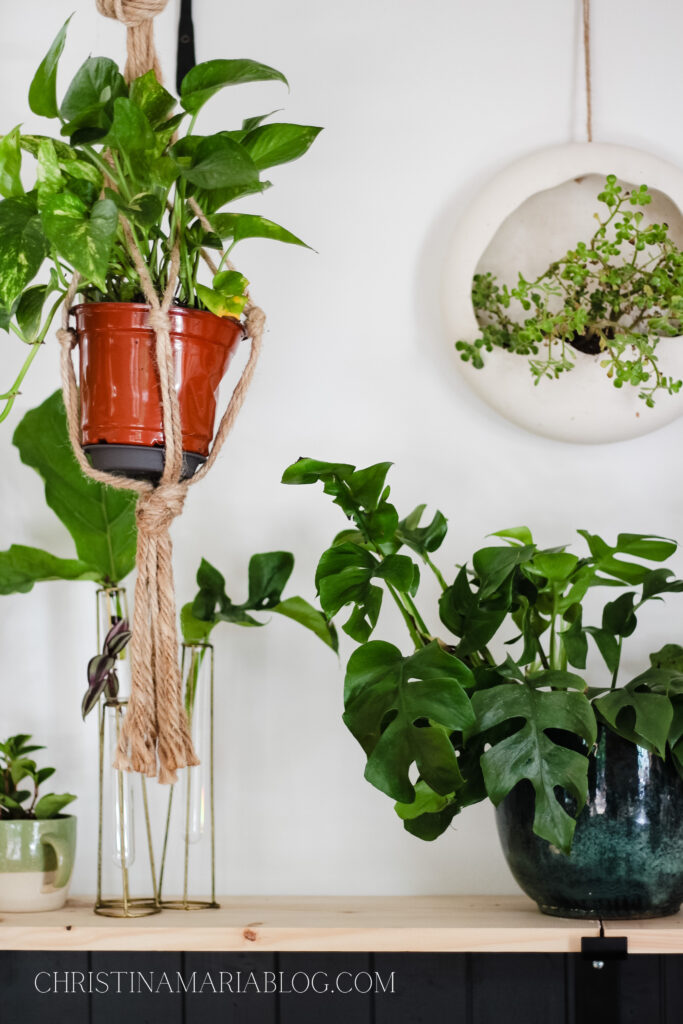
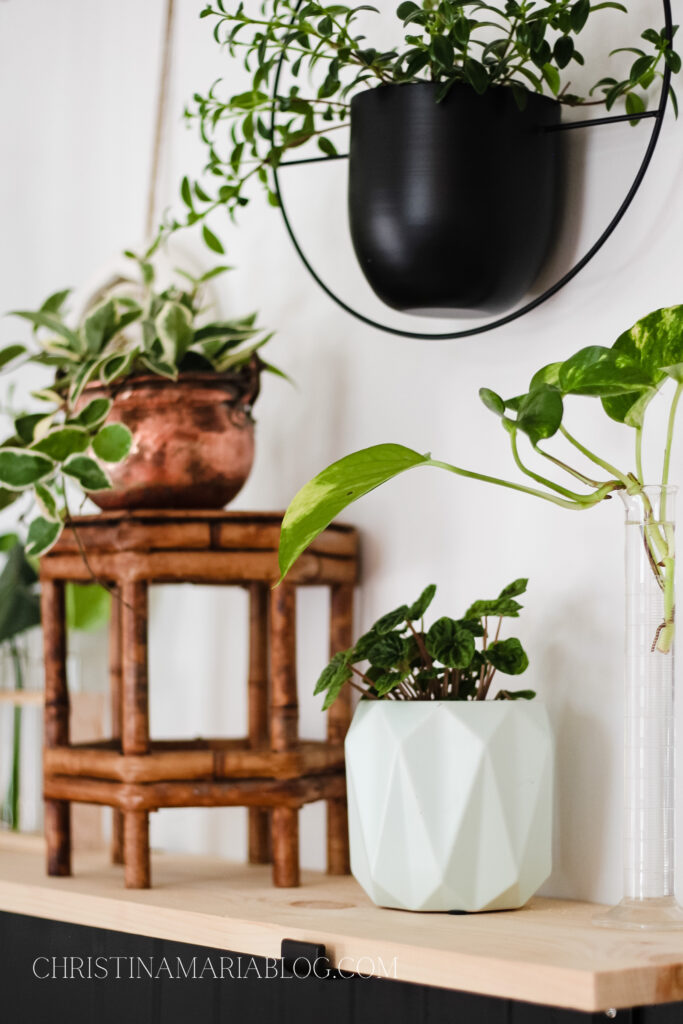
How cute, right? I got that copper pot from my Grandma (and she’d be so proud that I polished it up before putting the plant in it). I bought that little plant stand from a barn sale this past weekend (if you’re local- you have to check her out here!)They were just the perfect little companions for this indoor plant wall!
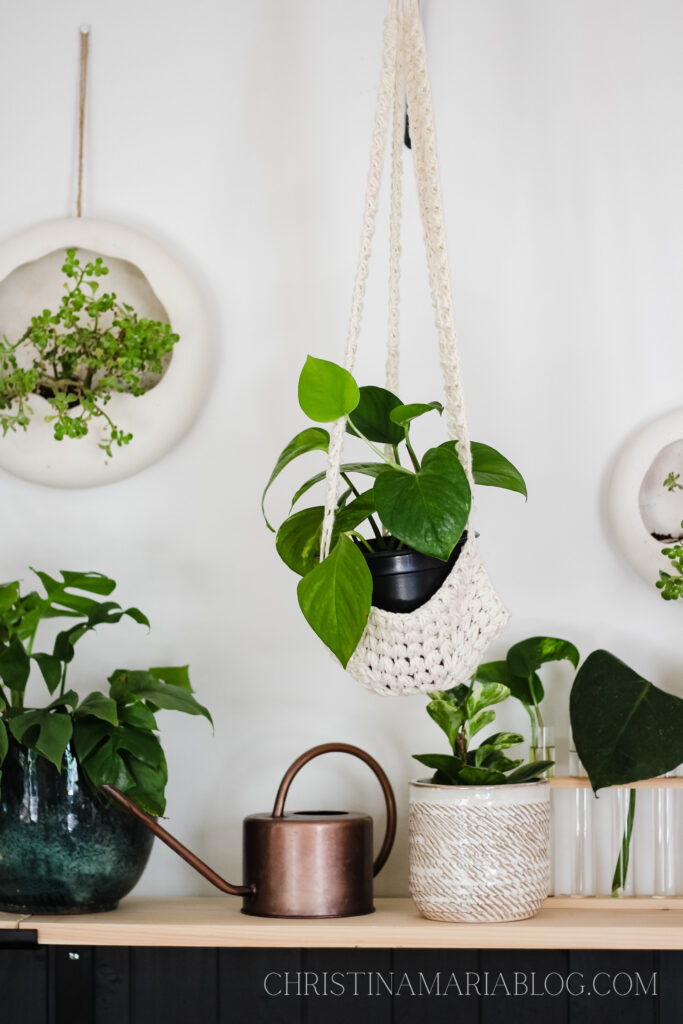
I got that sweet crocheted from my friend Lynnette (you can see her work here!). The white hanging ceramic planters are from my real-life friend and also shop owner Jaime – check out her shop here for eco friendly home goods!
And that textured white planter as well we the tall propagation tubes were from one of my new favorite shops EcoVibe. I ordered a few things from there last week and can’t wait to place another order! Seriously … check out their shop here – you will love it too!
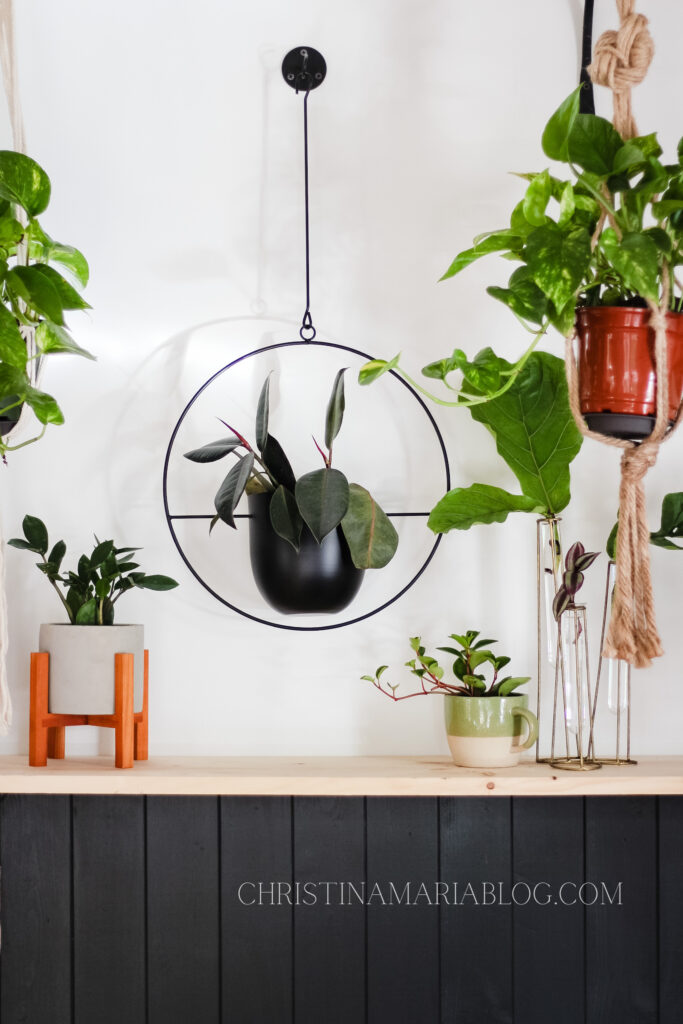
Shop the iron wall hooks here:

Shop the black planters here:

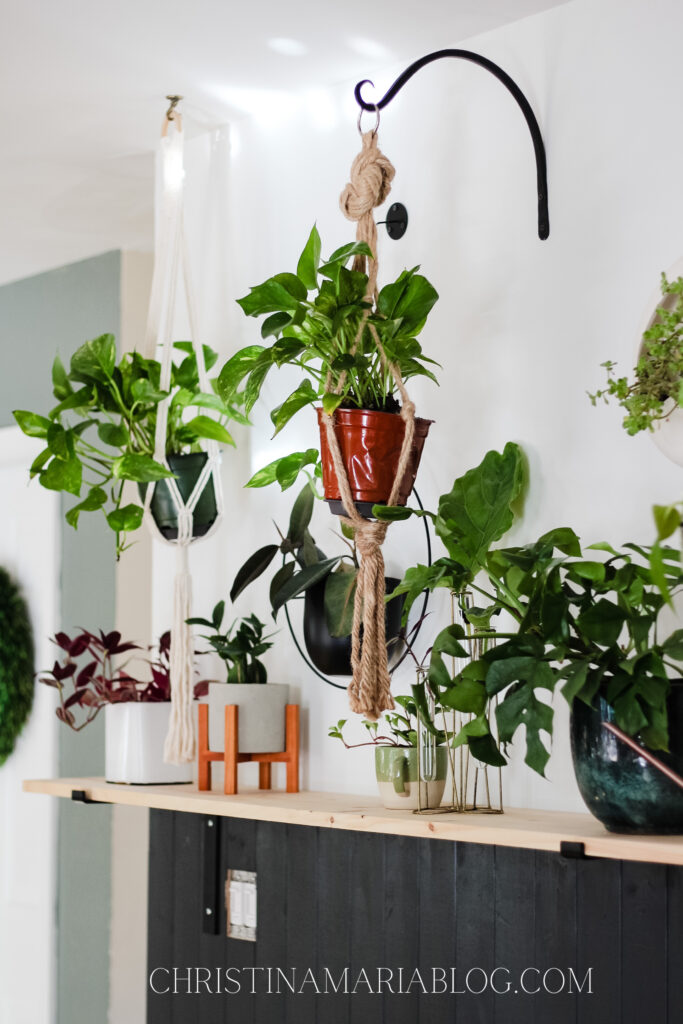
The indoor plant wall shelf:
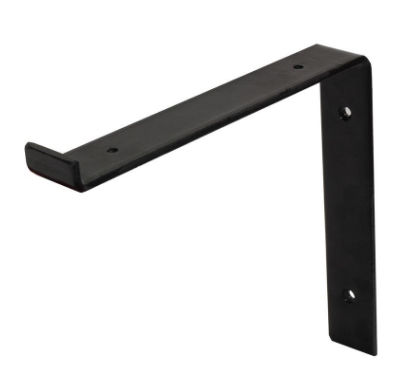
The shelf is just made of 1×10 pine boards from Lowe’s. We have the middle bracket holding the seam of the two boards, and right now, it’s just raw. i wanted to get this project out to you guys and didn’t finish that last 5% haha!
But I was going to stain it…and now I kind of love it raw wood! I’m planning on just putting a few coats of polycrylic on the board so it can stay sealed for any water that will fall on it when watering the plants.
The brackets are HEAVY DUTY. I’m so glad they are since this shelf will be full all the time!
How I’ve been learning about keeping my houseplants happy:
I’ve been on a journey to be a better plant mom for a while now, and I love that I KNOW these plants will get the right kind of light in this spot, and I know how to gauge their water needs.
Also … just wait until you see our family room! Ah haha there’s some really big plants in there I’ve been nurturing for a little while and I’m so happy they’re all thriving!
I’ve been learning a lot from Mandy – she blogs at Vintage Revivals but recently launched a “plants only Instagram” which I recommend to everyone! She’s got great advice saved in her highlights.
I also HIGHLY recommend Hilton Carter – not just following him on Instagram (which you absolutely should do) but purchasing his products.
I purchased his class that he was hosting through AirBNB as a virtual zoom course all about plant propagation. I definitely got my money’s worth out of that class and I feel more than confident to have our own little propagation station here on this wall! It’s the best way to expand my plant collection for free – or give to others!
Shop Hilton Carter’s beautiful books here (just click on the pictures to shop):


But do you bump into it?
That’s the one question I haven’t addressed yet!
So I was worried about this before we built the wall. I talked with my husband about it, and we did some observation of our traffic patterns in the kitchen before we committed to this plan. It’s hard to tell here in these pictures, but this side of the island is just not really used often. We live so much on the other side of the island, and that’s where traffic naturally flows when people are walking into the kitchen.
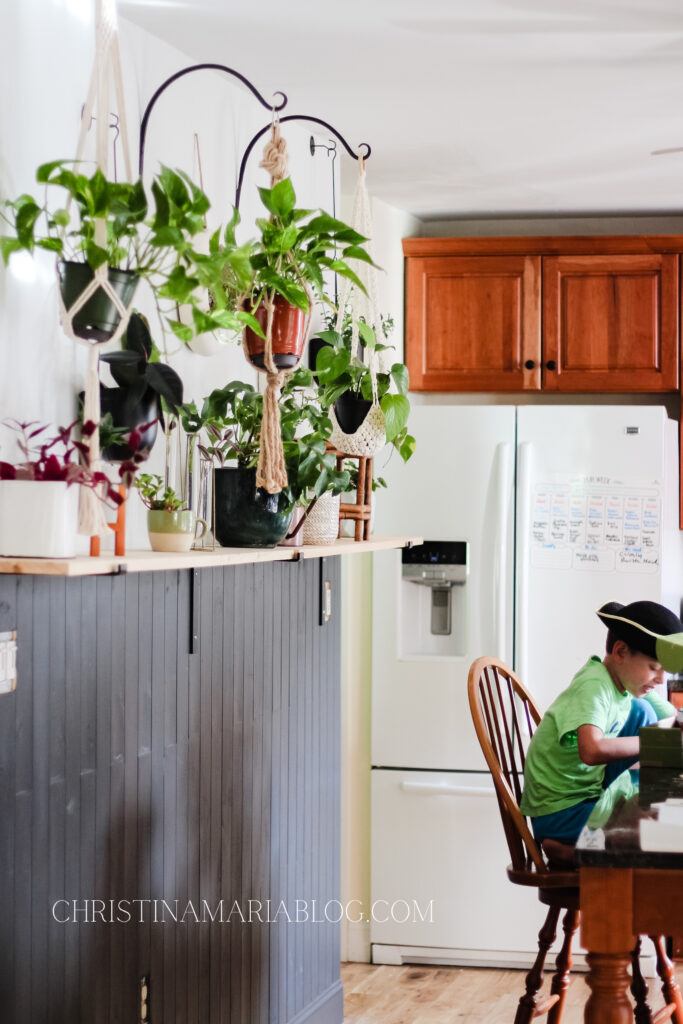
If you’re planning a shelf like this, then I’d definitely recommend studying how people actually walk near that section first before you commit to the idea to make sure it works for your family and home!
Well thanks for reading – if you have any other questions can you leave them in the comments? I’ll try to answer all of the ones I missed!
And if you liked this post, could you take a minute to share it on Pinterest? It helps me and my site so much – thank you!

Leave a Reply