Learn how to transform a basic plan wood table into a show stopping DIY medallion table – it’s easier than you think! A great budget friendly DIY project for any home. This post contains affiliate links, from which I make a small commission.
Since we’ve moved into our new place, we had to part with our old kitchen table because it was just too big, and not a necessity for only two people. So, I went to work on making over a “new” table for our new space:
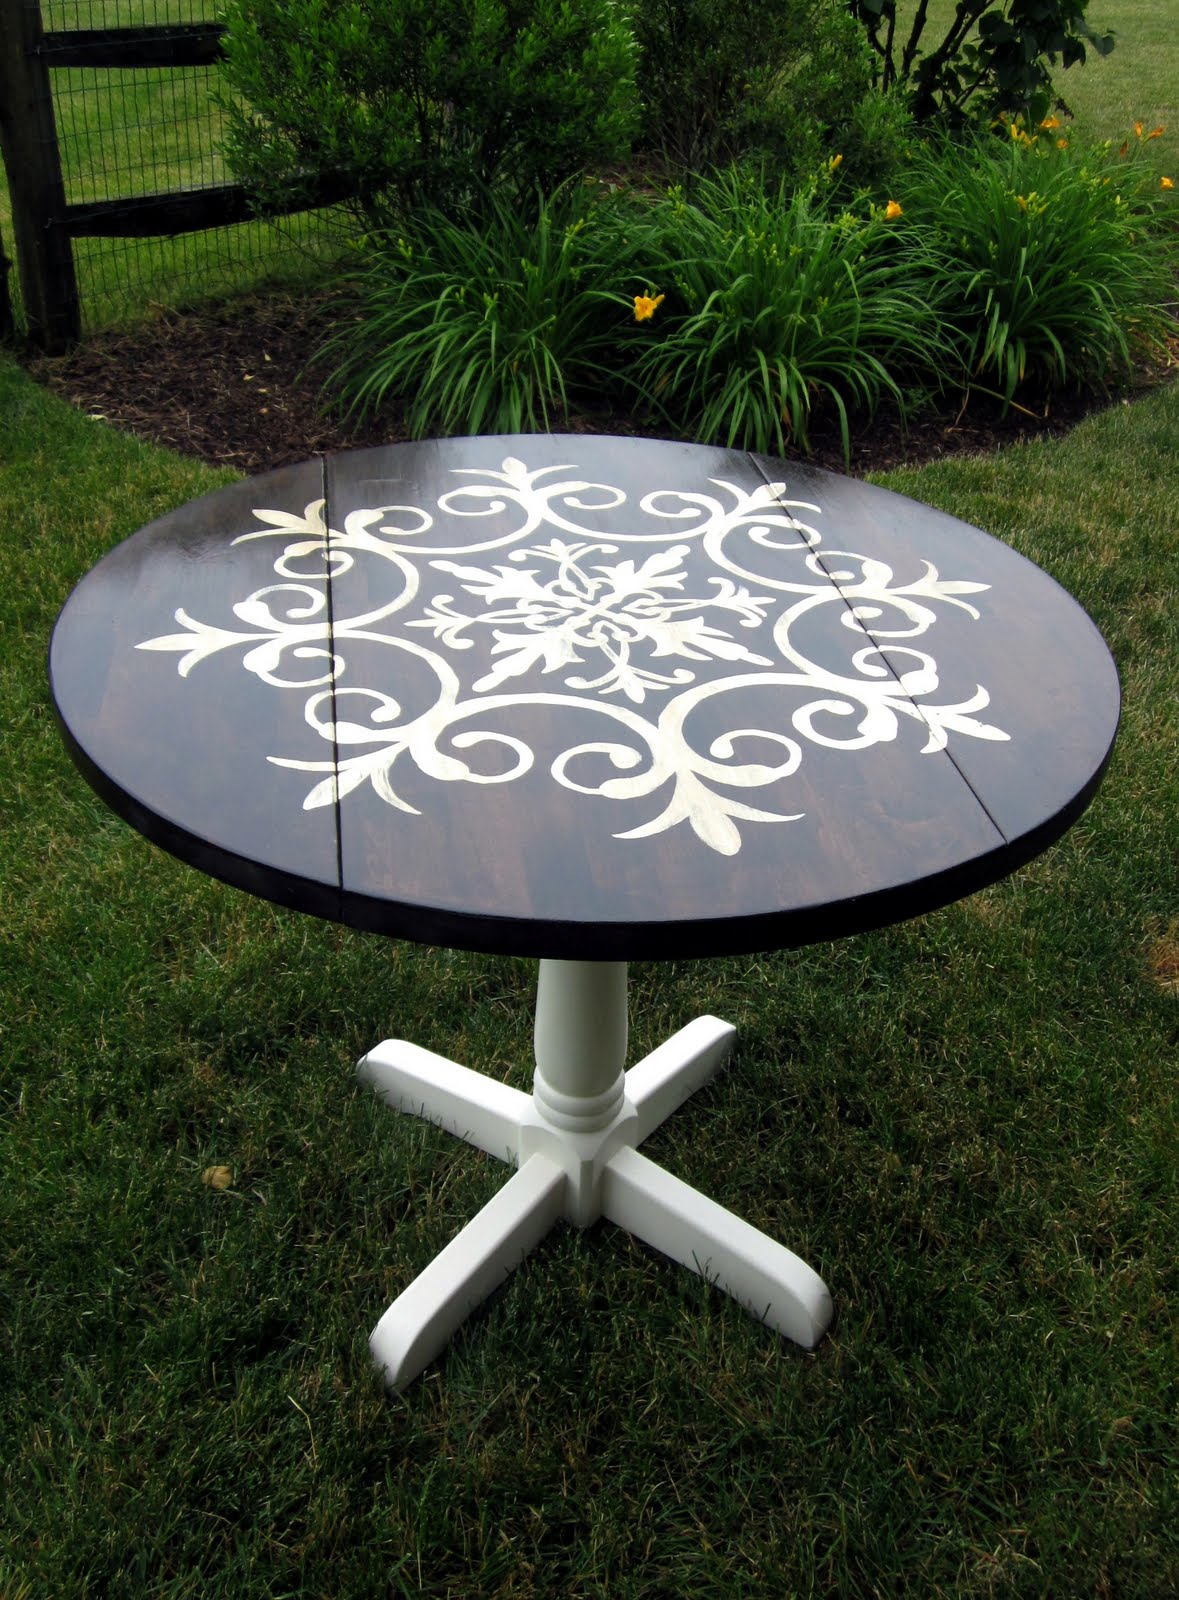
Easy DIY medallion table:
It started out as this table:
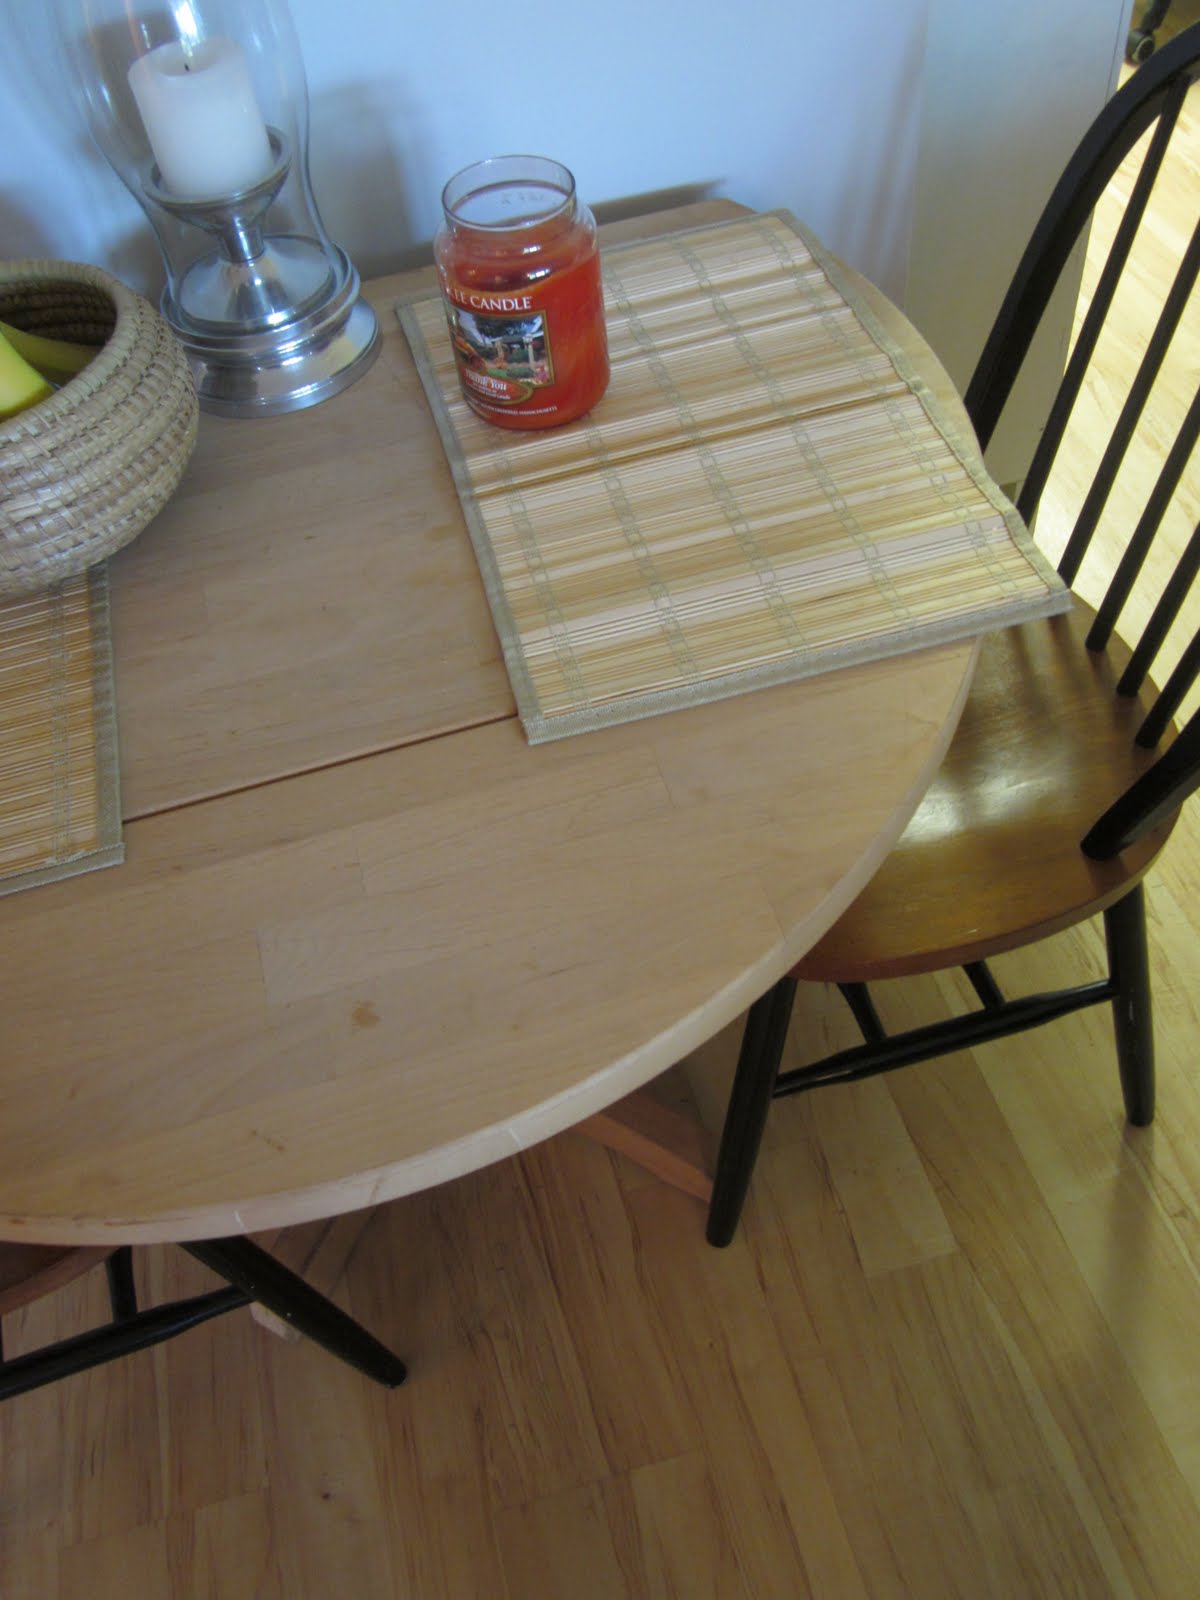
The table was my husband’s late grandmothers table…and it was completely unfinished and stained. A perfect canvas to do whatever I wanted to it!
First, I sanded off the stains with my sander I got for Christmas…worked beautifully!!

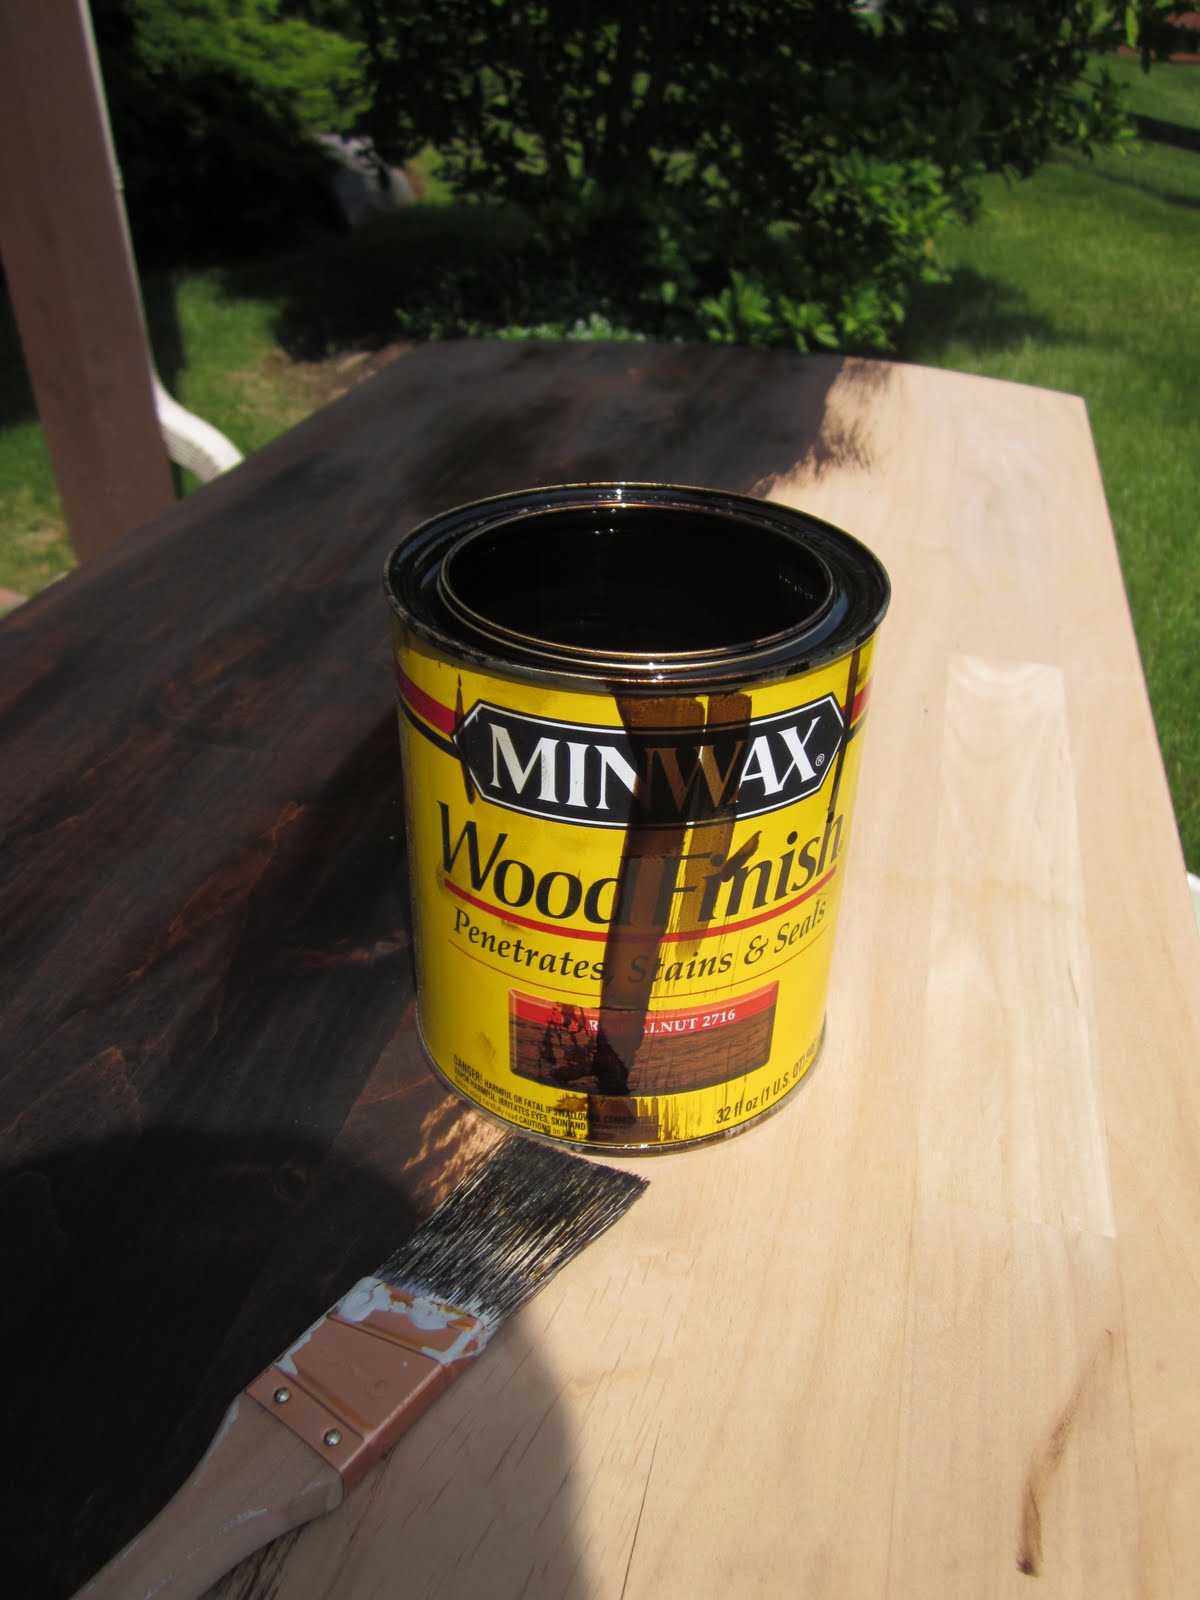
Then, I stained the table top with the same stain we had leftover from our last kitchen table makeover (this is the color we used):
I primed and painted the bottom with paint I got from ReStore for $1:
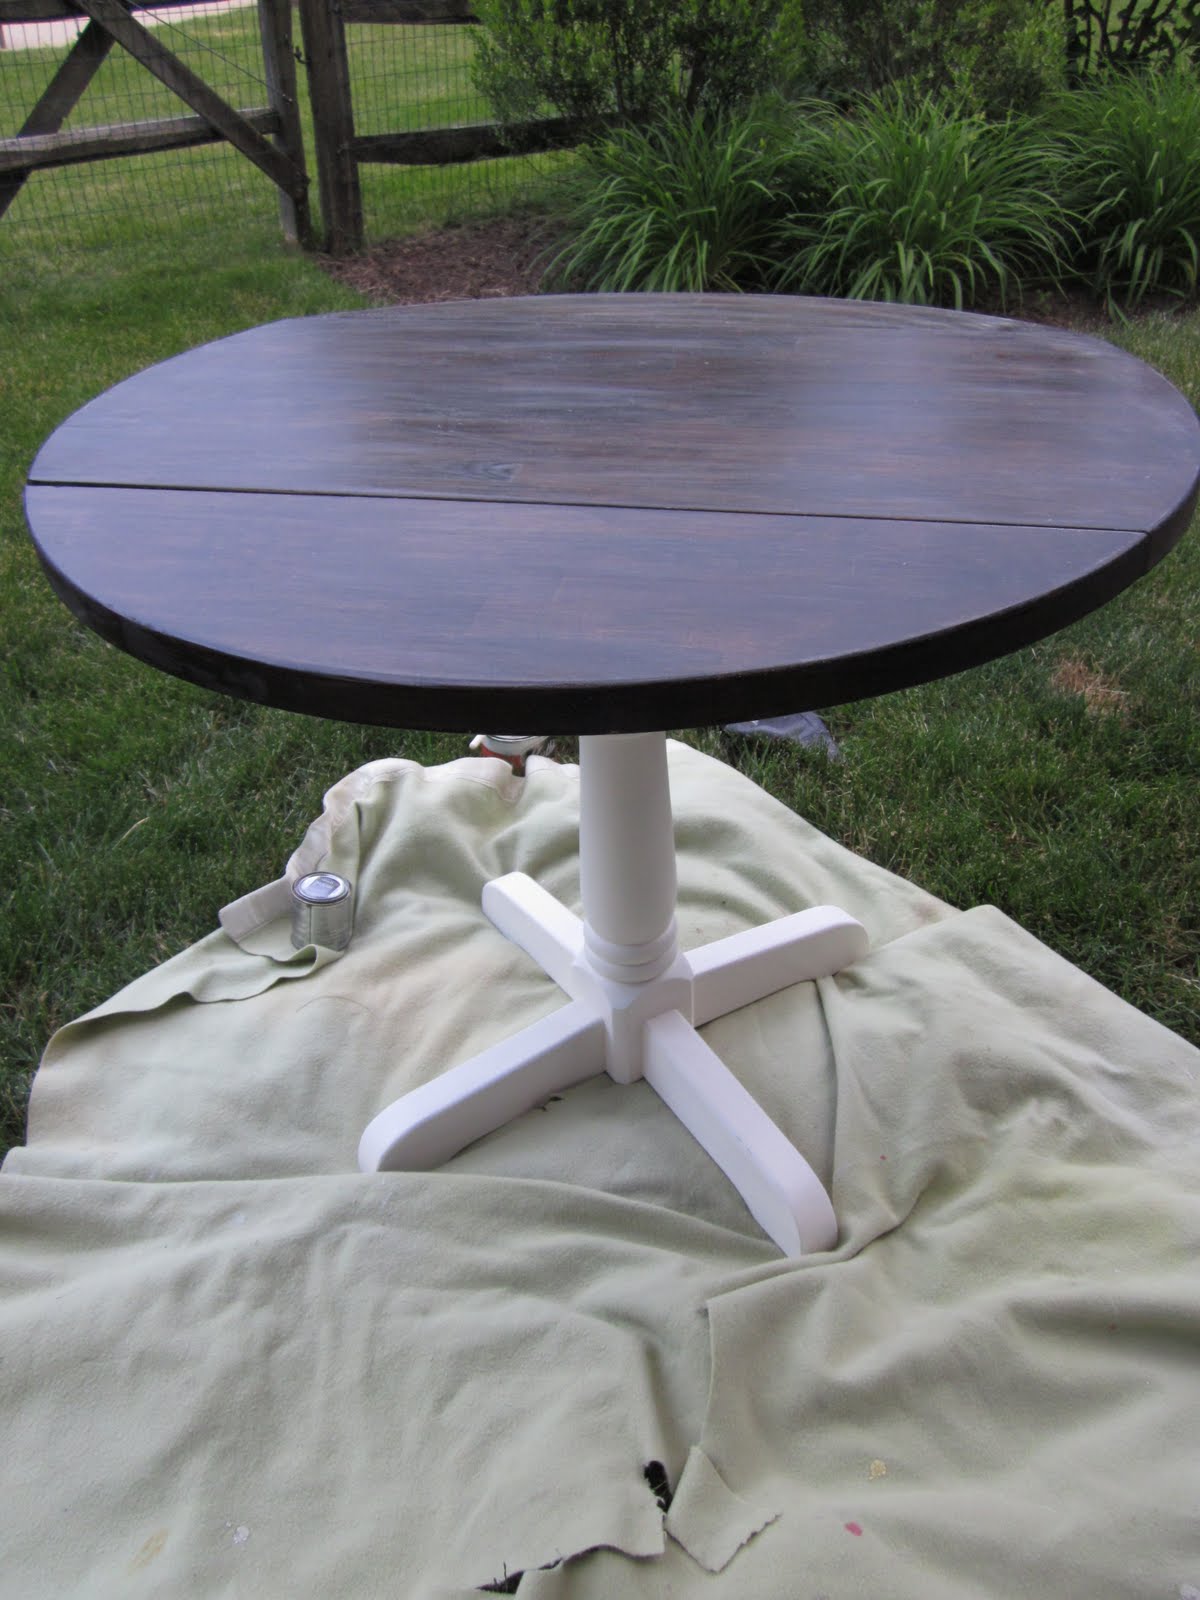

I took a step back, liked what I saw, but decided it was too boring. I had no idea what to do with it…so I let it sit for a few days.
Then – I asked my husband what he thought of a “painted medallion” on the top of the table. He told me he thought it would look … wait for it… gaudy.

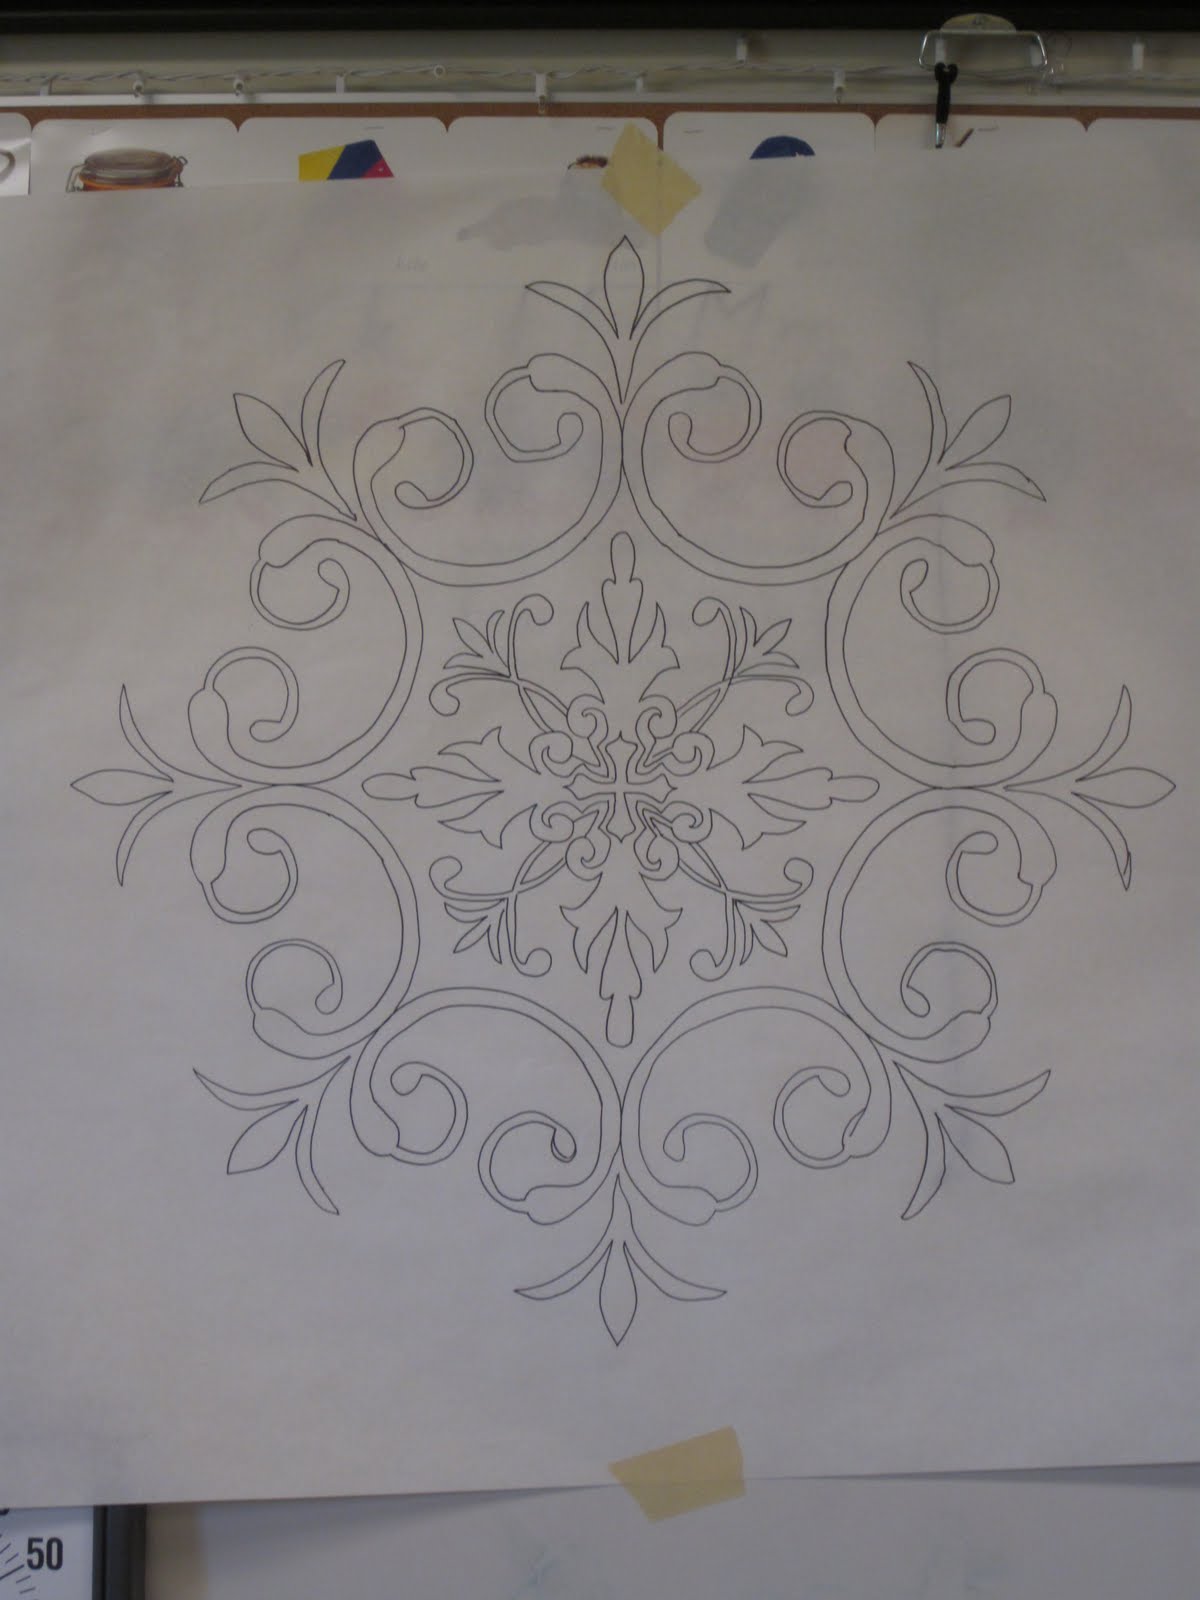
I just traced over it with Sharpie:


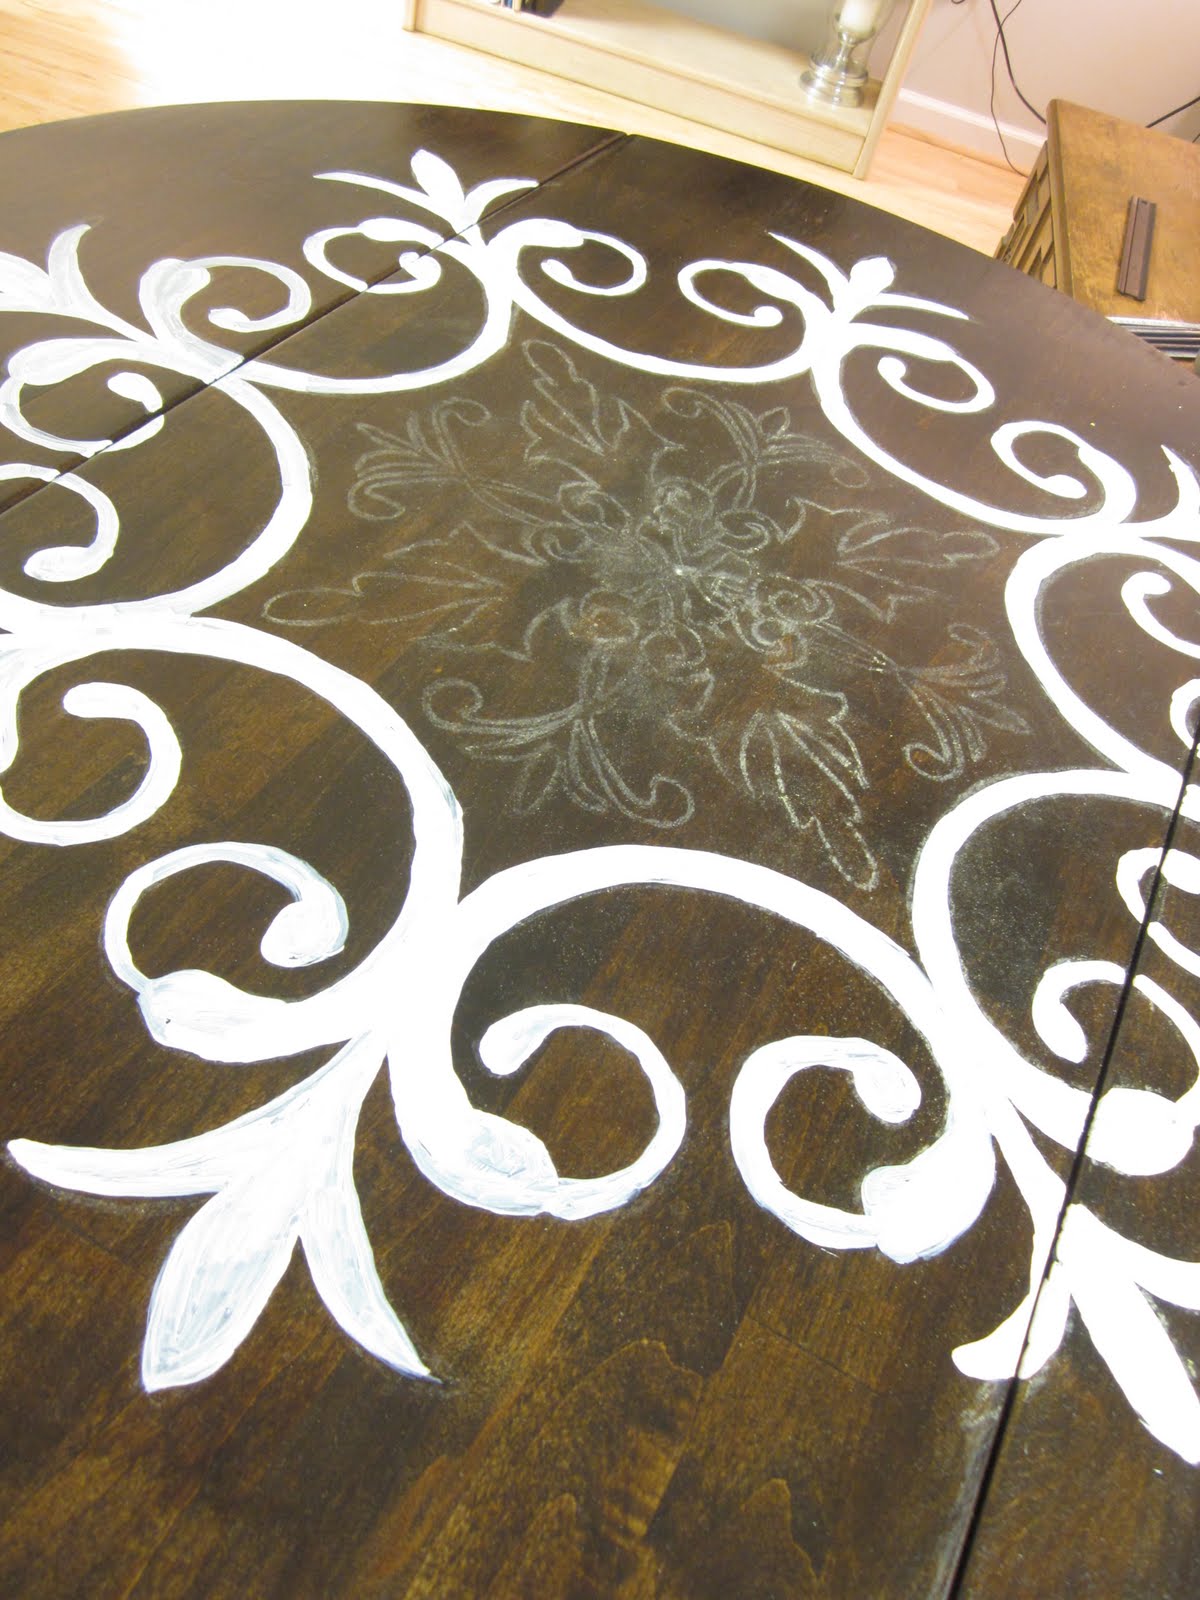
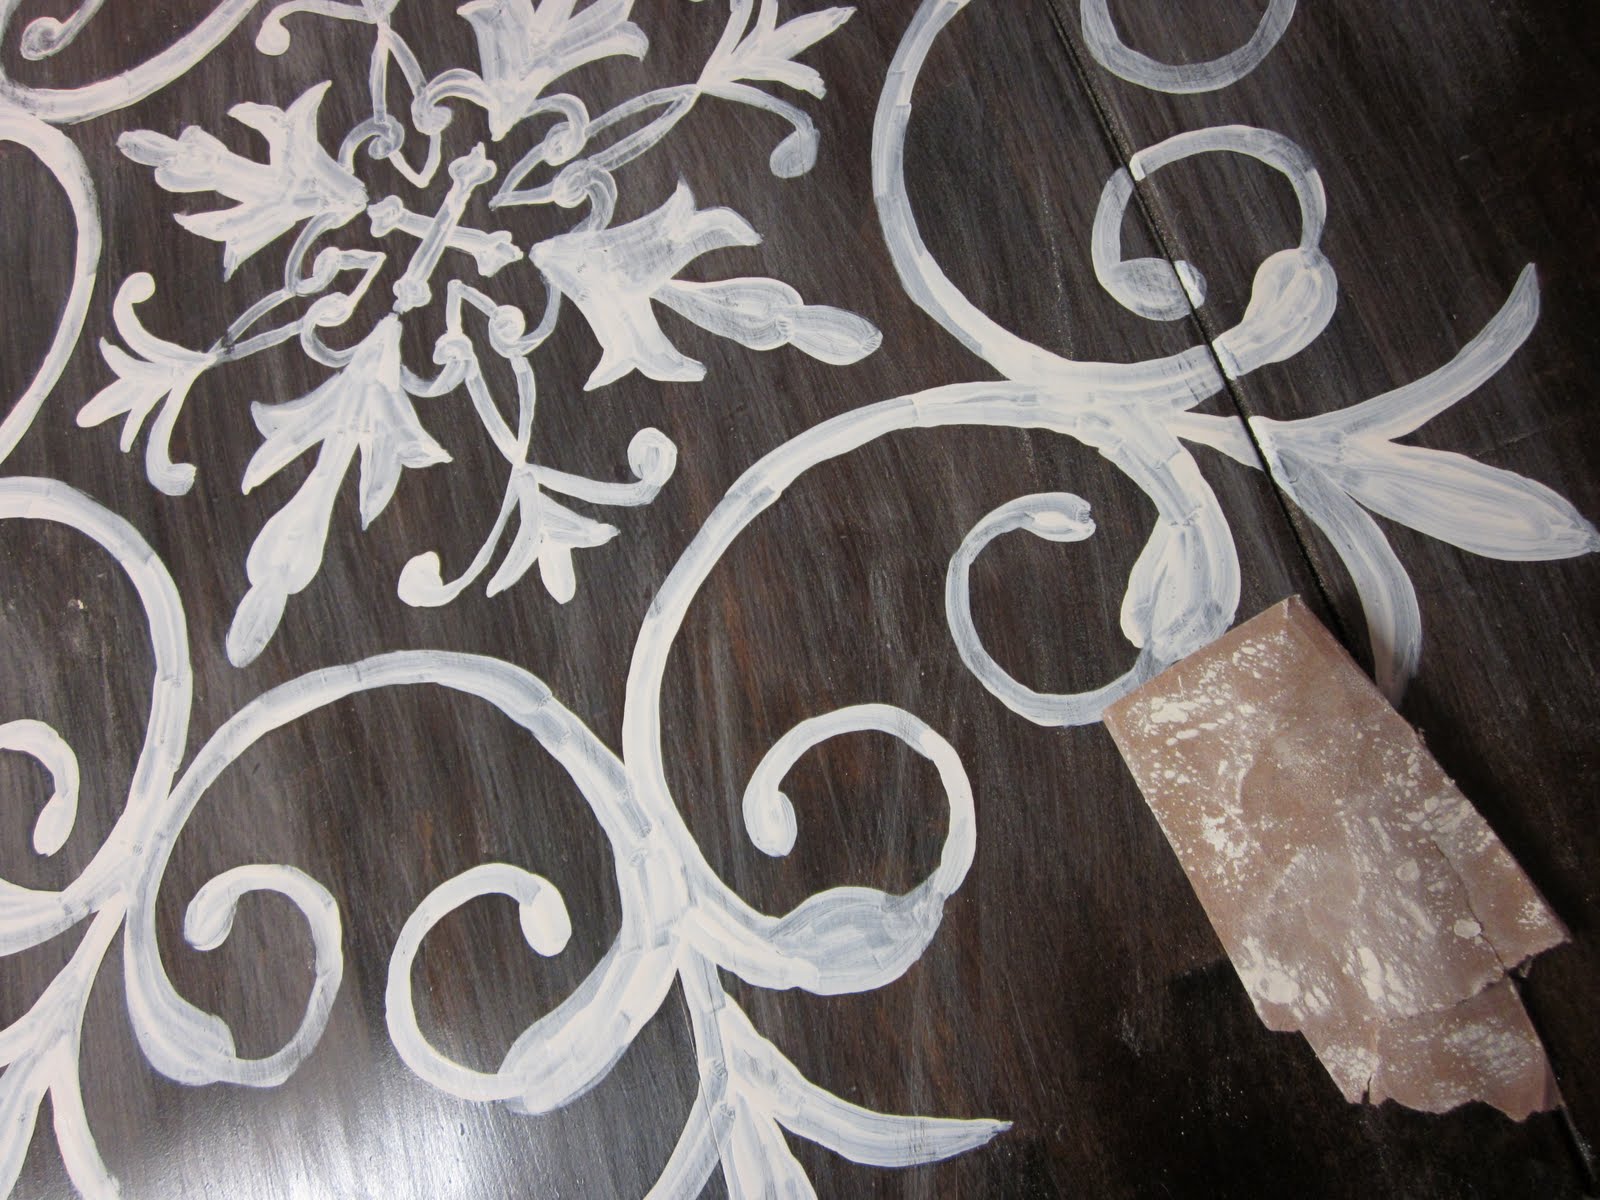
I love the chippy look afterwards:

But it was still too bright…and we all know I needed to prove a point that this wouldn’t look *gaudy*
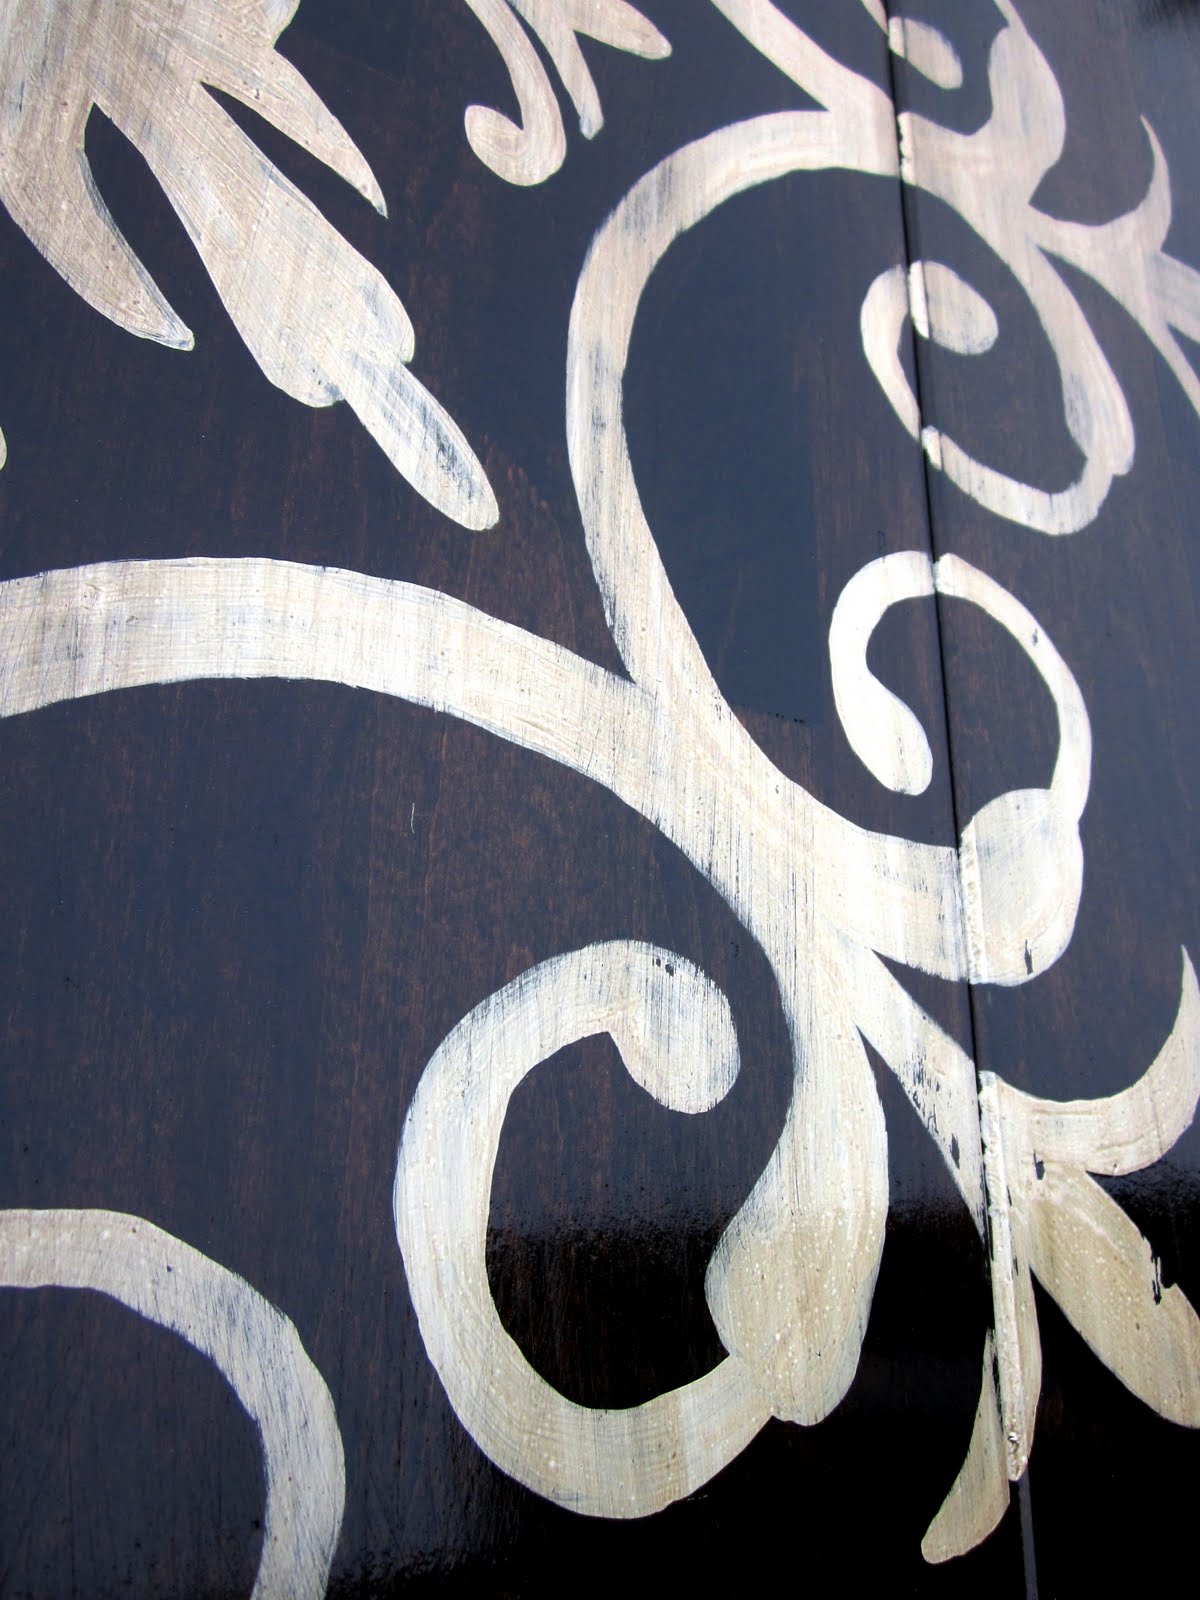
I went over it with another layer of stain:

See the difference between the two?
Finally, it was done! I put 3 coats of polyurethane on top, and took it outside for a little photo shoot! 🙂
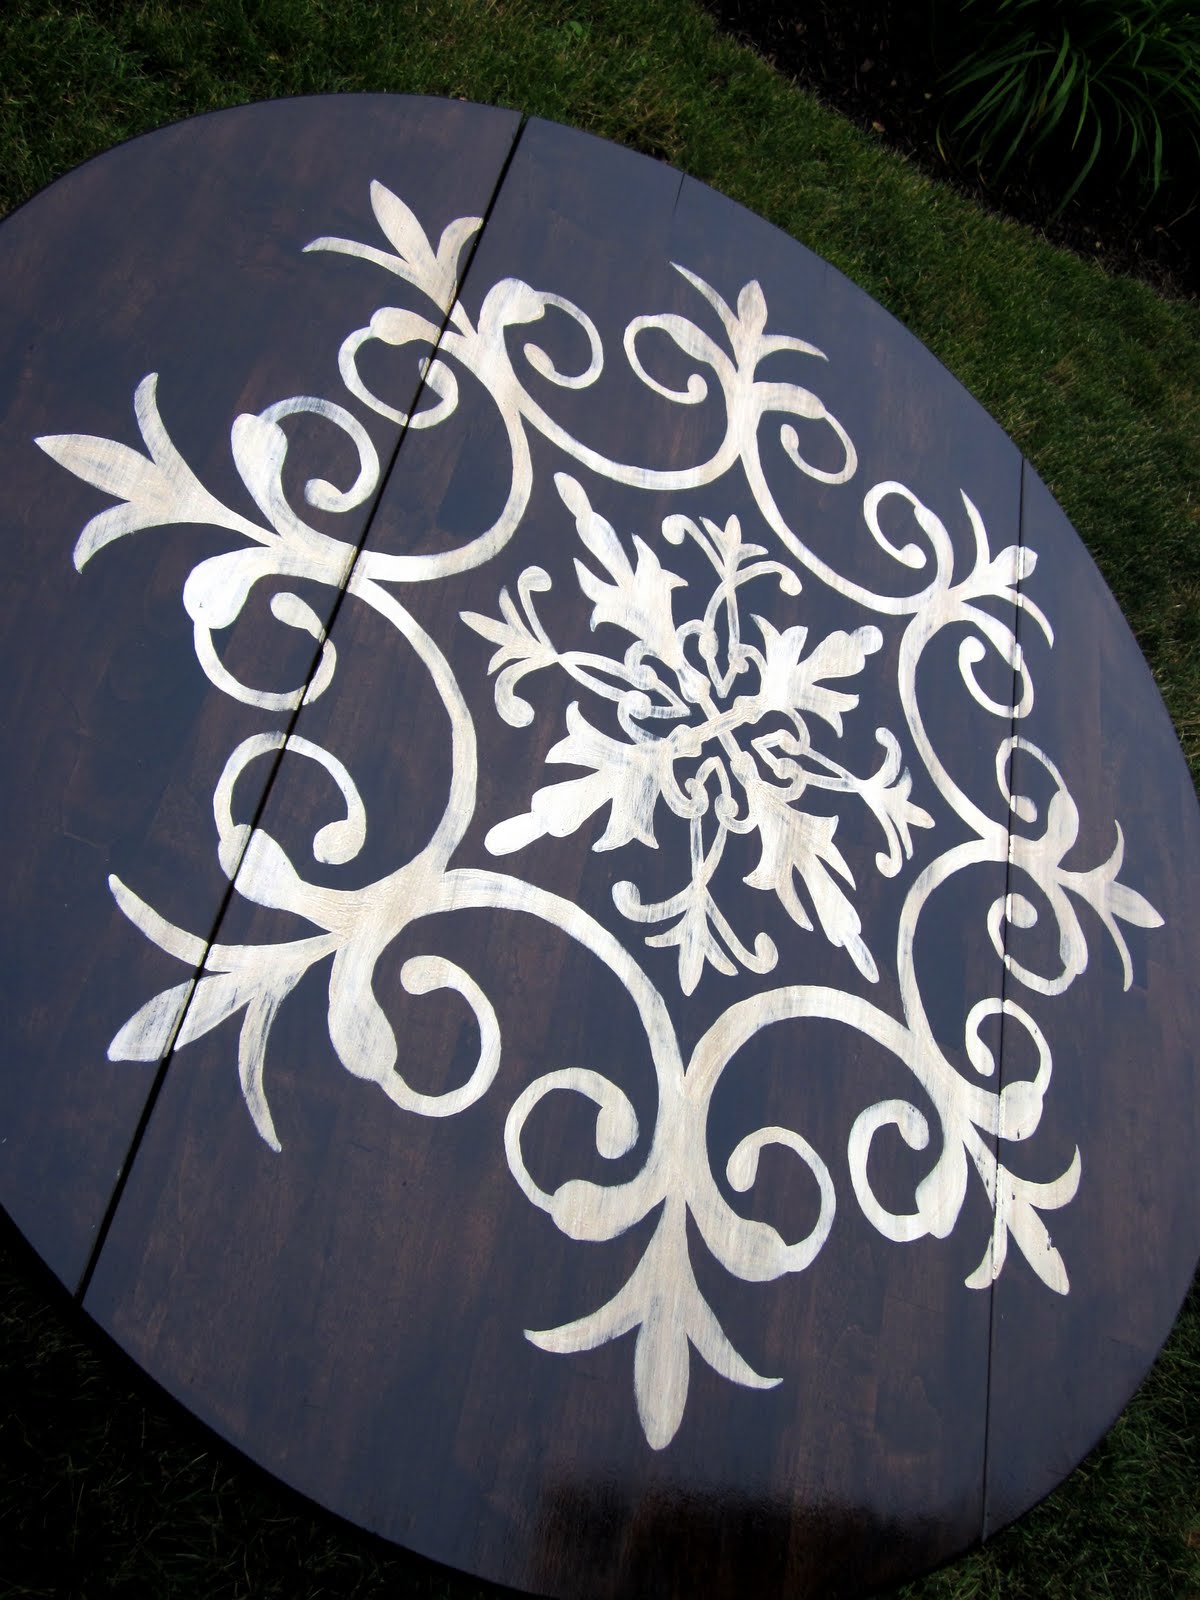

I *love* my “new” medallion table!
Do you think I achieved my goal of staying away from gaudy?!
The most wonderful part is that this project only cost me $1 for the paint! I had everything else on hand! This is exactly my kind of budget!

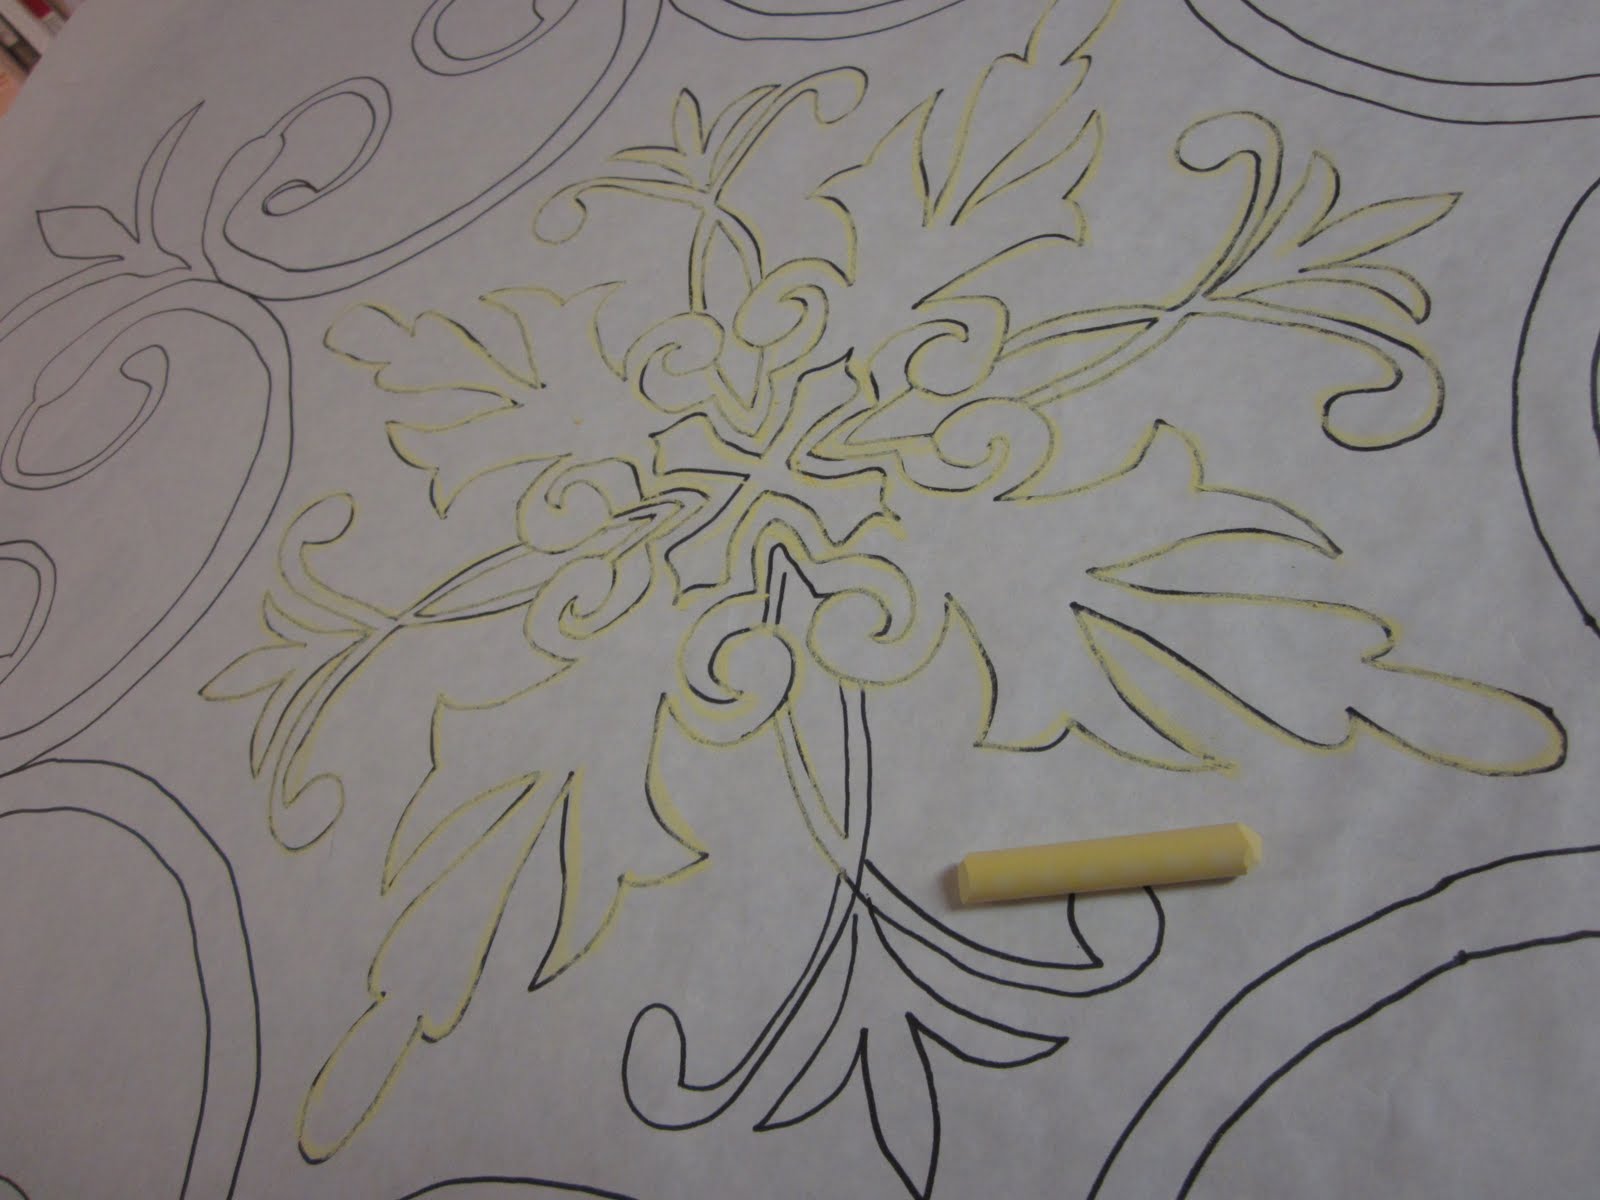
I finally figured out how to comment (on most blogs anyway). I love this table! That medallion turned on great! Good call on the chalk – I never can figure out how to get a design transferred once I've traced it on paper! It totally made that table!
I think you achieved your mission! It looks GREAT. What did you husband say? 🙂
i love the table. and it's not gaudy at all 🙂
That looks FABULOUS!!! Totally love it!
Beautiful! What a terrific idea 🙂
WOW what a cool effect! I love how it turned out!
Hannah
you are unbelievable. LOVE IT.
This is absolutely AMAZING, Christina!!! You did an awesome job! I would love for you to link this up to my Summer Lovin' Soiree at http://www.homemakerinheels.com Hope you have a wonderful weekend! 🙂
Crysta
Homemaker in Heels
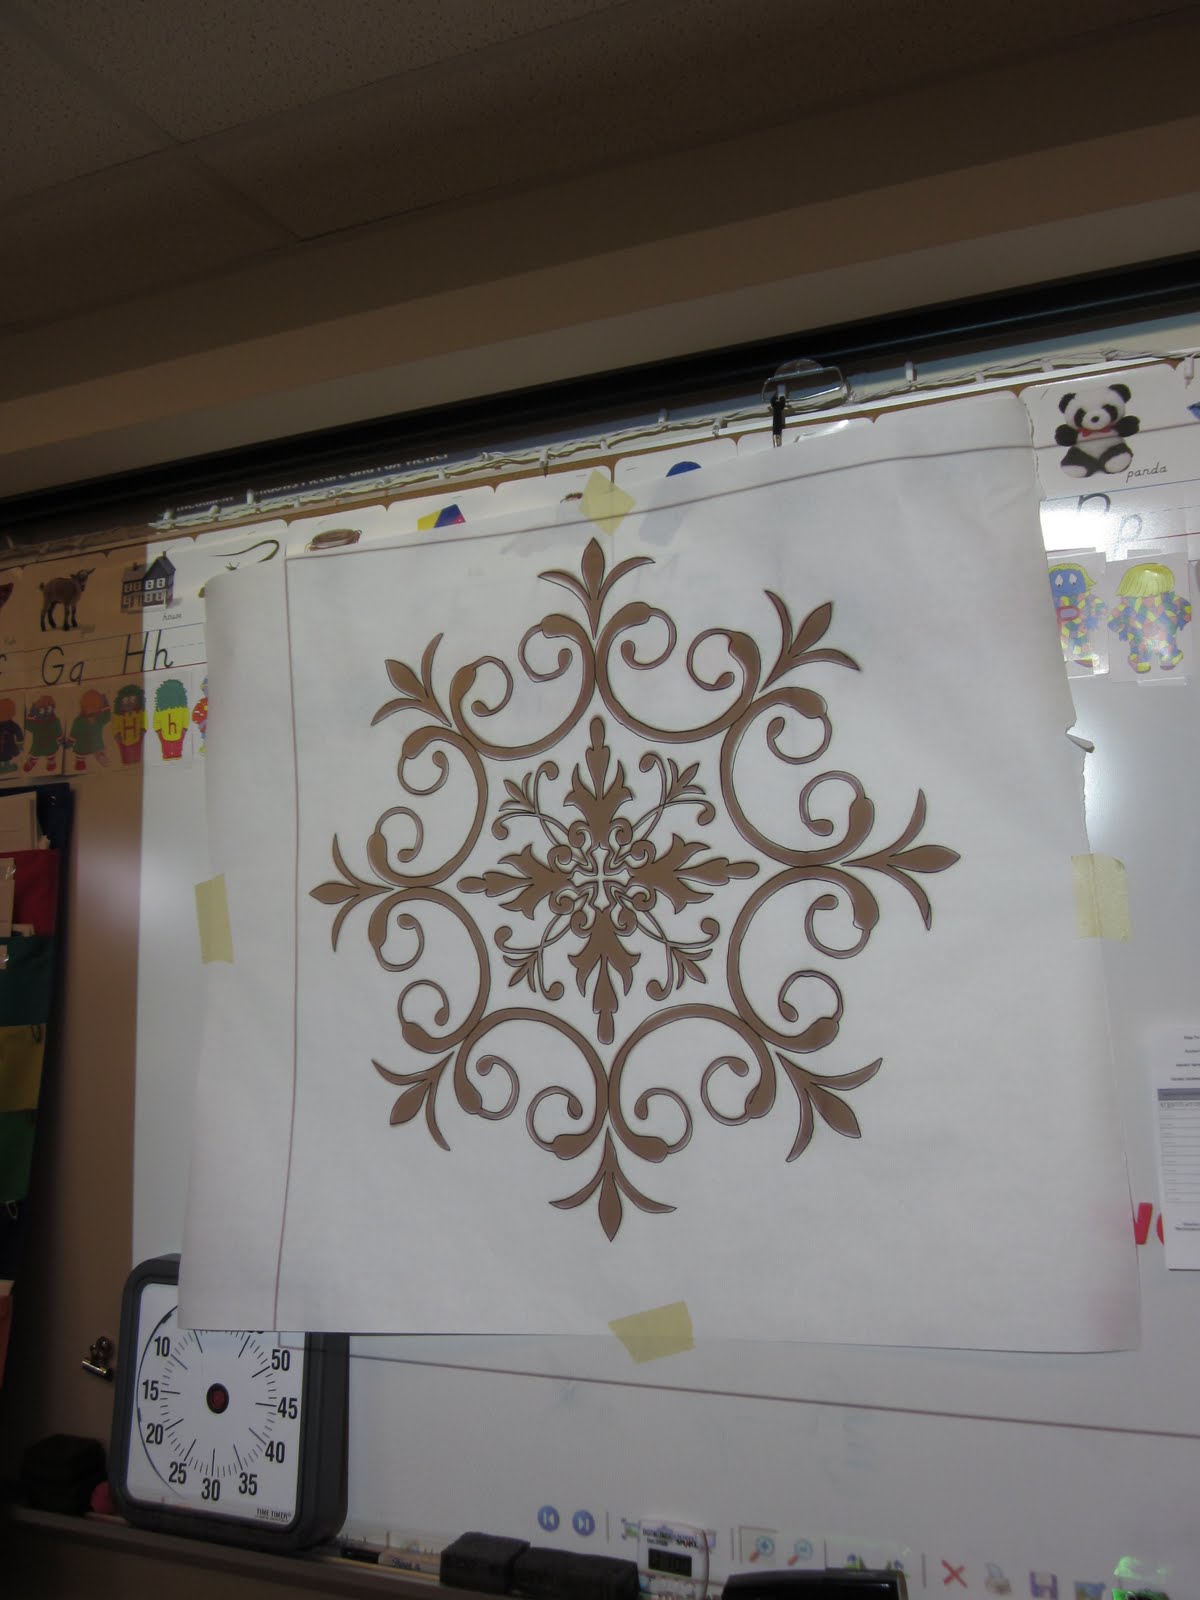
Great job…love the design and thanks for the tip on how to enlarge designs – I really never thought about it, and there is only 2 weeks of school left, so i will be staying after a few days to enlarge a few patterns i need for projects!
Not gaudy at all! You did a great job! I love it!
love it! the white base and brown look so great together!
very pretty! such a good idea with the paint! & so nice you had a classroom setup to trace it all out!
Honestly, it's perfect!! Not at all "gaudy". Gaudy goes to an old lady wearing too much makeup and jewels. This table is understated elegance! Love!
You did an amazing job on this table Christina!! It really turned out just beautiful!!
That is freaking fabulous!! I love love love it and way to show your hubs he was wrong! Gorgeous table!!
did he retracted his "gaudy" word after the finished project? hope he does coz it looks elegant:)
I think that your table is lovely! Thanks for sharing! I hope your husband eats his words every time you sit down to eat at the table! 😉
Great job and not gaudy at all. I sent this to my sister. She has a old round table that we have been trying to figure out how to "change" it to fit her new house. This works great.
Looks wonderful! All that hard work paid off. Don't listed to your hubby, it is beautiful!
Absolutely FANTASTIC! Love how you came up with a way to transfer the design!
Christina, you are truly creative! I love the vision and confidence you have! Truly impressive and inspiring! Have you ever recovered chairs/a couch?
– Sarah Welch
Very pretty table! Well worth the hard work!
That is just gorgeous!!!
Over from Amaze Me Monday. I love your table! You did a beautiful job.
Not the least bit gaudy. Looks very cute.
It looks GREAT!!!! You did a wonderful job. 🙂
Thanks so much for joining my Weekend Bloggy Reading party (and for linking back-I appreciate that!). Hope you'll stop by Serenity Now again soon. 🙂
Oh Christina, what do husbands know anyway….they have no vision! I super super love the table, it really is awesome!
It's amazing! You did a great job. I've learned not to ask the hubs about what he thinks about a project. He has no vision! 🙂 I just get it done and then he (usually) loves it! FYI, new follower from Polly want a crafter linky party.
aMAZing! love this, especially the two tone and the design!
Love it!!!! You did a superb job. I was wondering if chalk would work. Glad to see it does! Thanks for sharing. I'm your newest follower. Hope you can visit me sometimes soon.
Love this table. Pinned it!
Gorgeous!!!
Perfect. Gaudy was the last word from my mind when I saw this!
I would love to feature you on my site, but I can't find an email to contact you! HELP!
This table is beautiful, thanks for the inspiration.
Just gorgeous!!! What a cute table! Great job…that takes ALOT of patience 🙂
Lina
This is phenomenal! Like, wow, I would love to have this in my sun room, it would be lovely! Amazing work, and I love that it cost you a buck! Jen @ http://www.icantstopcrafting.blogspot.com
this is flippin awesome! I love it! My husband just rolls his eyes when it comes to some of my projects. I consider that to be the same thing as saying Gaudy..they don't know what they are talking about. Just put it on a blog, then you will know how awesome it truly is. Fabulous! You are far more ambitious than I. Love it!!
Super Cute blog!! 🙂 I am your newest follower! I will definitely be keeping an eye on your blog to learn new things!! If you would like to take a look at my blog that would be wonderful and follow me back! For-The-Luv-Of.blogspot.com Look out for some giveaways also like mineral make-up. I am new to this but excited to share ideas on yummy food!
Thanks,
Brooke
Very pretty! What a great idea to use chalk to transfer the image.
Your stencil job is genius:) I think the table is great and so is your blog!
I'm a new follower:)
So very amazing! I have an ugly old oak table that makes me cringe whenever I set it for guests. I can't wait to get painting!
Looks great! You should submit it to Better After at http://www.betterafter.blogspot.com/
Ok, I have to know…what did hubs say? I say it's PERFECT! A stencil is a fantastic idea! I have to try it!
I'm impressed! It looks amazing!!
Absolutely beautiful! It sounds like a lot of steps, but it looks like it was well worth it! I shared your blog and the link to this post on my Friday Favorites I posted today. Thank you for sharing such a beautiful project–the stencil on the top of the table is breathtaking! Have a great weekend!
One word: GORGEOUS! Okay, two: Unique!
Hopping over from the Shabby Nest Party and now a new follower
Oh my goodness, I love this table, not gaudy at all. On a side note I love the sweater:)
Very nice! I love the tip on using chalk to transfer on to a dark surface 😀 I will be featuring you on this weeks Amaze Me Monday blog party 😀
I love this project Christina! The 2 tone and the design is just perfect! I'll be featuring your table makeover at this week's Terrific Under Ten Tuesday!
I love this look! I swear, if I had regular access to a projector, my house would have medallions and stuff like this all. over. the place. 😉 You did a great job and the table looks so custom and fantastic!
Wow that looks amazing! Your husband was soooo wrong.
http://shabbytochicqueencreek.blogspot.com/
Lovely!
This table looks fabulous-love the medallion and it's not "gaudy"!!lol!!
How pretty is that?! Definitely not gaudy. My husband almost always gives me the stink eye when I propose “different” projects and then always ends up liking them. Those guys just can’t picture it like we can. 😉
What size did you end up making the stencil.