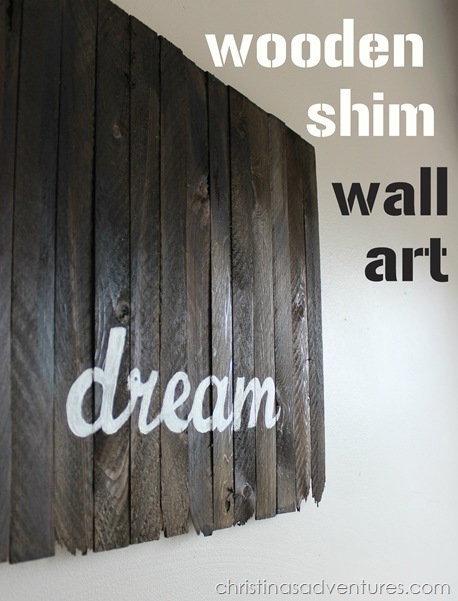
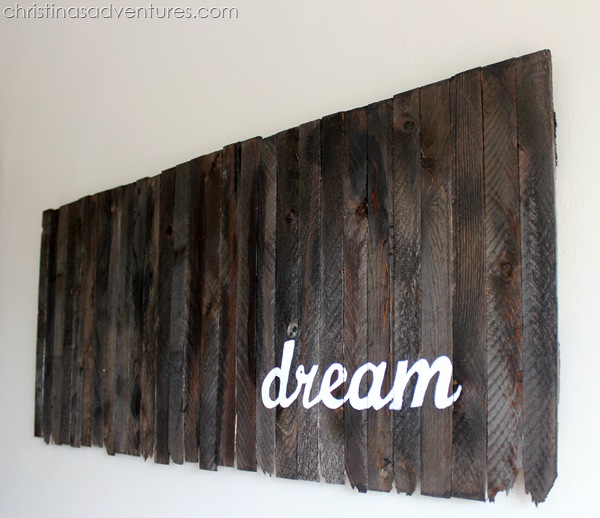
We are so close to finishing up the nursery! I am so excited to finish and show you all of the pictures! I want to share one of my DIY pieces in the space, which is this wooden shim wall art:
I painted this sign without a stencil – read further for a full tutorial for how to paint a wood sign!
This was a super thrifty project, and really didn’t take too much time. I love how it makes a big impact, but cost me less than $10!
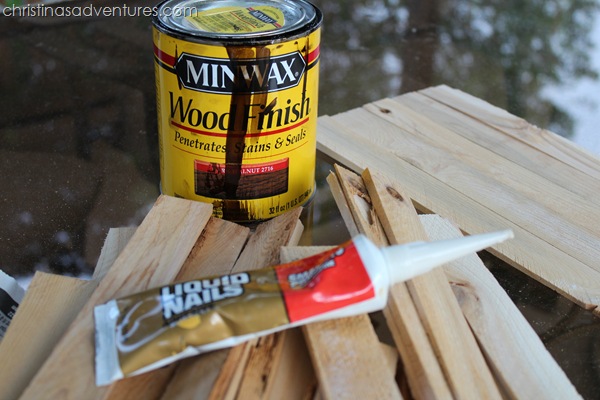
I gathered my materials- wooden shims, wood stain, and liquid nails (affiliate links):
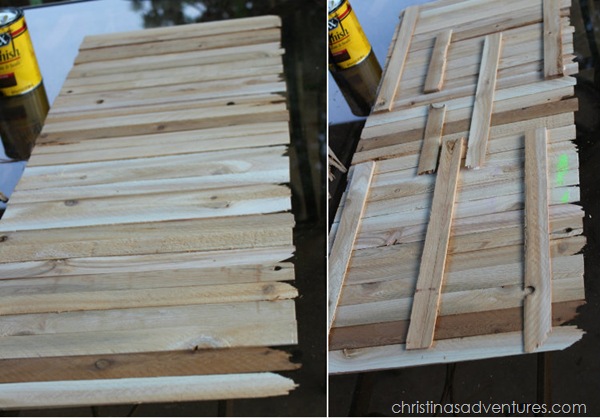
I lined up the shims until I found an arrangement/length I liked (mine ended up being 3 feet long). Then I turned them all over, and used the liquid nails to secure all of the shims together.
Important note: once these dried, my husband didn’t think it was as secure as he’d like it to be, so he added two very thin pieces of wood that ran along the whole length of the piece. This made it a lot sturdier!
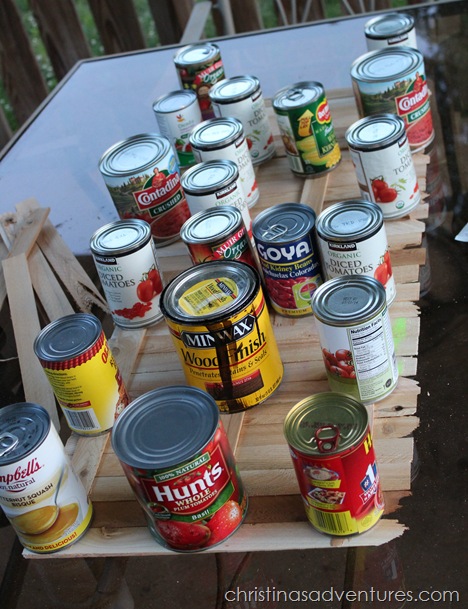
I then used cans to “clamp” the pieces together. Yes, my neighbors are convinced I’m crazy. I guess the picture of an 8.5 month pregnant girl carrying out armfuls of cans outside can look a little silly.
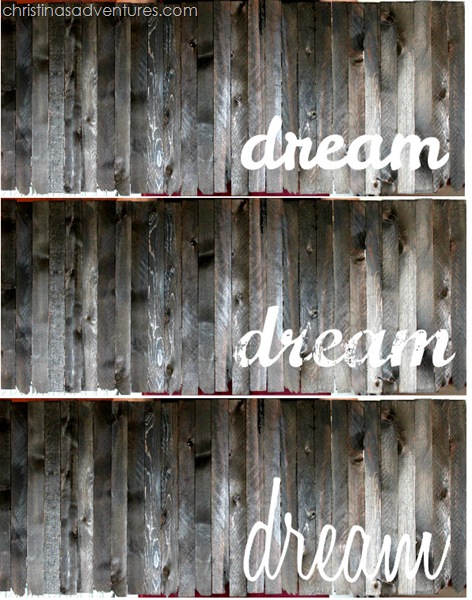
I stained the wood once I had let the liquid nails dry overnight. Then I got a fun idea – since I wasn’t sure what font I wanted to use, I took a picture of the stained wood, and edited the picture using 3 different kinds of fonts using free editing programs online (iPiccy and Picmonkey). I had my husband make the final decision – he chose #2:
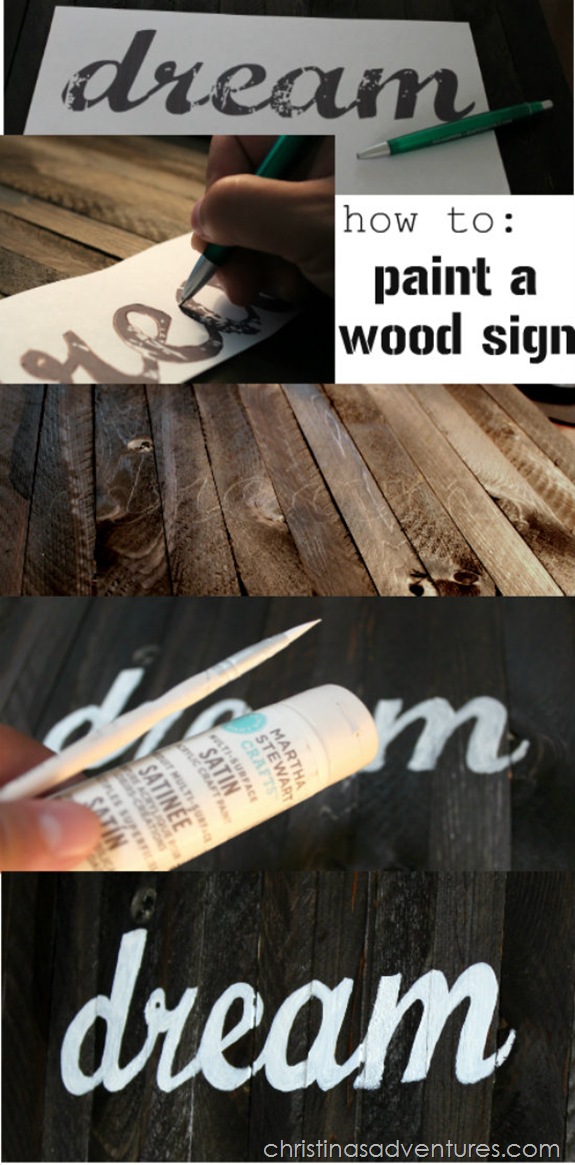
As promised – here’s how I painted the wood sign:
-
Print out the word/letters you want to use (I just did this in a word document)
-
Trace over the word (using a good amount of pressure) with a pen.
-
This will leave indentations on the outside of the letters.
-
Use these indentations as your guide – use a fine-tipped paintbrush and acrylic paint
-
Apply a second layer if necessary – and you’re done!
Really really simple! Since the wooden shims are so thin, we were able to just hang this with command strips (affiliate link)
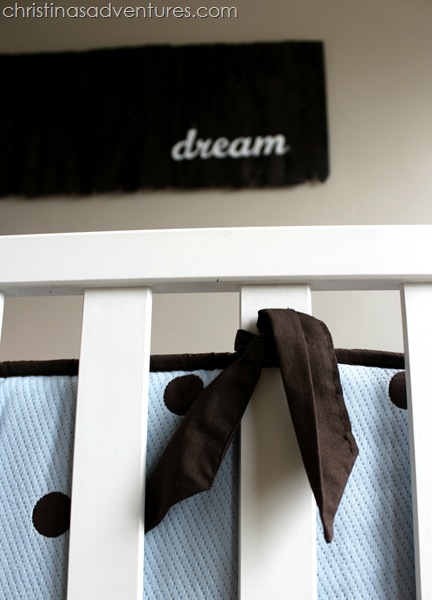
And a sneak peek at where this is hung up in the nursery (seriously can’t wait to share more pictures!!):
Like this post? You’ll also like:
Have you ever crafted with wooden shims? Are you going to try to paint words on wood using this tutorial?


Oh how cute! So excited to see more photos! 🙂
This is really pretty! I love that it is such a nice focal point in the room, but it is still simple:)
I painted a wooden sign using the same method! Great minds think alike. Yours turned out beautifully! (Here’s mine if you want to take a look: http://www.mayricherfullerbe.com/2013/05/update-hand-painted-sign-installed.html)
– Chaney (coming over from Serenity Now)
This is so cool!!! Thanks for the tip…I’ve been wanting to make a wood sign for outdoor and wasn’t sure how to go about it without a stencil!
Selene @ Restoration Beauty
I really really want to make one of these, one day one day, until then I will drool over yours!! The cans make me smile! I would love for you to come link up to my Paint Party Starting Tomorrow after 6pm!! Startathome.blogspot.com
Hope to see you there,
Brooke
This is way too much fun!! I love it! I would love to have you share this at my link party!
http://www.madetobeamomma.com/2013/07/homemade-by-you-58.html
What a great tut! This seriously made me slap my forehead in ‘duh!’ moment. Here I have been so obsessed with transfer methods when I could have just been painting the words! I will still need transfer methods for more complicated designs, I think. But I will definitely adopt your method for text from now on! What was I thinking?? Love it!
Thank you for the simple, yet effective tips!! Ill be. Trying this out very soon! One thing, though…. If you’re hanging this over the crib, I would secure it with something stronger than command strips (sorry, 3-M!). Any number of things could happen and this could come crashing down on your little precious one. Don’t take chances. Either paint something directly on the wall above the crib or secure this puppy with something stronger! ( I’m a mom of 4 and I’ve seen it all!)
I love this sign! So sweet. 🙂 I’m making a sign for my sister’s wedding using your method. Just curious – what font is that? Looks great! Thanks so much!
I would love to do this on a large wooden pallet, I assume your technique would work for that? I am hoping to make a Christmas inspired sign to place out in my front yard. I will definitely give this a try.
Also, do you think I could spray paint a dark blue background on the wood pallet then trace out the wording?
Love it! What stain color did you use?
I hope that anyone wanting to make this project will not go out looking for 3′ long shims. Shims are slightly wedge shaped wood strips. What you actually used were strips of lath. You can purchase a bundle of 50 pcs for around $11.00 at Menards
thanks for commenting, Sue, but I actually did use shims 🙂 They were about 6-8″ long, and they are slightly wedge shaped – you can see how they taper at the bottom of the sign. Lath would work well for this project too! 🙂
I love this technique! I can’t believe I hadn’t thought of it. I’ve been looking for a way to do signs and this is perfect. I am wondering how do you do the bigger words that won’t fit on one sheet of paper.
aww thank you!!