Come learn how we used a secondhand cabinet and turned it into a kitchen hutch – it created a custom kitchen look on a small budget! This post contains affiliate links – full disclosure here.
This project makes me SO HAPPY. Let me tell you a few simple reasons why this kitchen hutch wall brings me joy:
- It was done on such a small budget
- We were able to repurpose furniture headed to the landfill
- This was a high-impact project, and added functional storage while also adding our personal style into this kitchen
OK let me show you how we went from the “before” to the “after” on this Facebook marketplace hutch!
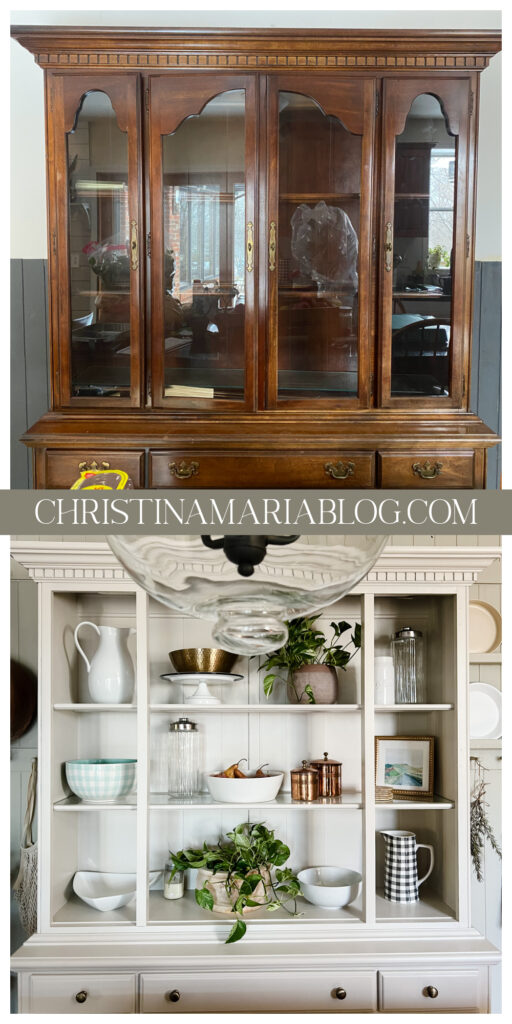
How I painted this kitchen hutch (a repurposed china cabinet)
When I shared this process on my Instagram stories, I had soooo many people asking for specifics. So here’s the exact paint process I used. It is not the only way to do this! If I had more time I might have tried Fusion Mineral Paint since I’ve heard such good things about them. But this is how I did it (EXACT products used are linked after the bullet points)
- Use wood filler to fill in any holes/dings in the furniture.
- I removed the handles and filled the holes with 2 coats of wood filler.
- Sand down well once dried
- rough sanded down the whole piece with 50 + 80 grit sandpaper
- used paintable caulk to fill in any gaps in the seams of the furniture
- applied KILZ3 primer
- being careful to give a nice smooth coat without drips or brush marks.
- brush around the detailed pieces, and then use a cabinet high density foam roller for flat surfaces.
- painted with the Ovation paint: satin sheen
- I was able to get great coverage with 2 full coats of paint, using the same method I used with the primer.
- I waited for a full day between coats, and then waited at least another 24 hours for it to cure before I put anything on it.
- RECOMMENDED: finish with a coat of satin Polycrylic
- Polycrylic is water based (vs. oil) so it will not yellow over time. It will give your piece a protective top coat.
- I did NOT do this step and I probably will do it in the future.
Here are the EXACT products I used – click each picture to be brought to the product link:
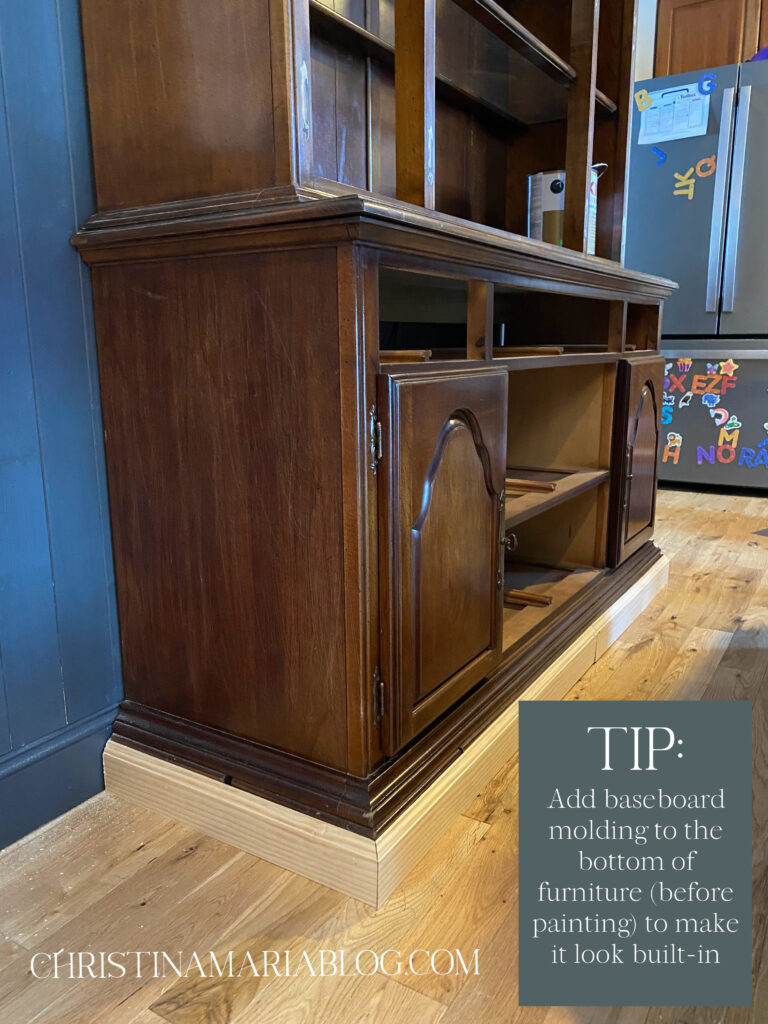
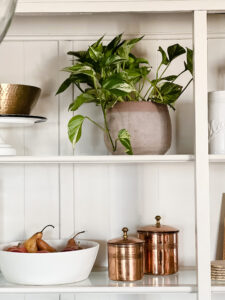
The refinished kitchen hutch cabinet space:
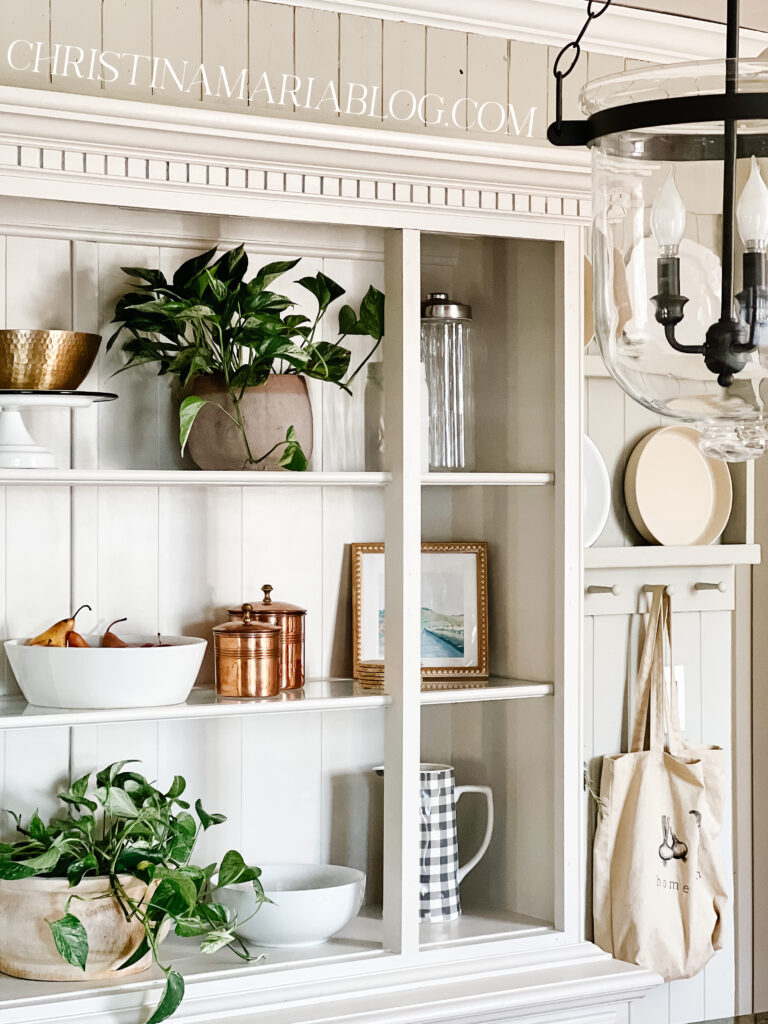
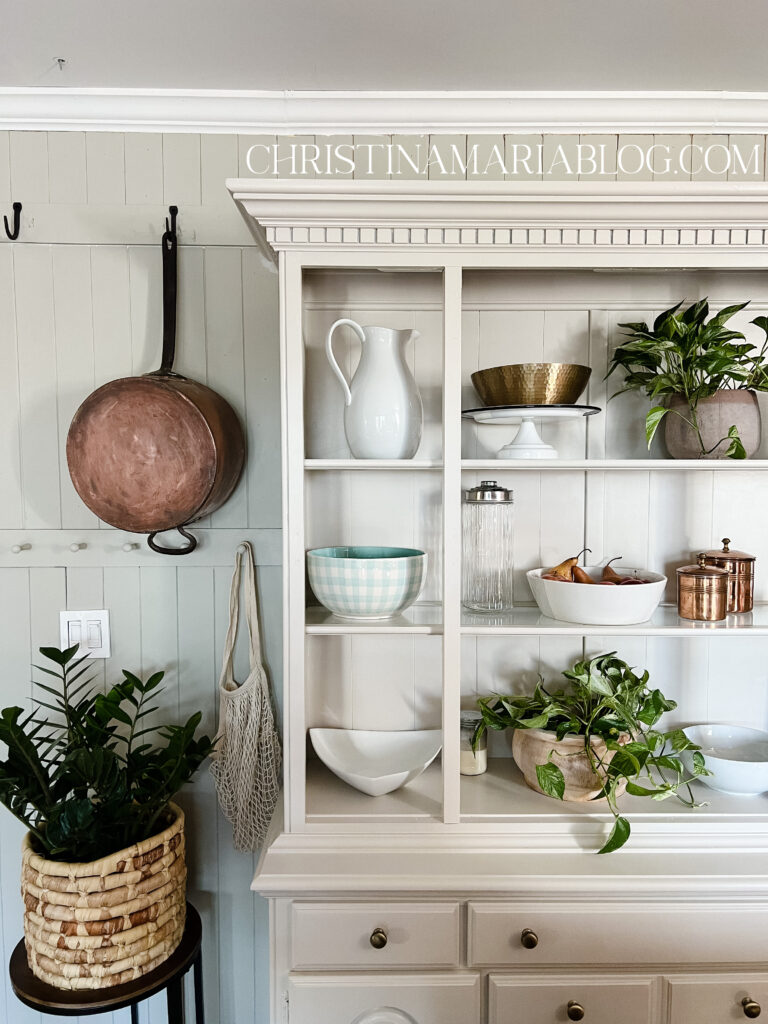
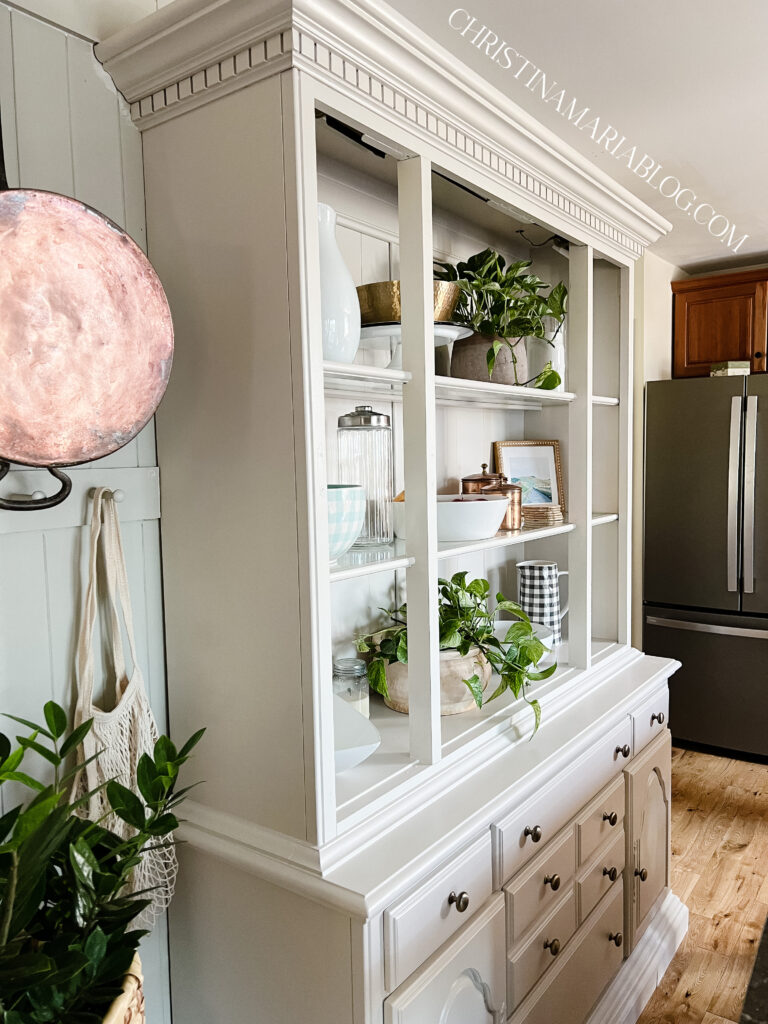
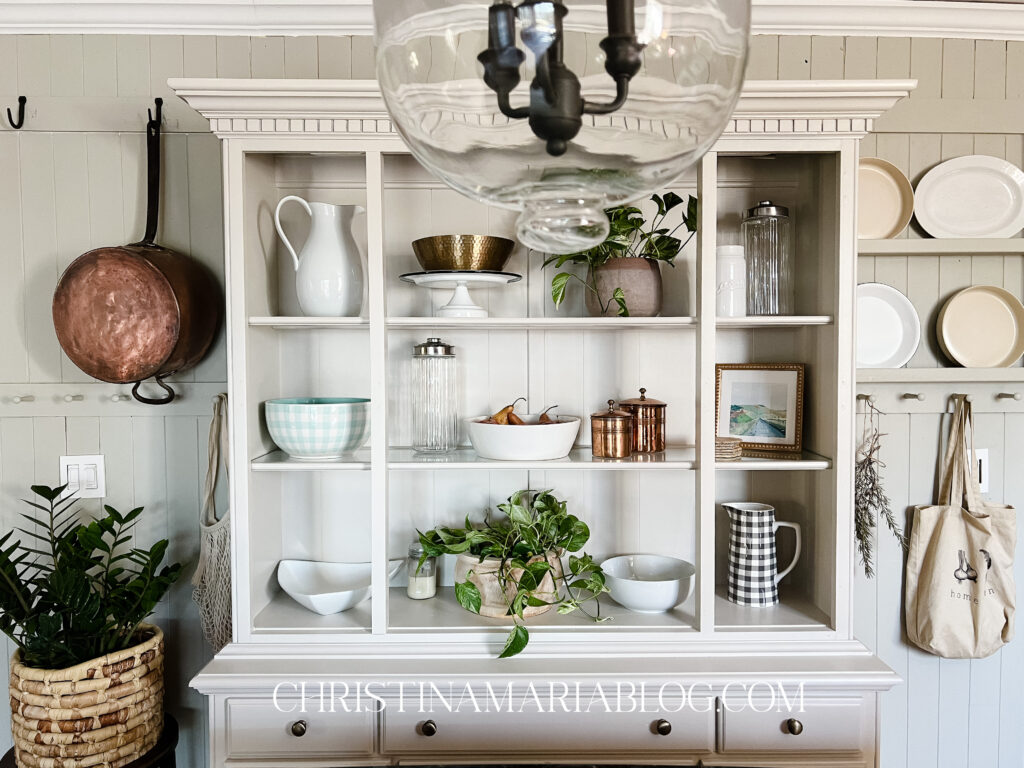
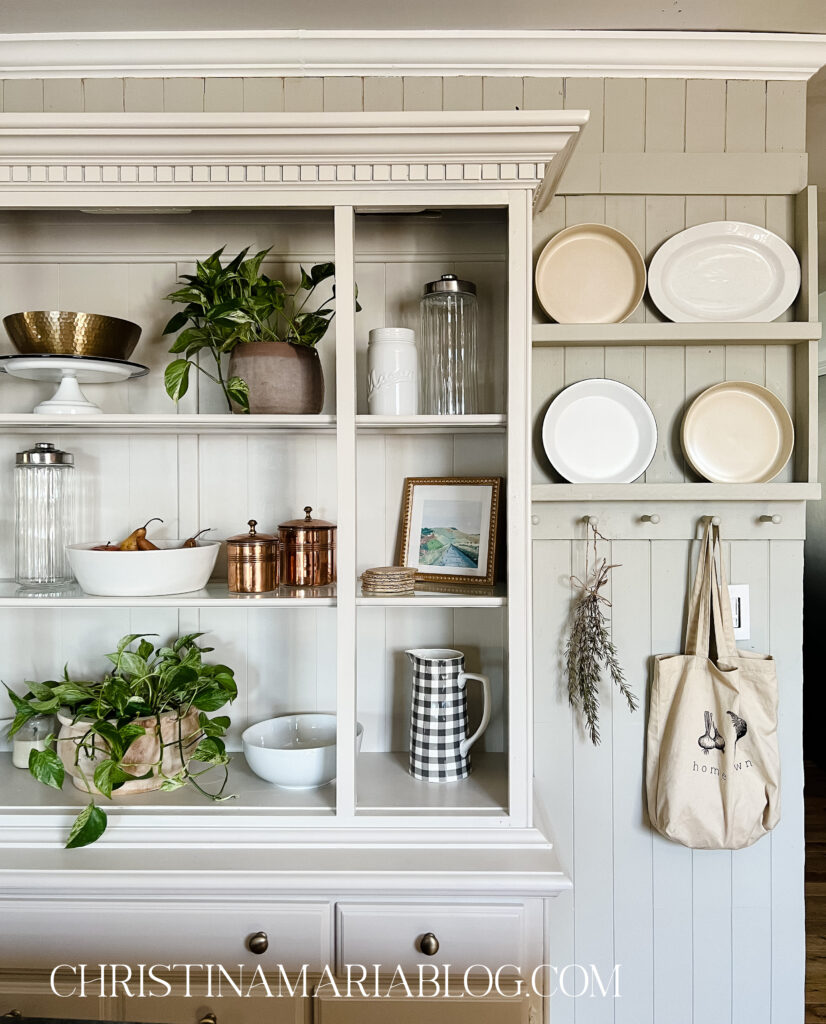
Shop our kitchen here:
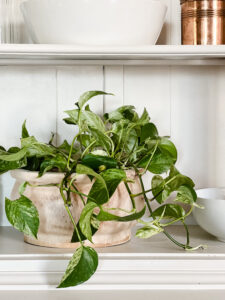
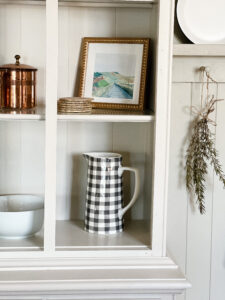
Click each picture below to shop items from our kitchen (I linked as many exact products as I could, but some were thrifted so I linked similar). The large copper pot was from my grandparents ☺️
These items can be purchased from my shop and will be shipped right from me to you 🥰 and there’s free shipping to the US!
Shop this wooden planter here:
Purchase the plaid pitcher here:
Shop this rustic terra cotta planter here (part of this bundle):
Paint colors used:
Wall color: Sherwin Williams, Jogging Path (eggshell)
Hutch color: Sherwin Williams, Jogging Path lightened 50% (satin)
To find out more about lightening paint colors, read this post here.
Now full disclosure : our kitchen still looks like this 😅 We’re waiting for the island to be removed, and it might still be another few weeks with the way labor shortages are right now! And that’s ok – we could get the hutch delivered earlier than I thought, so I decided I could start while I was able to.
Eventually, we will be building a smaller island in the middle here (without storage – just with seating).
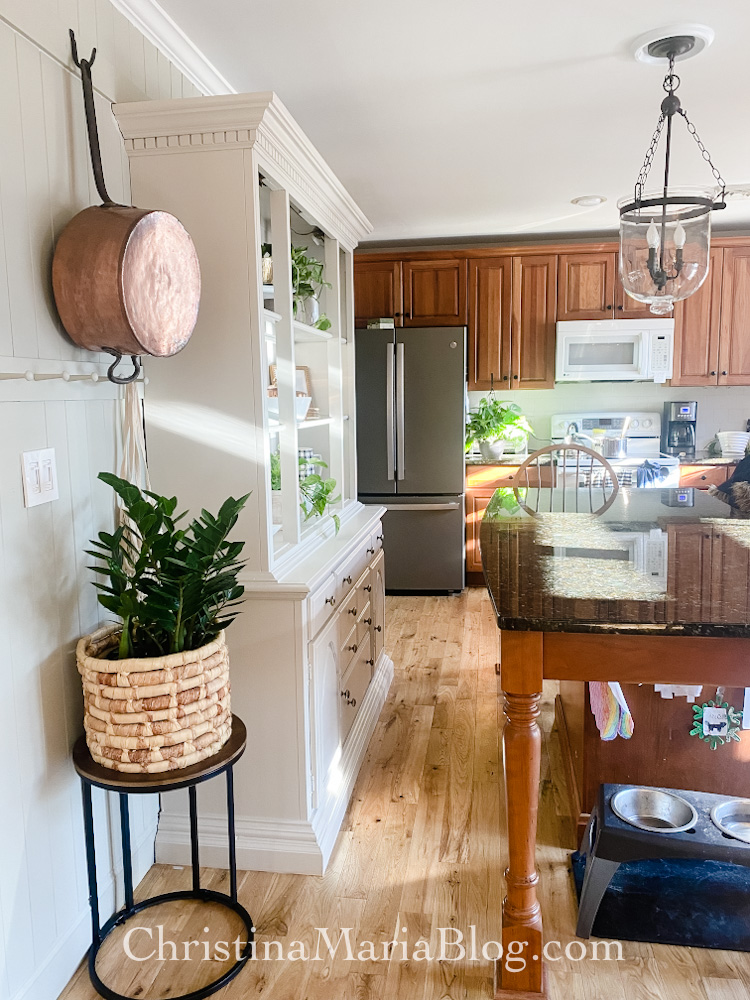
And we’ve got lots of projects to do EVENTUALLY in the kitchen – but this update has made me so happy and really changed the feel of our kitchen! (If you want to see the inspiration for this space, and the ideas we have for the kitchen moving forward, you need to see this post here).


I knew this was going to be good but it turned out even more amazing than I imagined! Love it!!
thanks so much Raquel! It turned out better than I hoped it would!
It turned out amazing!!! Look at you go!
thanks so much!!!
I like the hutch but I love the plate/platter holders you built on the wall. It looks so nice!
very nice
WOW! You did a wonderful job; it looks great! It’s amazing how much better the hutch looks painted, with the hardware switched out and with the doors removed! Your staging is spot on! I love it!
What a lovely piece of furniture you added with your decorative skills and labor!
Very inspiring to see and generous of you to detail for us, thank you❤️