Easy DIY curb appeal weekend project: garden edging with mini flagstones from Lowe’s. Learn how to transform your outdoor space on a budget!
We’ve been working hard at transforming the interior of our home, but the exterior needs work. What I mean is – it needs a LOT of work! It can get a little overwhelming when I start to think about how much we still have to do with our fixer upper outside, but tackling weekend DIY projects really helps to give me confidence and hope that this will all come together someday! I’ve partnered with Lowe’s to bring you our first weekend curb appeal project of 2017: garden edging!
Easy curb appeal: Garden Edging
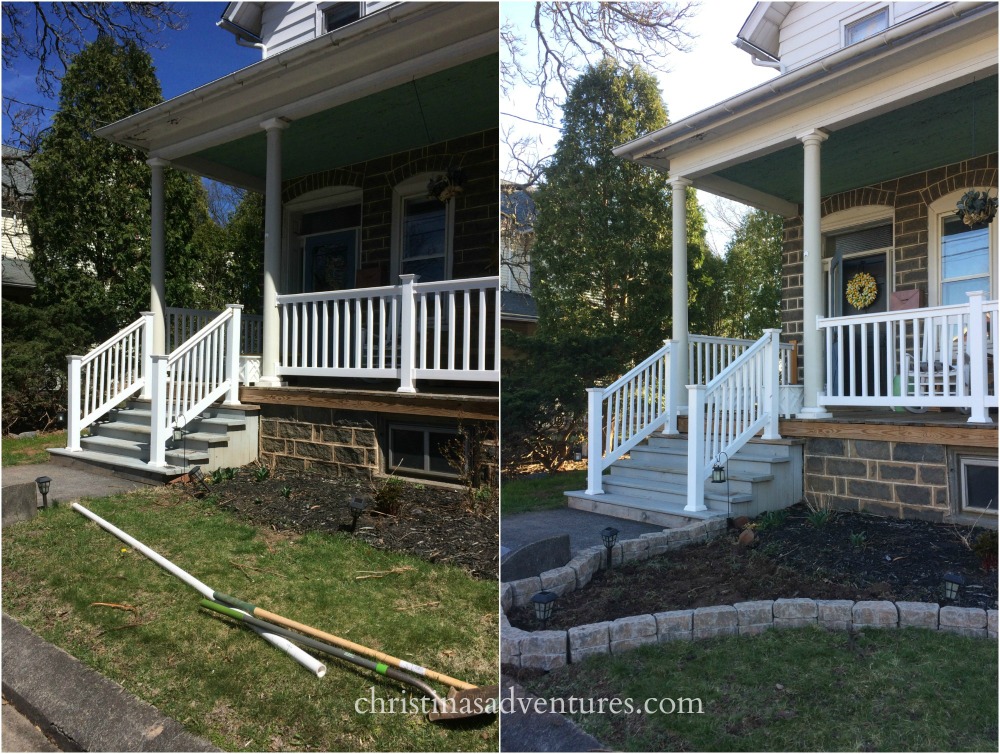
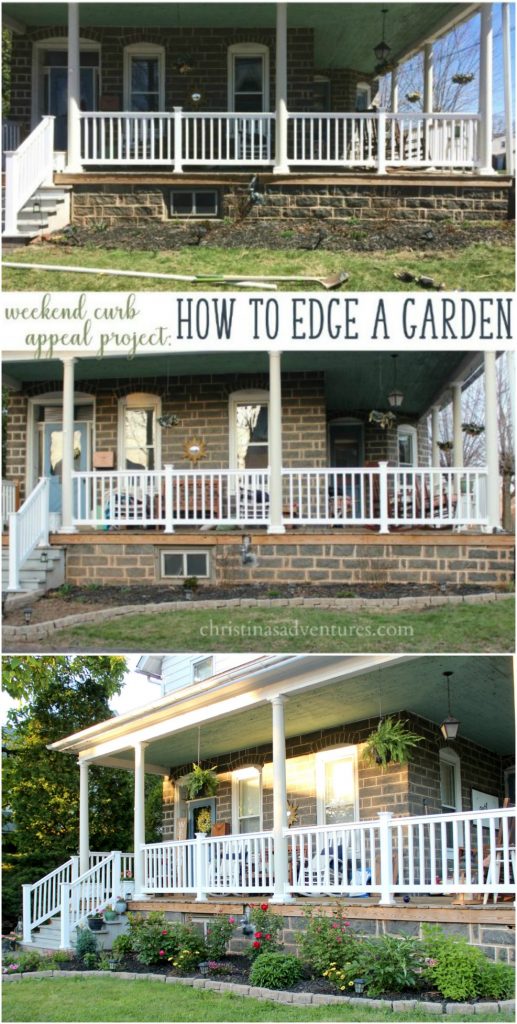
When we bought this house two years ago, there were just two overgrown bushes in the front. We removed them, so we were left with completely bare dirt patches in front of our home. Really nice curb appeal 😉
This is a *very* simple project, and I promise you can do it! It’ll add so much interest to your yard, and will really help to define your garden space. It’s a big impact for a reasonably inexpensive pricetag, and you’ll feel very accomplished when you see what you’ve done!
Here’s what you’ll need for this project (fun feature – just hover/click on the image, then click on the numbers to be brought right to the product on Lowe’s website!)
I was sold on the mini flagstones after I read their reviews online – people really loved these! I got a whole pallet delivered to our house last weekend:
The process of installing this garden edging is really simple. It’ll help if you have damp ground to start with (it had just rained at our house and it made the job a lot easier!)
Garden edging with mini flagstones:
- Mark out the boundaries of your desired garden (you can use rope for this)
- Use a manual edger to edge along the border
- Dig a shallow trench a little wider than your stones
- Spread paver base at the bottom of your trench – this will keep everything level
- Place your edging stones in the trench on top of the paver base
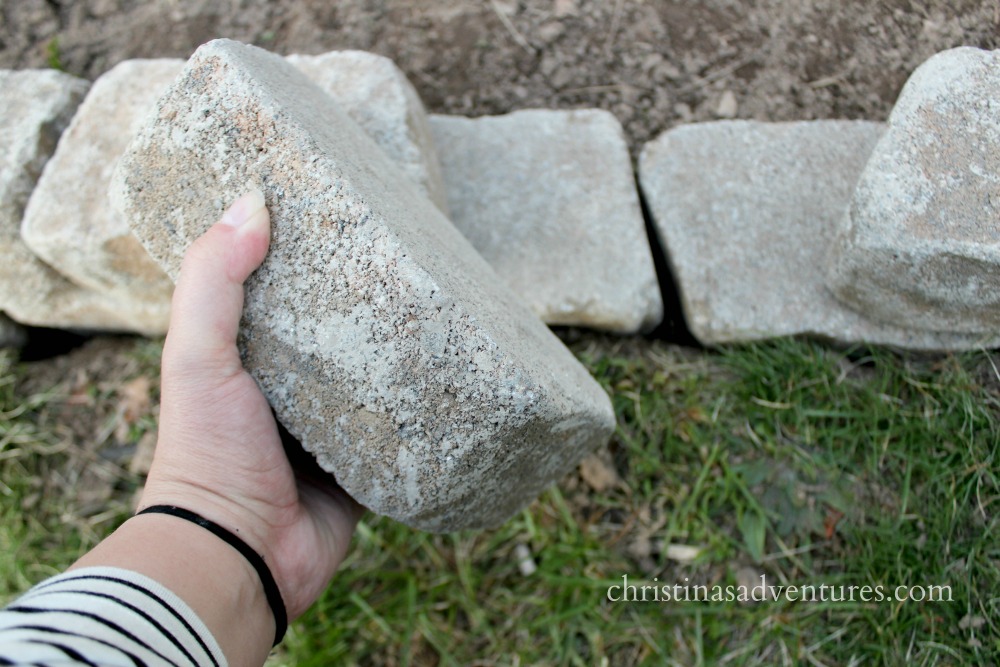
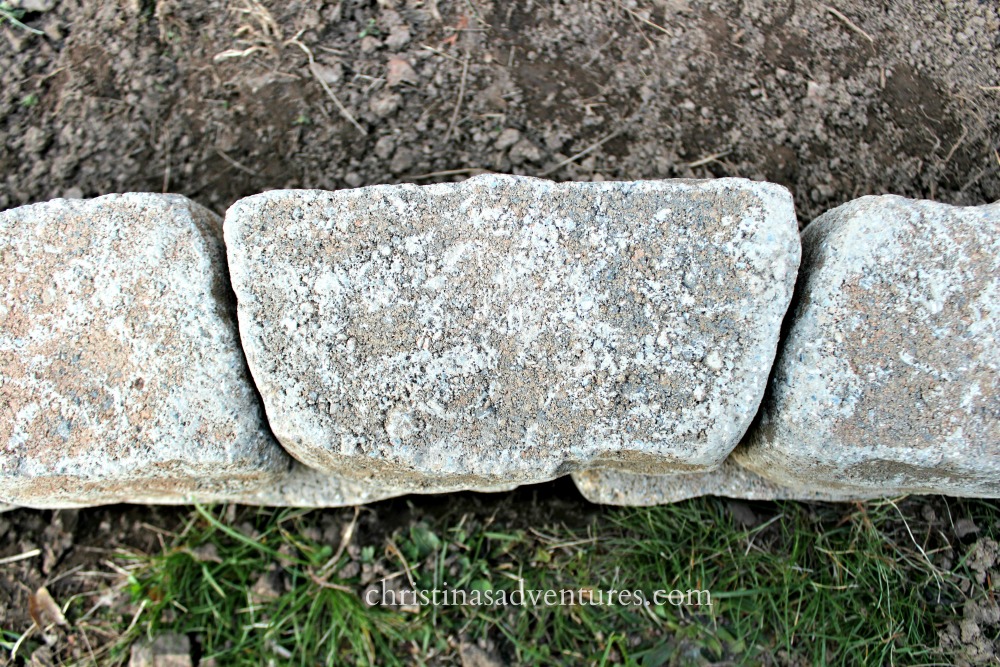
If you’re using the same stones I used, then I found this trick to be helpful. Since the bottom of the stones were flat, it actually helped to put the first row in upside down. This way, I had a flat surface to lay the second layer on. I wouldn’t recommend doing more than two layers with this specific kind of stone.
Alternate directions with the stones, so they interlock with each other:
Continue along through your whole garden border this way. Then add dirt, plants, and finally mulch!
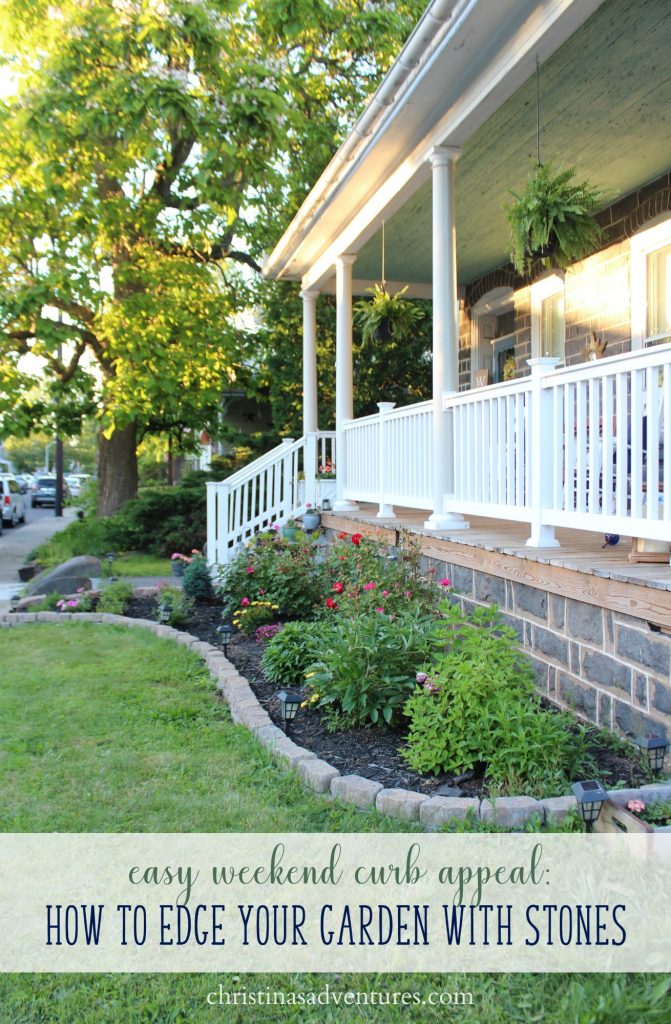
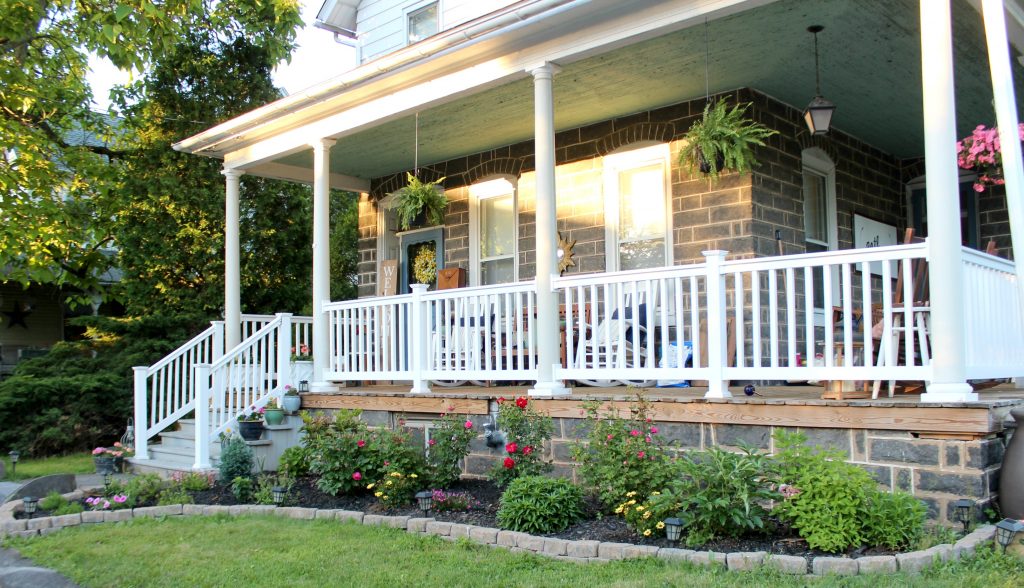
For now? The garden edging really helps to define our gardens and up our curb appeal already!
If you like this post – share with others by pinning it here:
This is a sponsored post written by me on behalf of Lowe’s. As always – opinions are 100% my own!




You did it well, applauded.
I love it! What a beautiful improvement. Thanks for sharing