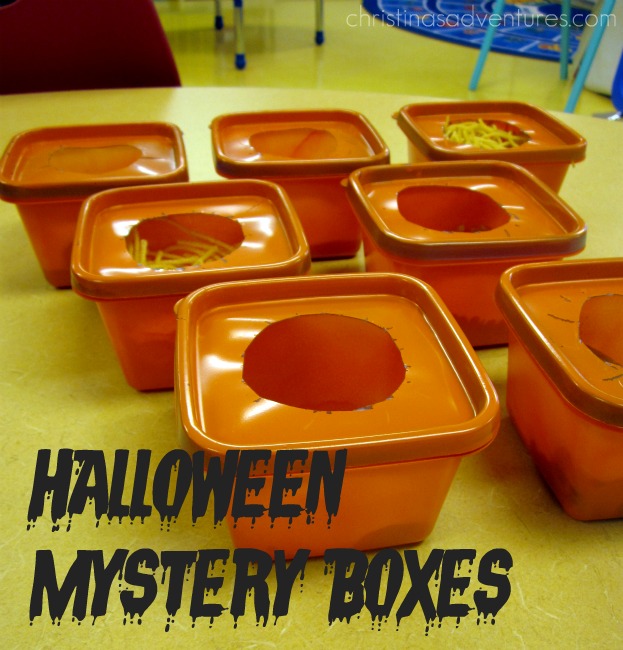
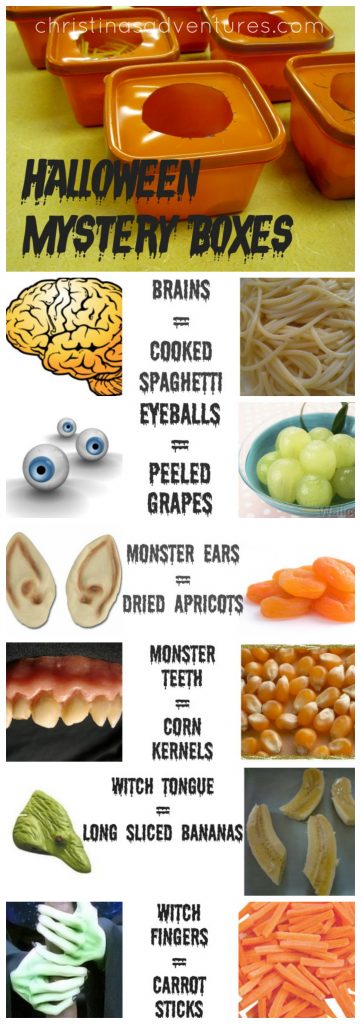
Halloween mystery boxes:
UPDATED TO ADD: I made the hardest decision of my life & left my tenured teaching career after 4 years (and haven’t looked back since!) Read all about my experience here!
I told my poor students that I was hunting for witches & monsters throughout the last few weeks so we could fill our mystery boxes. I had one particular student who was just frankly telling me all week that he just was NOT going to do this activity. So of course, I offered a bribe like every good teacher 🙂 I made up prize bags for my kids, and told them that they couldn’t bring their prize bag home unless they tried to touch things in every box. (affiliate links are provided for your convenience)
So, what do you need?
- Storage containers (these would work perfectly)
- Scissors
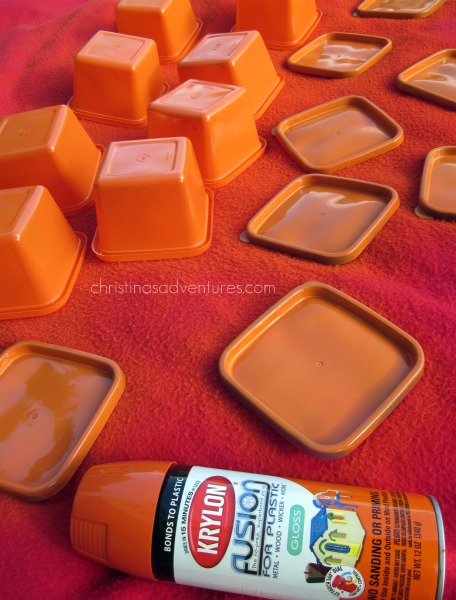
- Spray paint (this is the kind I used – best for plastic)
- Food supplies (listed below)
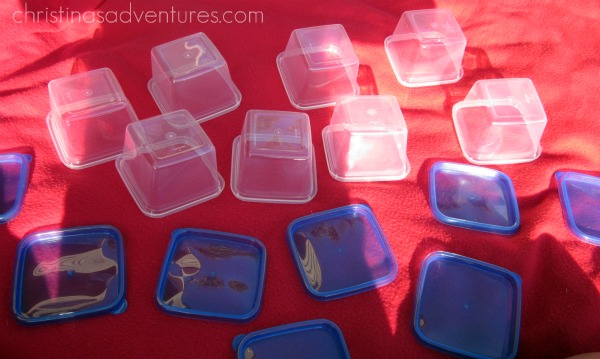
It all started with these plastic containers from the Dollar Store. You can also get them inexpensively on Amazon.
Gave them a quick coat of spray-paint (made for use with plastics).
Then I cut holes in the tops. In hindsight, I’d cut the holes first and then spray-paint them, because when I cut the tops later, some of the paint flaked off. Oh well, not a big deal.
After preparing the kids about the GROSS things they were going to feel, I got the kids all around my horse-shoe table and told them what they were going to feel. Our rules were:
*no looking (I held the containers over their heads) *no guesses about what might be in the container *do not pull out the objectsI will be honest with you – I teach kids on the Autism spectrum. Some of them loved this activity, but a lot of them HATED it! One of my poor little boys wanted his little prize bag so much so he complied, but he was shaking when he had to reach into the containers!
When we felt the objects, I had the kids use different adjectives to describe what they felt in the boxes (slimy, hard, long, rough, squishy, wet, etc.)
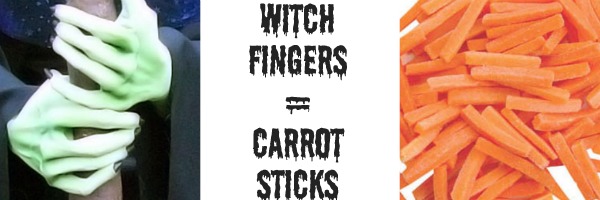
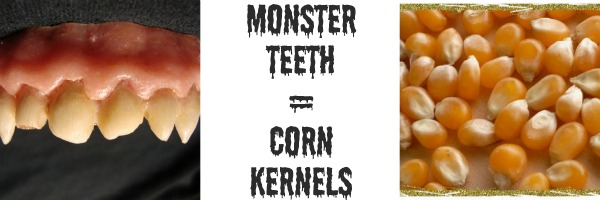
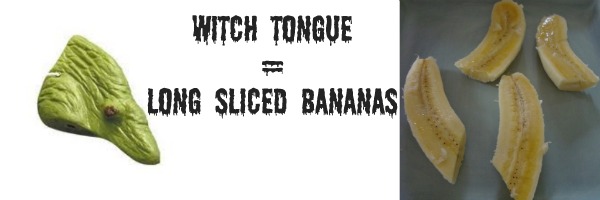
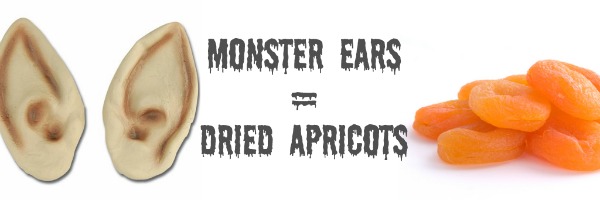
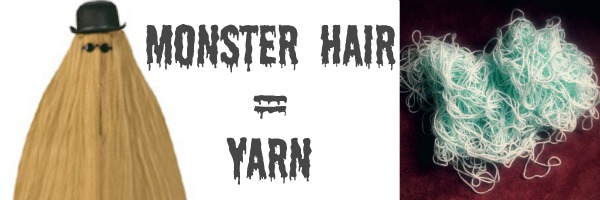
To make this a little less scarring, I made these little “cheat sheets” up for the kids, and revealed the mystery after it was all finished. The boy who seemed truly traumatized was SO relieved to see these pictures, and he started laughing and needed to feel all of them again. He just kept saying, “OOOOOH! OOOOOH! It Funny!!!” So great! 🙂
Here’s my pictures that you can use to make your own mystery boxes, or just to get ideas for what to put inside of the boxes.
We had so much fun with these…it’s a great activity to build a child’s imaginative play, prediction, and vocabulary skills…while celebrating Halloween! 🙂
If you like this activity – share with others and pin it here!



aw, looks like fun!! poor little shaking student, lol! kids will do anything for their prize, eh? haha