Picture frame molding is a super simple DIY project that you can do with a few simple tools! Come see how to install it in this post.
It’s been a little while since I shared a DIY tutorial with you, and I am happy to share this one today!
It’s the best kind: simple, beginner friendly, and relatively budget friendly.
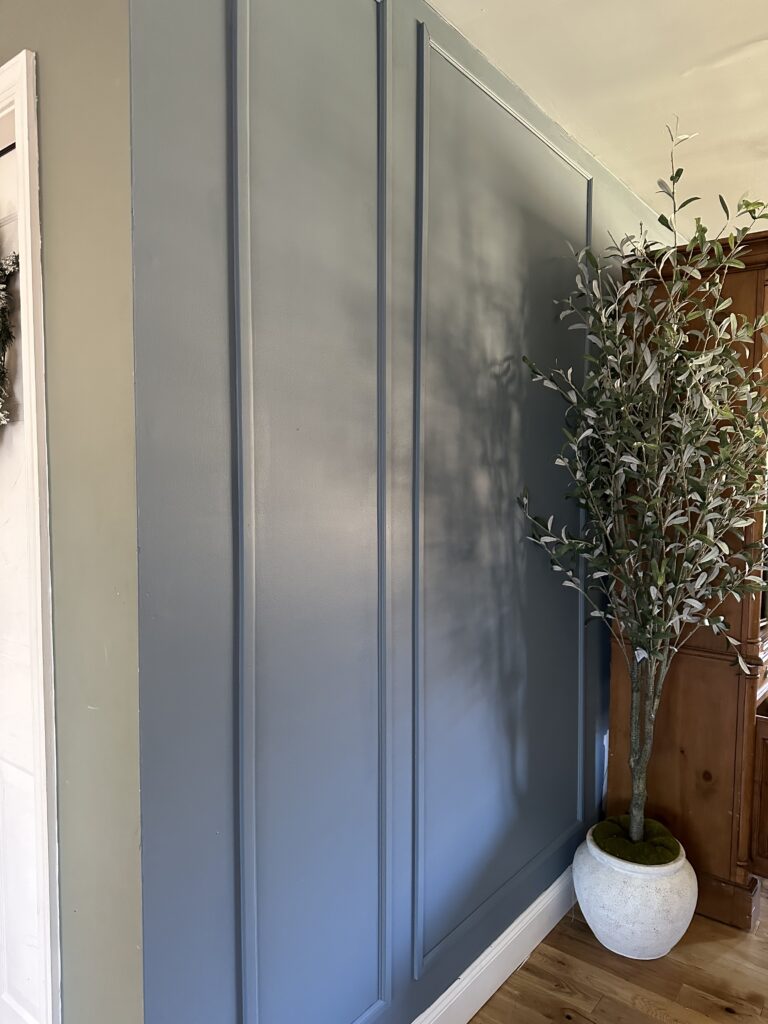
Today I’m going to show you how we transformed our family room with picture frame molding – just look at the difference this made!
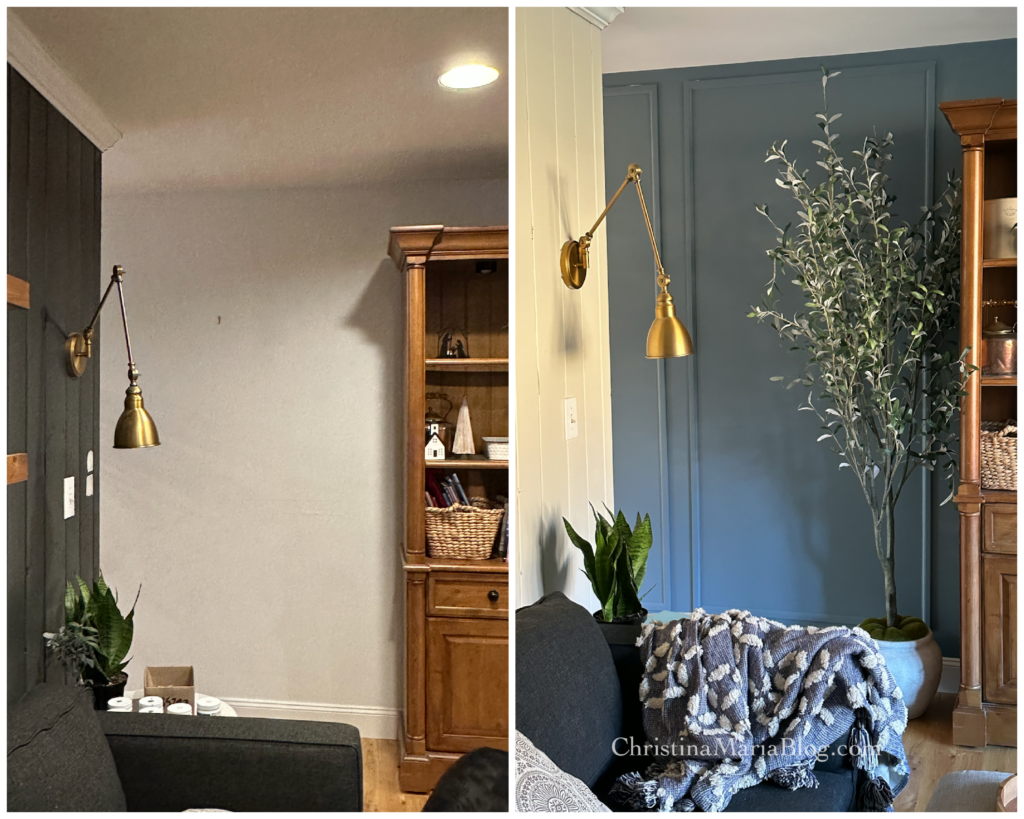
Step 1: Get the right materials
To complete this project, you’re going to need to go to the trim and molding section of your local hardware store. This is what it looks like at the Lowe’s I shop at:
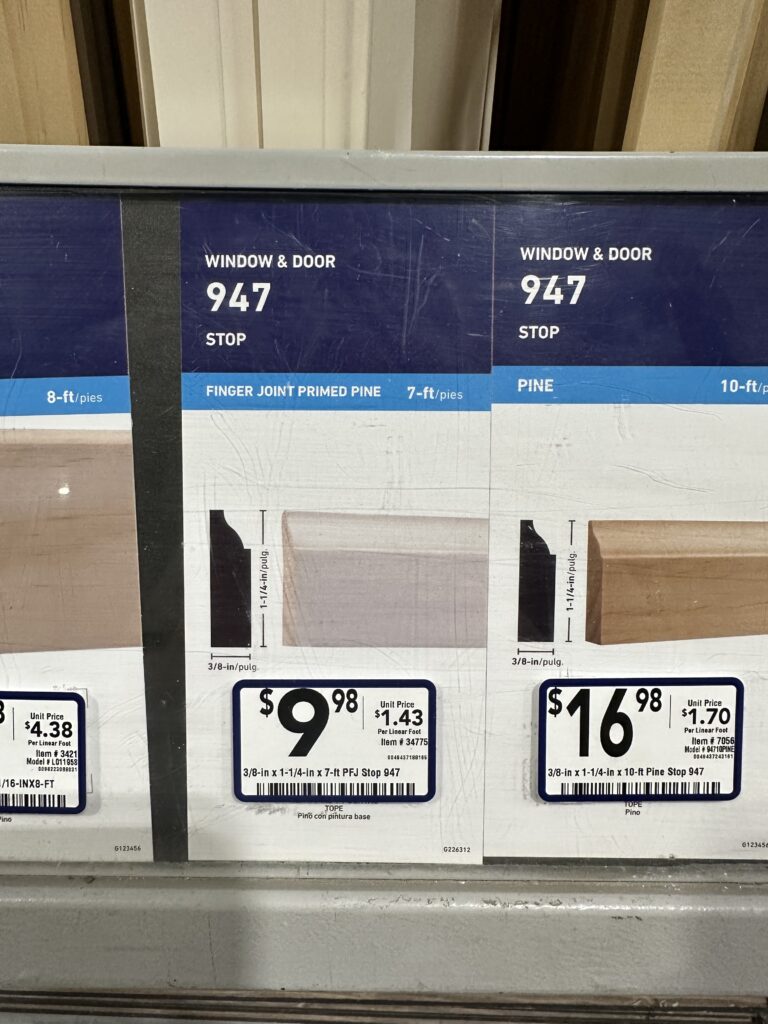
Here’s a time saving tip:
Purchase the molding in a size that you can use without having to cut down if at all possible.
We have 8 foot ceilings, which meant that we could comfortably use 7 foot moldings for the longer side pieces. This helps save a lot of time and also cuts down on waste!
Step 2: Do some math
I know, I know. This part isn’t always the most fun but it’s super important!
Figure out if the picture frame molding you want to install will all be uniform in size, or if you’re going to adjust the sizes of the boxes dependent on the size of the wall.
For us: we made the frames different sizes. All of the boxes were the same height (unless they were under a window) but we found it to be a lot easier to do it this way! We could then adjust the size of the box on each wall and not have to worry about askward cuts and boxes not fitting the spaces we had.
For our project, we chose to make the frames different widths. BUT we kept them spaced apart equally. All of our boxes have 5 inches between them.
Step 3: Start cutting, placing, and securing
We used our miter saw for this, and you’ll want to set the cuts at 45 degrees so they make those perfect boxes.
Since the molding is so light, it is easy enough to use painters tape to hold it up on the wall so you can make sure it’s exactly where you want it before you secure it into place.
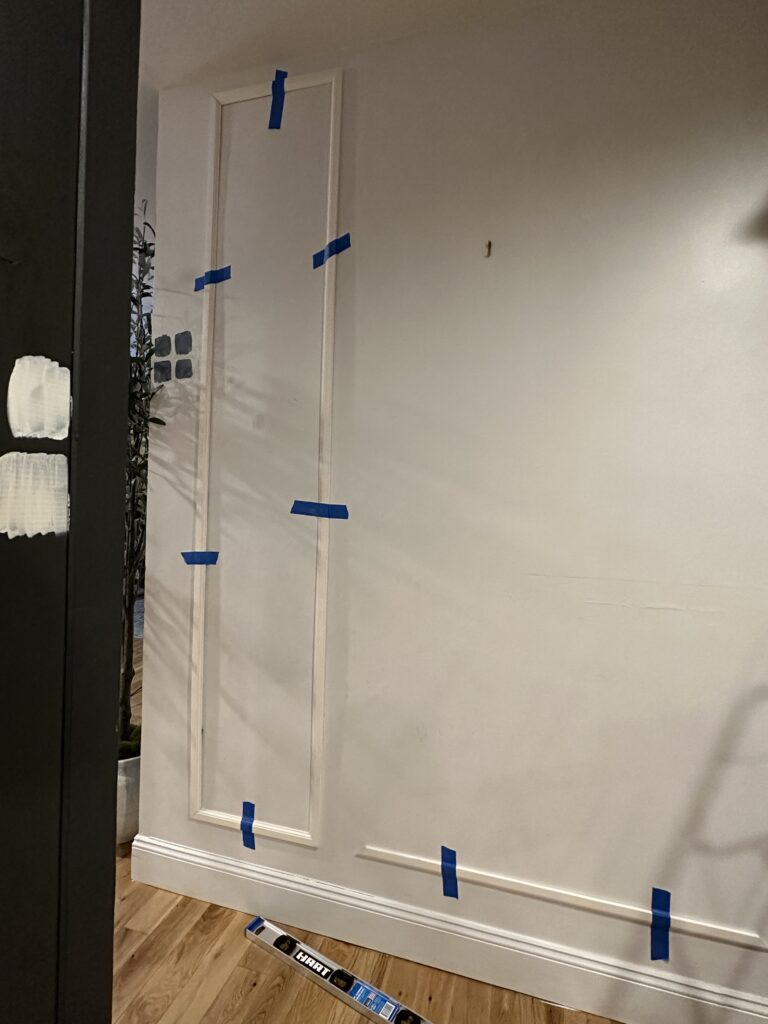
Once you’re happy with the spacing and the placement, you’re able to start attaching to the walls!
We used a brad nailer, and placed the nails at an angle. It’s really helpful to see how we did it in this video – it’s just a minute long! You can see exactly what I mean by angling with the nailer.
By the way – we only bought a brad nailer a year ago. We’ve done DIY projects for YEARS and did not have one. You don’t need one! It certainly makes the job easier but it’s not necessary to be able to do this project.
Step 4: Prep to paint
This part can get a little tedious, so be warned!
You’re going to need to fill in all those little nail holes and also caulk the sides of the pieces of trim you put on the wall. This is key for a professional looking finished product! Don’t skip out on this step.
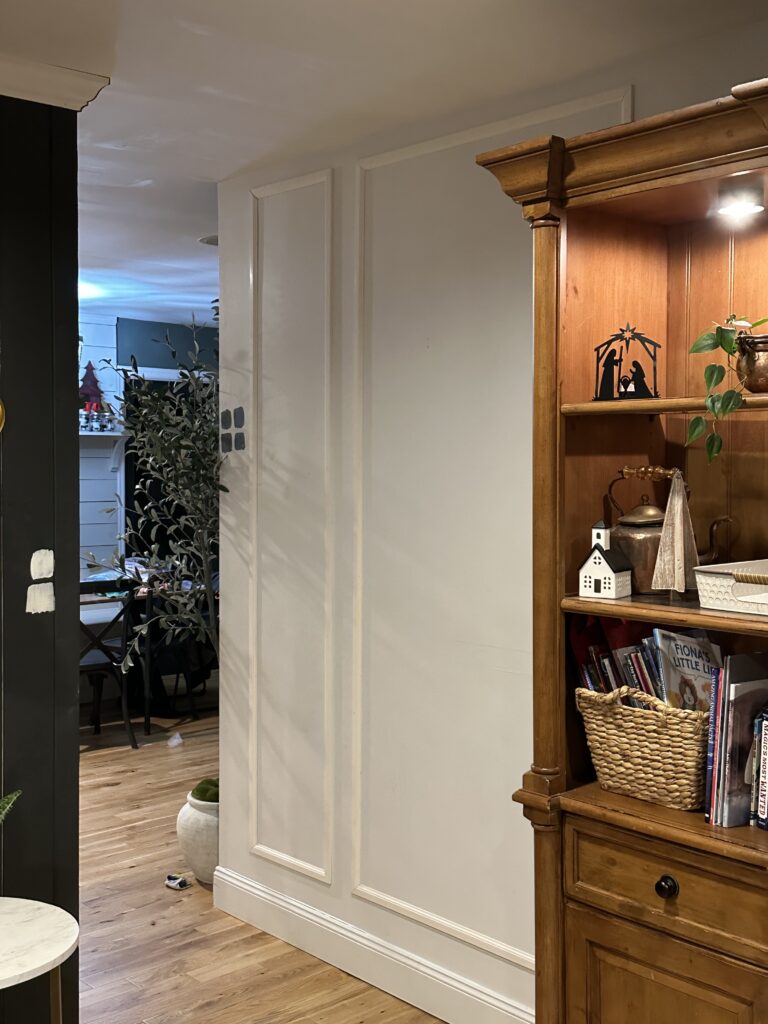
Step 5: Paint + you’re done!
Now comes the fun part – the time you’re able to truly enjoy the work you’ve put into this project. It’s time to paint!
If you’re looking for some good paint colors, I have a LOT of resources about choosing paint colors. This is one of my most popular posts and I hope it can be helpful when choosing a paint color for your room.
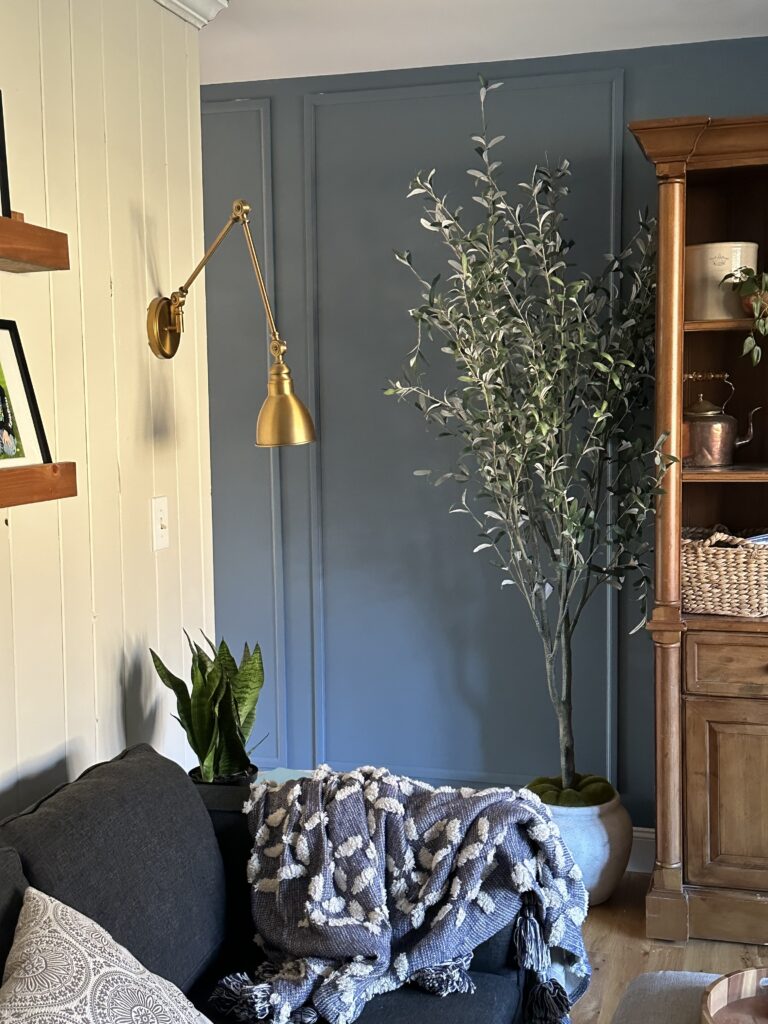
Here are some of the items we used to style this room:
The paint color we used in this room is
And you can see more of this room here in this post.


Leave a Reply