This post brought to you by FrogTape Brand Painter’s Tape. All opinions are 100% mine.
I just love IKEA. It’s one of my favorite stores in this world! Now that I have a baby, it’s a really fun afternoon trip on a no-nap day. You just can’t beat their prices either! I love taking a super plain IKEA piece of furniture and making it into something a little more custom – like this little table I made for Isaac:

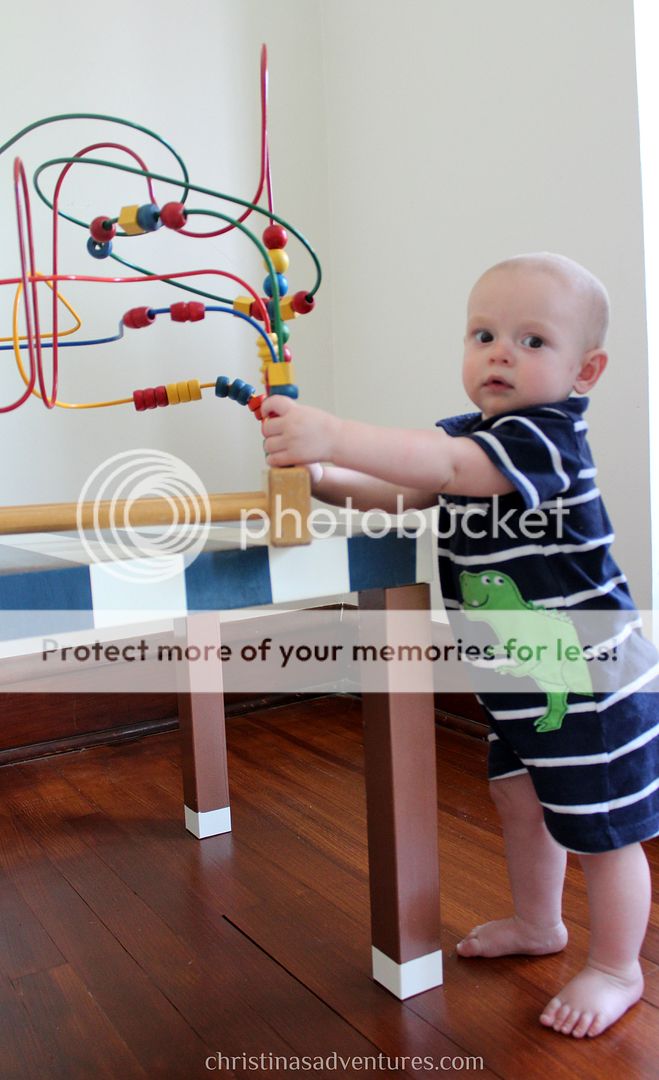
How fun is this? It all started with this plain IKEA Lack side table (which just happens to be the perfect size for babies who pull up on e.v.e.r.y.t.h.i.n.g.)
Do do this, you’ll only need a few materials:
- A surface to paint
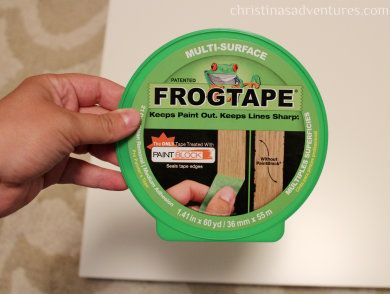
- FrogTape
- Primer
- Paint
- Polyurethane
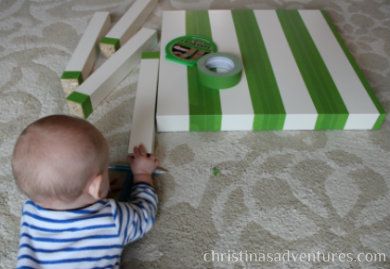
Step 1: Prep your surface. Figure out your design, and tape with FrogTape:
Optional: have a baby be incredibly curious about this process:
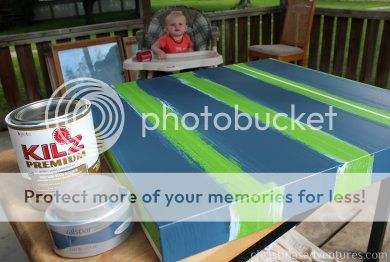
Step 2: PRIME & PAINT. Use a roller or a paintbrush – up to you! Use a paint sampler to save money!
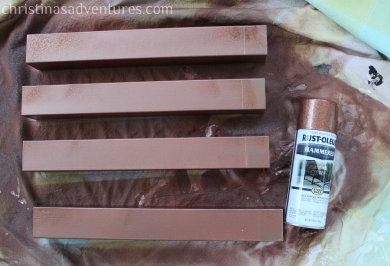
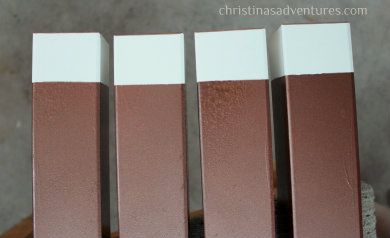
I used spray paint on the legs:
STEP 3: Remove the tape after 2-3 coats. This is when I’m super thankful for FrogTape’s® PaintBlock® technology- not a single bleed! Crisp & clear lines all around:
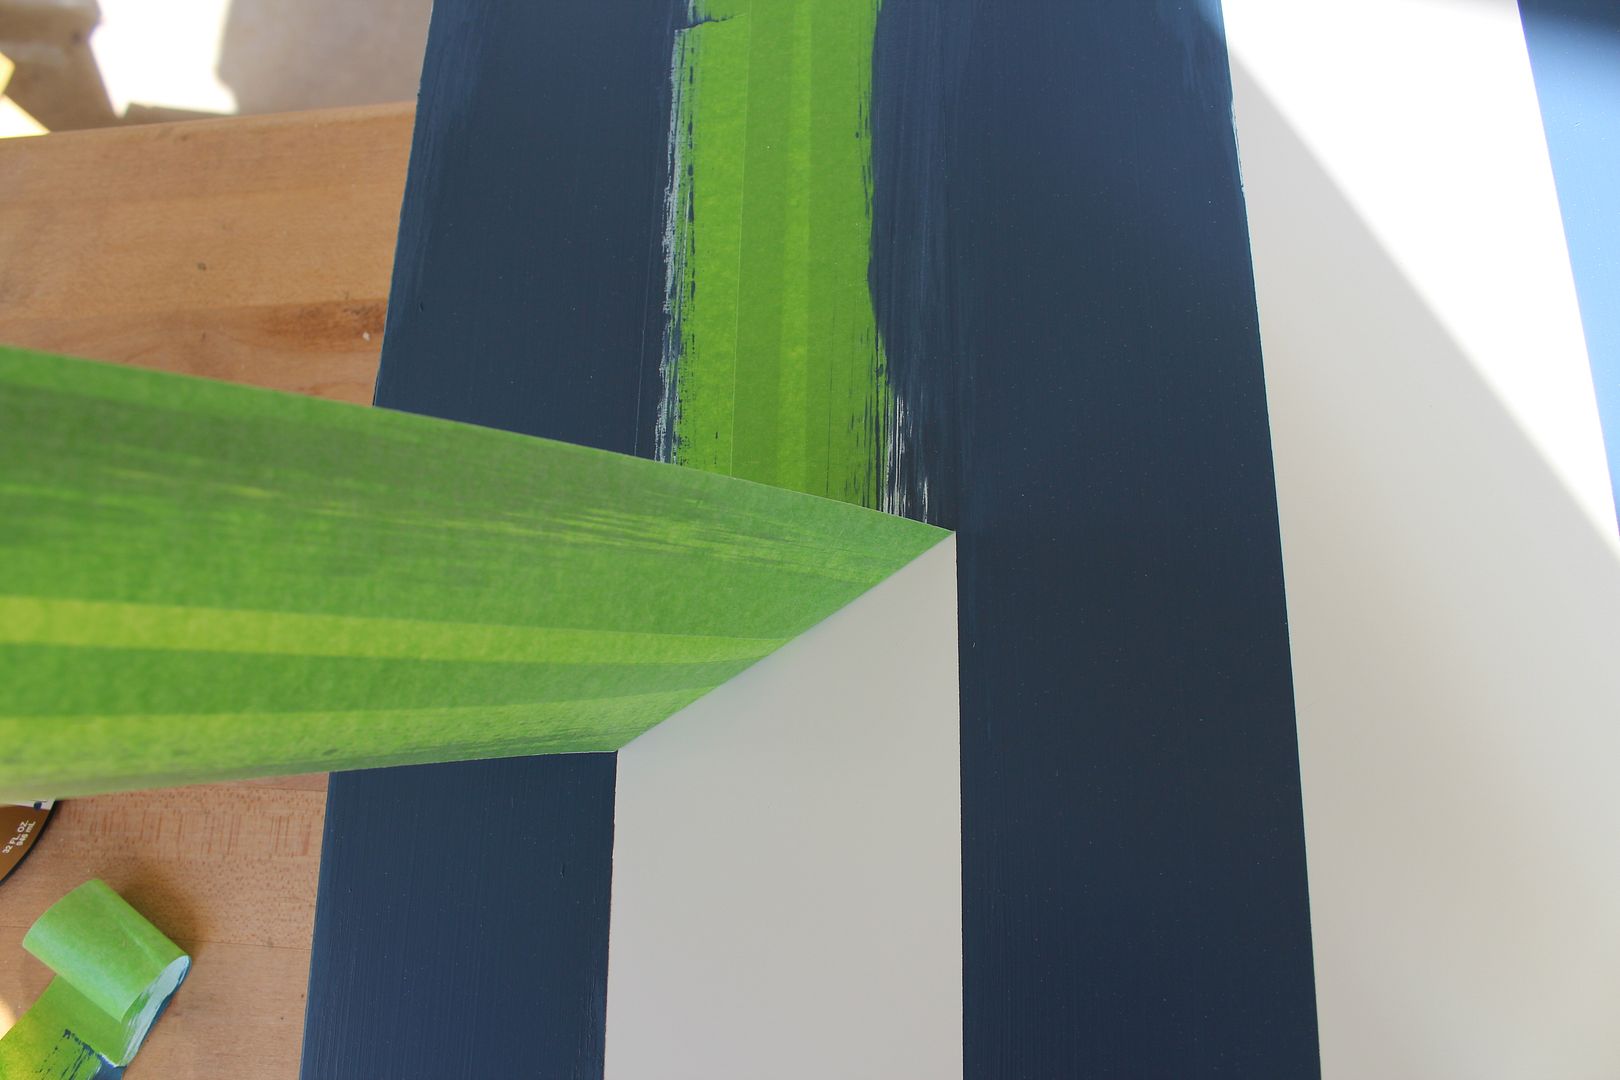
FrogTape is the only tape to use PaintBlock® Technology, which basically means that it has a super absorbent polymer that seals the tape so there aren’t any bleeds.
STEP 4: Polyurethane! Do at least 2 coats to make sure it’s durable and will hold up for a long time.
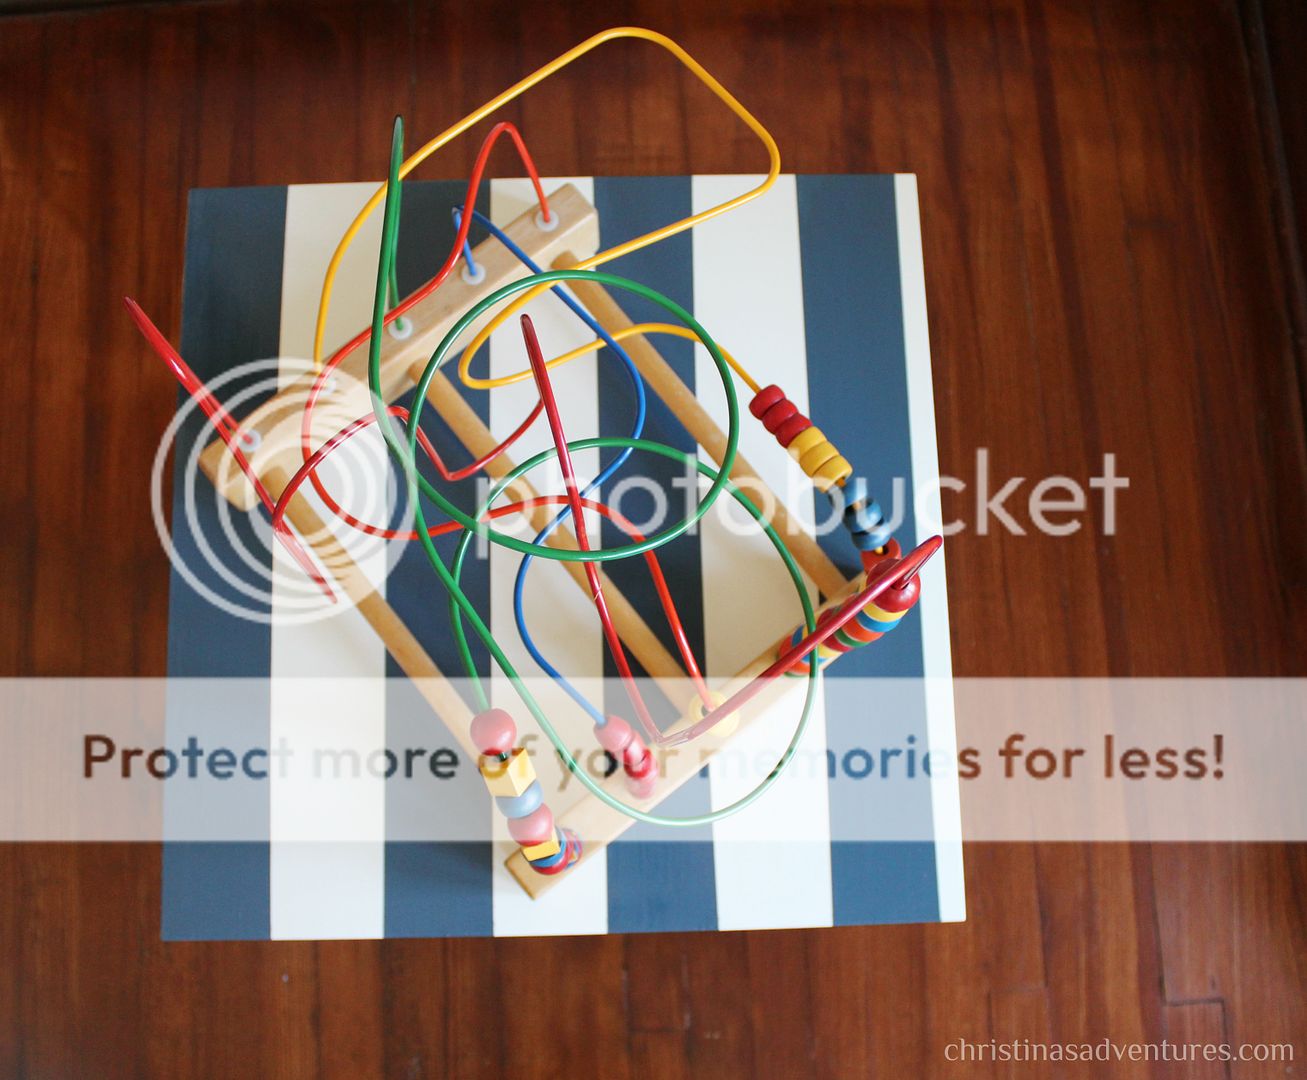
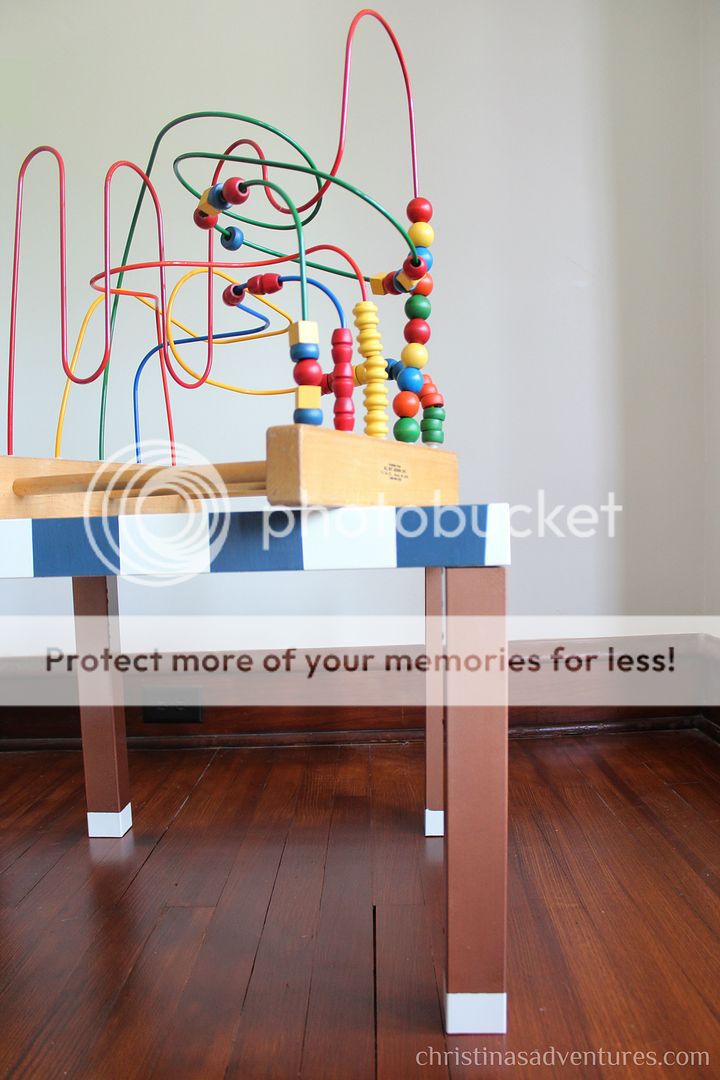
That’s it! This table went from bland to super cute & custom:
PS- how is it possible that this is happening? Wasn’t he just born yesterday?
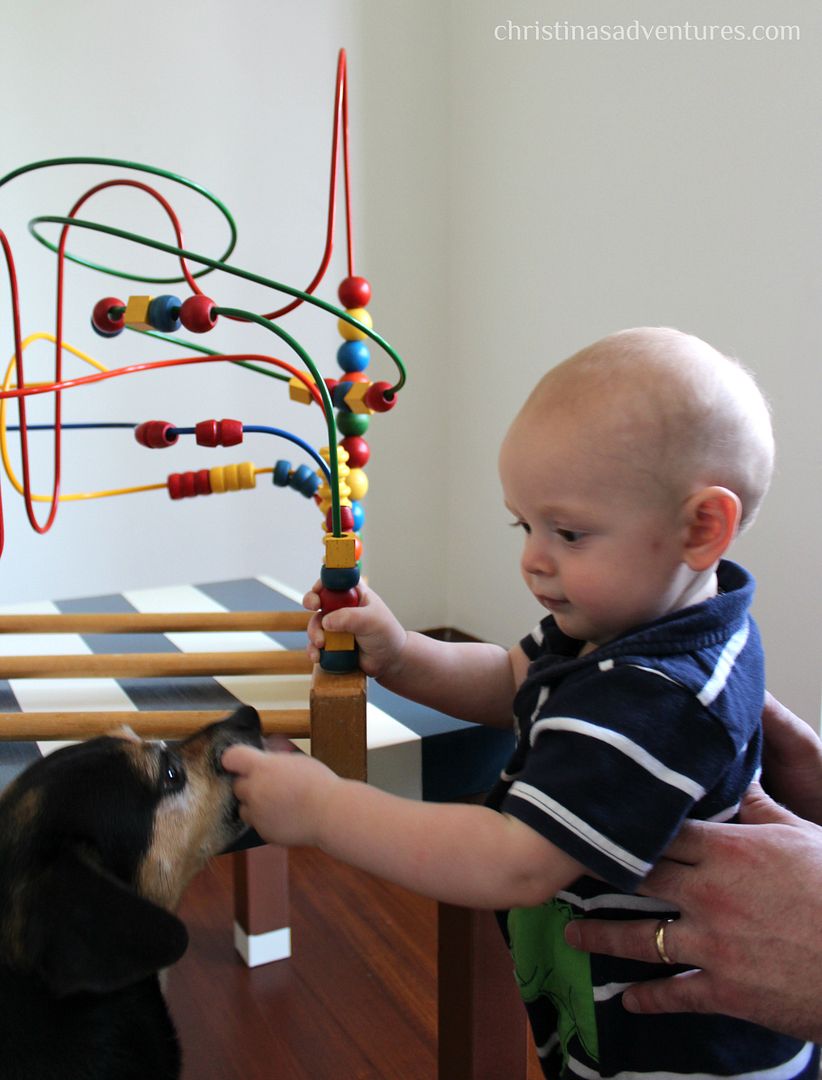
And this – oh boy. These two melt me:
Who’s ready to update some bland furniture?? Check out more inspiration on FrogTape how-to‘s site – as well as their Twitter (follow @FrogTape for lots of creative DIY ideas!)

[…] FrogTape, paint and polyurethane to create one of these fun striped tables. Make your way over to Christina’s Adventures to find out how to do […]