Follow me on Instagram, Facebook, and Pinterest for more creative inspiration!
this post contains affiliate links. full disclosure here.
As a mom who works from home, I spend a lot of time in front of our home computer. About 95% of it is at night, but I still spend a LOT of time in our office. Our office is also one of the major rooms on our first floor, and since we have such an open floor plan, it’s really visible from the kitchen and the family room.
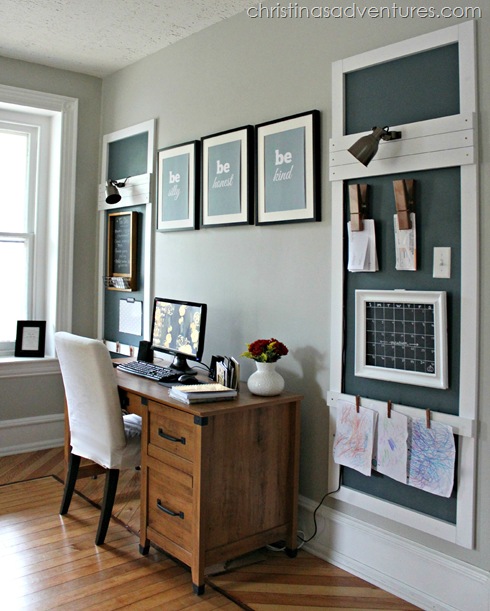
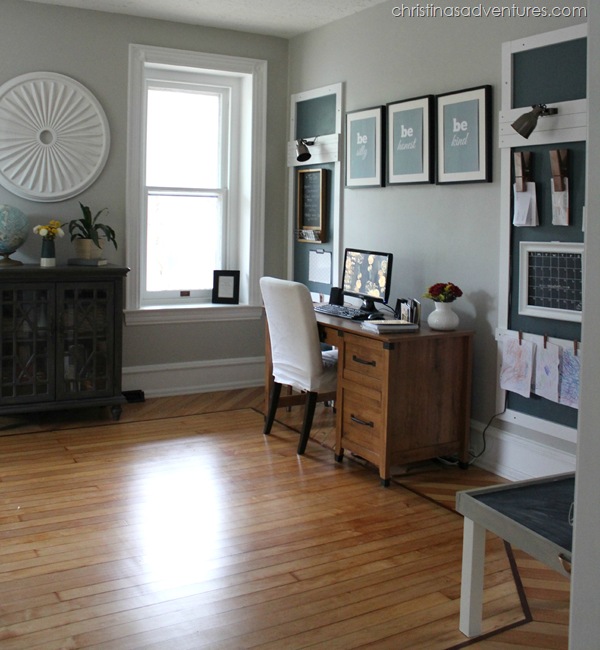
My goals for this space: make it functional, maximize storage space, and make it look great from the other rooms. Here’s what our office looks like now:
wall color: SW Repose Gray (see my favorite neutral paint colors here)
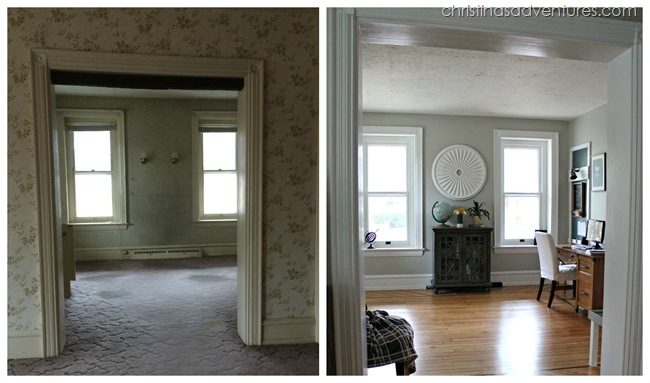
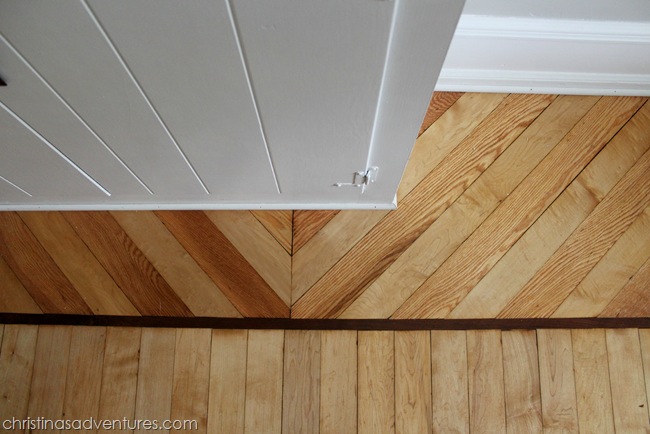
This room didn’t always look so nice. It used to be covered in ugly wallpaper, and those beautiful floors were covered in old nasty carpets:
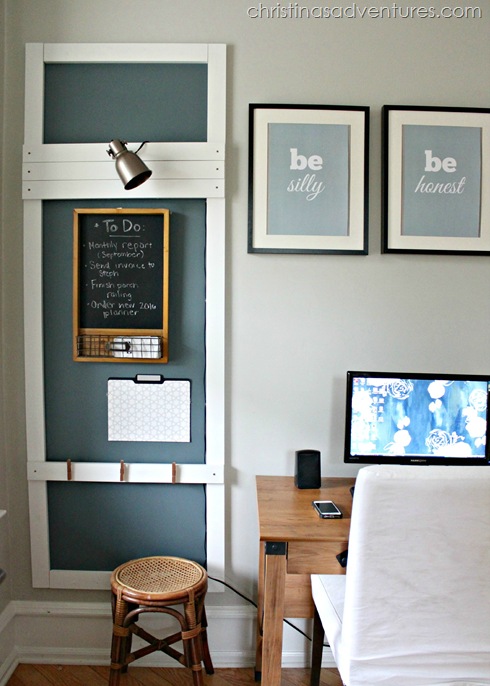
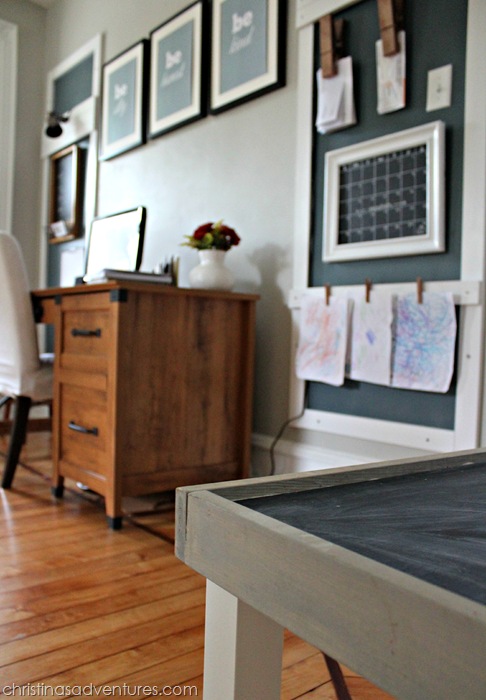
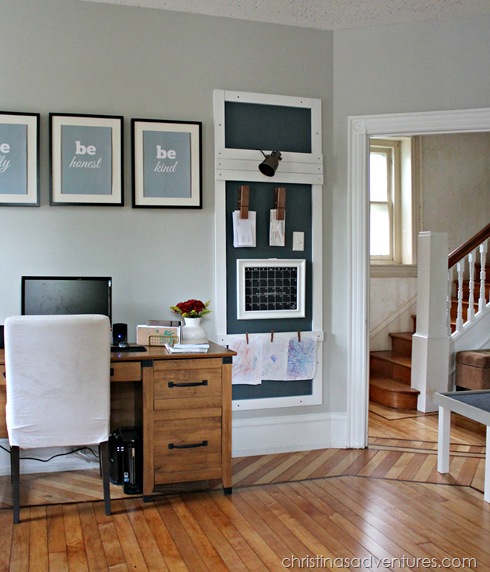
We have lived with the office for a few months now, and I was struggling with organization. I wasn’t able to find a great system for bills, work necessities, and paperwork. I didn’t want to bulk up the room with big furniture, so I got creative and devised a wall organization system.
lamps // chalkboard (similar) // frames // desk
I was unsure of how this plan would work, but I love it even more than I thought I would! We purposely used things that would be easily moved, so we can change it over the years as our organizational needs change.
(side note: I shared sneak peeks of this space on my Instagram – are you following along with our renovation? See #fixingup1902 to see how far we’ve come!)
One of my other favorite things about these wall fixtures is the added lighting. We don’t have any overhead lighting in our first floor, and when I’m doing work at night, it gets pretty dark just using a desk lamp. By adding in these IKEA plug-in task lights on either side of our desk, we added major lighting to the room for about $30. We couldn’t be happier with it!
My son’s “art center” is on a tiny wall in this room, and he’s been loving drawing lately! Right now, those clothespins on the bottom are the perfect place to display his artwork. I love how proud he is to hang these up!
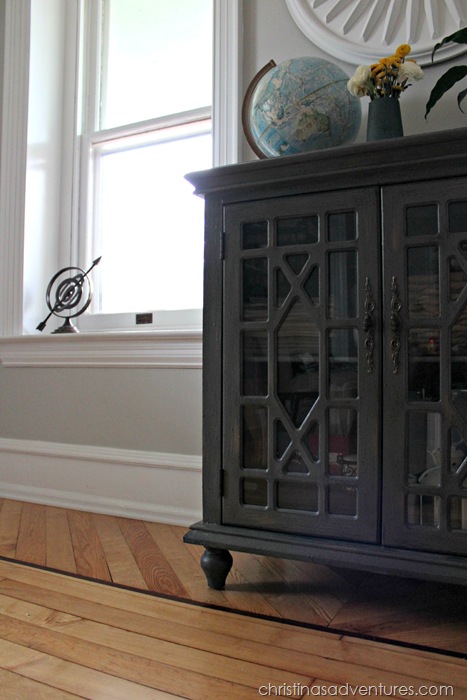
Even though this room has the wrap-around front porch on the two outdoor walls, we get lots of light in the front windows. It was one of the things I loved about the house from the very beginning! Between the two walls, I got this cabinet that truly makes the space. I’m so glad I got something so pretty to go in this space!
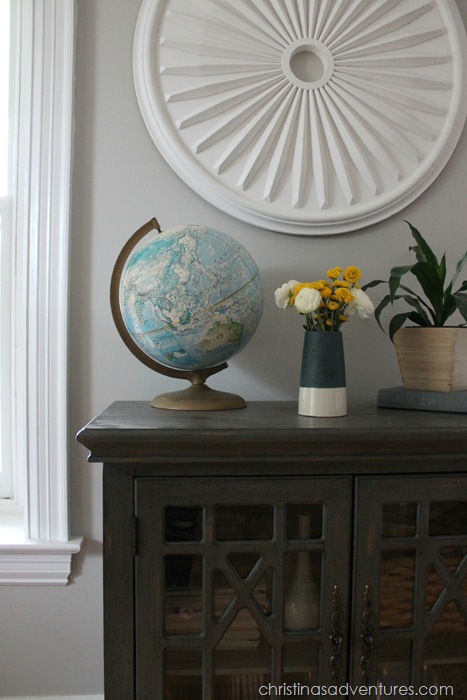
Since this wall is the most visible from the whole bottom floor, I’m excited to use the top of this cabinet to decorate seasonally. I have it simply styled right now, but I’ll be excited to make it all pretty for the holidays soon!
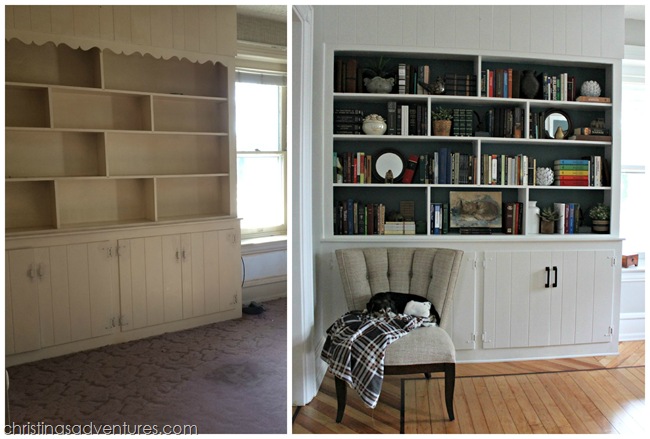
And finally, on to my FAVORITE part of the room. These built-in bookshelves weren’t always so beautiful, but I love them so incredibly much:
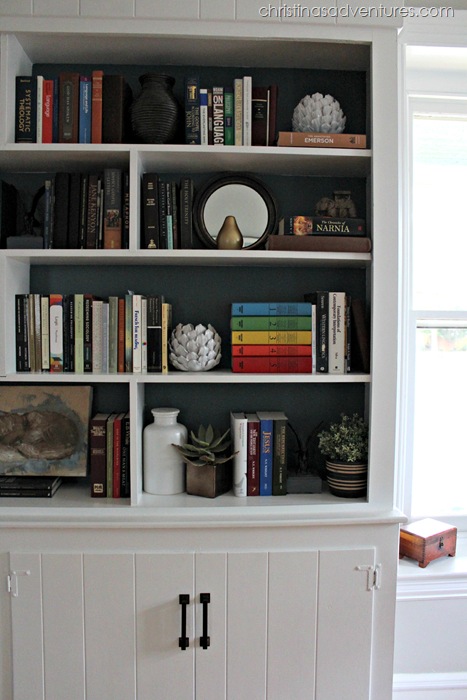
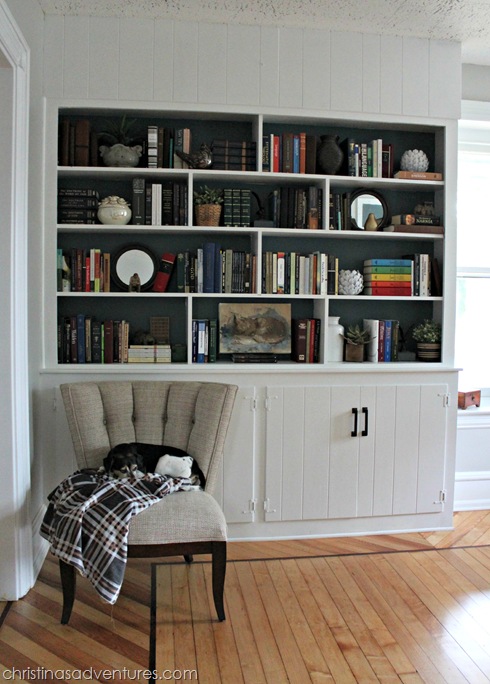
We cut the scalloped edge off of the top, and then gave the shelves a makeover with white paint all over, navy paint on the backs, and new hardware.
My challenge was to take all of my husband’s books and make them look beautiful on these shelves. By mixing in decorative elements and styling these shelves with just a little bit of creativity, I love how they turned out! AND my husband does too (because I was able to keep them in alphabetical order – ha!)
We all love the addition of this sitting chair (no longer available – SAD! Here’s similar styles) in front of the shelves. We don’t access those cabinets very often, so it’s a perfect place to sit and read or snuggle with one of the kids (or a dog):
While this room, and all of the other rooms on the first floor, are finished, we still have a long way to go. Our hallway is still so unfinished! We plan to begin tackling it this winter, so stay tuned!
I hope you love our office as much as I do, and I hope you’ll consider using your walls for storage space if you’re looking to maximize your office space as well! Make sure you follow along on Instagram, Facebook & Pinterest for our renovation inspiration and progress. For a look back into the beginnings of this 1902 Victorian renovation, get our back story here!
I am so thankful to Raymour & Flanigan for providing me with the chair and cabinet for our office. As always, all opinions are 100% my own. This post also contains some affiliate links. Full disclosure here.
Like this post? You’ll also love:


You and your husband are doing a grand job of renovating your home. Your office is another example; it’s awesome. Most importantly, you love it and functions well for you. That is what matters. Cheers and Happy Fall, Ardith
Thank you SO much, Ardith! We are working hard, but loving all of our finished spaces so far. I really appreciate that you took time to comment – thank you!! 🙂
Hello. I just come across your blog, it is wonderful! I’m looking forward to digging in deeper tonight! I am wondering how you build the wall organization units for the office? And where you purchased the items that you used in them?
Hello. I just came across your blog, it is wonderful! I am looking forward to digging in deeper tonight! I am curious as to how you built to be while organization built-ins for the office space? And where you purchased the items that you put inside of it? (Other than IKEA lights ?). Thank you!
For this did you use repose grey as is or did you dilute it?
thanks
This is repose gray full strength – it is in a sunny room though 🙂