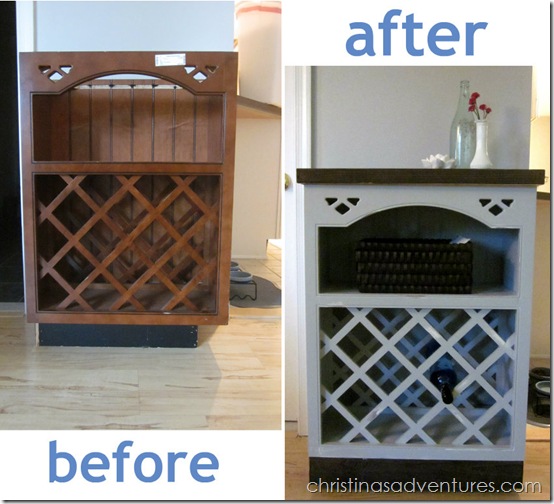
I am *so* excited that I was finally able to do another furniture make-over! I feel like it’s been SO long, and I miss it way too much! While we’re able to save a lot of money (awesome!) by living with my parents, we’re also very tight on space, and I just can’t take up precious space with unfinished thrifty finds. But there was this “dead space” between our bathroom door & our kitchen’s open doorway, and I’ve been searching for MONTHS for something that could fill the space. I needed something that wasn’t too deep (it would jut out too much) and something that was less than 2 feet wide, so it could fir the space between doorways. After much searching, I found a wine rack at ReStore. It is solid and was in pretty good condition – but it was missing a top (kind of important) and I wasn’t digging the veneer.
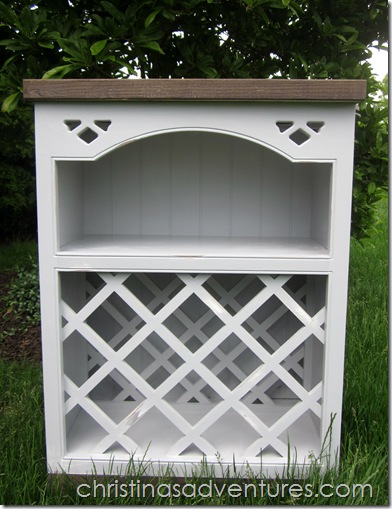
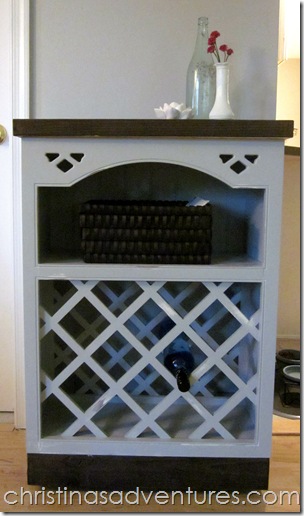
Here’s how it turned out:
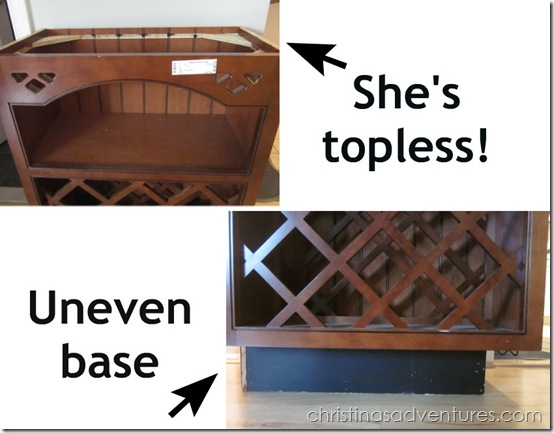
Here were the two major problems:
Thankfully the uneven base didn’t make it less sturdy – it just made it weird. I think this might have originally been part of a kitchen cabinet set, and it was just ripped apart and sold in pieces at ReStore. This piece was priced at $30, and then I got 20% off so I paid $24 for it.
I started attacking the piece by figuring out what I was going to do with the top. I got so excited when I read this post and I knew this was exactly what I wanted to do! So I got some wood from Lowes and had them make the appropriate cuts. While I was getting the wood for the top, I decided to get pieces for the bottom as well (to cover up that bizarre uneven bottom).
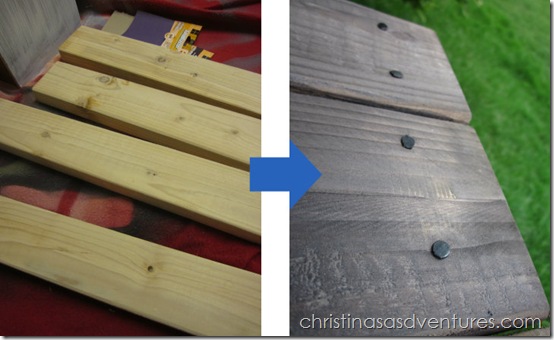
Then I followed the tutorial I found online, which uses tea bags, vinegar, and steel wool…to age the wood. The lumber was not expensive ($6.50 total), so I figured if it didn’t work, I wouldn’t be too upset. BUT I wasn’t upset at ALL, because it totally worked, and I am in love with the results!!
Once I had aged the wood, I had to decide on a paint color. I like the look of a dark top contrasted with a lighter piece, so I decided to use some “oops” paint I got from Lowes a few months ago, but had never used. Of course I primed it first (spray primer for inside edges & wine rack, brushed primer for the flat surfaces).
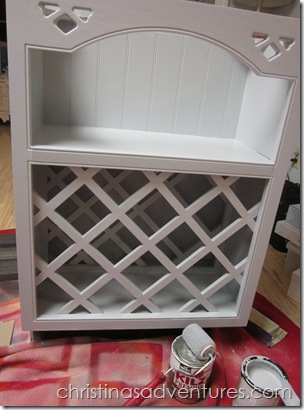
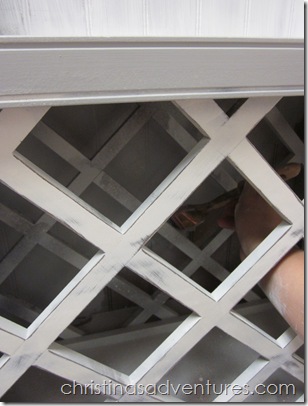
The next part nearly killed me. If you look closely, you can see that I needed to get through THREE layers so I could reach the back piece behind those wine rack “grids”. I did this all by hand, and my arm was covered in paint, and it felt like it was ready to fall off of my arm. I am SO glad that part of this project is over!
Once I painted the wine rack part, the rest was easy! I gave it 2-3 coats in certain spots, let it dry, and then rubbed over some edges with sandpaper to scuff it up a little bit.
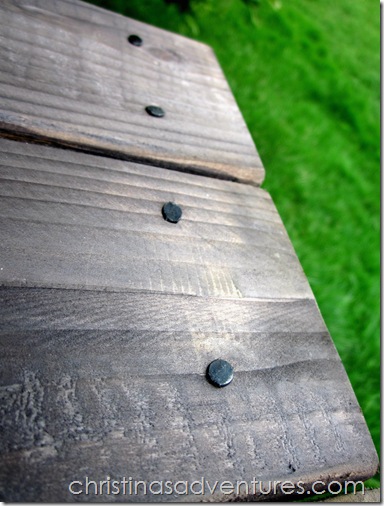
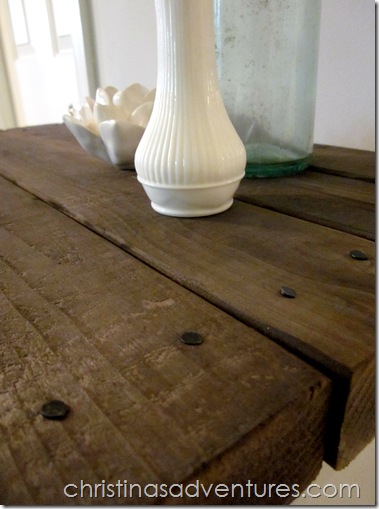
Once the paint was dry, I pulled out the wood I had aged. I used liquid nails to secure the boards to the top of my piece (you can view the “fun” I had with my caulk gun in my Instagram picture ![]() ) Since I wanted the look of old barn wood, but I didn’t really need nails to secure the wood to the top of this piece, I opted for wood tacks (super cheap at Lowes). It must have taken me less than a minute to tack them into the wood – it was so quick and simple! I didn’t care if they were in straight…I actually didn’t want them to look close to perfect, so I just did it quick, and called it a day!
) Since I wanted the look of old barn wood, but I didn’t really need nails to secure the wood to the top of this piece, I opted for wood tacks (super cheap at Lowes). It must have taken me less than a minute to tack them into the wood – it was so quick and simple! I didn’t care if they were in straight…I actually didn’t want them to look close to perfect, so I just did it quick, and called it a day!
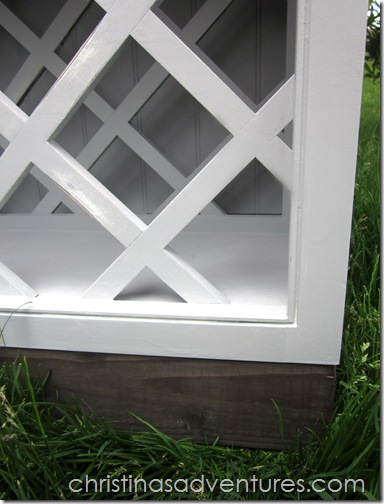
I didn’t take pictures of this process, but I did also use liquid nails again to secure aged wood to the bottom of this piece – it actually “floats” above the ground slightly, so it does nothing to support the piece, but it just helps to hide that weird uneven base.
I was finally finished, and could sit back and admire everything that came together!
I have really poor lighting in my house – so it makes for poor pictures ![]() BUT I wanted to show you how I am going to “style” it for right now…
BUT I wanted to show you how I am going to “style” it for right now…
YES – I know I need to get some more wine bottles (like I needed an excuse?! ![]() )
)
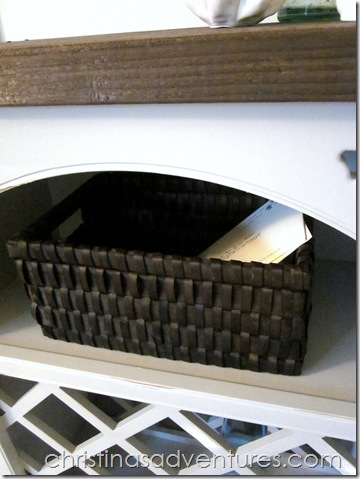
I got the basket at Michaels ($12, but then I used a 40% off coupon).
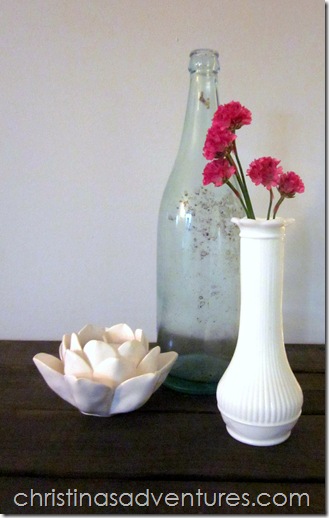
The bottle & vase were thrifted a few years ago, and the flower votive holder was on clearance at Michaels.
This wood top is by FAR my favorite part of this project:
I’m so happy this project fills the space, and is functional at the same time. I imagine we’ll be using this as a “drop-off” area for purses, etc. since it’s near our door too!
Linking up to:
Shabby Nest, Remodelaholic, Under the Table and Dreaming, Today’s Creative Blog, Finding Fabulous, The DIY Show-Off, Tatertots and Jello, Shabby Chic Cottage, Stories of A-Z, House of Hepworths, CRAFT, House of Grace, Domestically Speaking, Creations by Kara, Lolly Jane, Somewhat Simple, Young and Crafty, A Glimpse Inside, Someday Crafts, My Girlish Whims, The 36th Avenue, Serenity Now, My Uncommon Slice of Suburbia, Not JUST a Housewife, Whipperberry


Love how it turned out!!!! Such a great find – and the top really looks great. Shawn and I really need somewhere to store our wine. We seem to have the opposite problem of you haha 🙂 All the bottles are hogging up counter space
I love this! And this post was a reminder to me that I need to frequent the ReStore here in town when we buy our house. So awesome. Thanks for sharing this!
It looks fantastic!! Love the look of the aged wood on top! Great job!
Wow!! That is gorgeous — I love it! The top is my favorite part too. And your solution to hide the uneven base is genius.
Girl, time to stock up on your wine! 🙂
Your wine cabinet looks fantastic. You did an incredible job fixing it up.
Amazing and totally worth the headache of all that painting 🙂 Loooooove it!
Great job fixing it all up! Beautiful!
love this you did a great job and i love the distressed wood!
Sometimes all it takes for a great refinishing project is some white paint and beautiful bare wood. I love how you fixed this up with the new “reclaimed” wood on top. It looks amazing!
beautiful job – the white looks AMAZING – found you via linky – would love for you to come visit me too… off to have a good look around your blog – best wishes. x
http://partycraftsecrets.blogspot.com/
Beautiful {rescue} transformation, Christina! I love the new rustic/cottage look! Great job!
came out beautiful. come link it up at our link party today at http://www.finecraftguild.com/party/ will open in an hour…