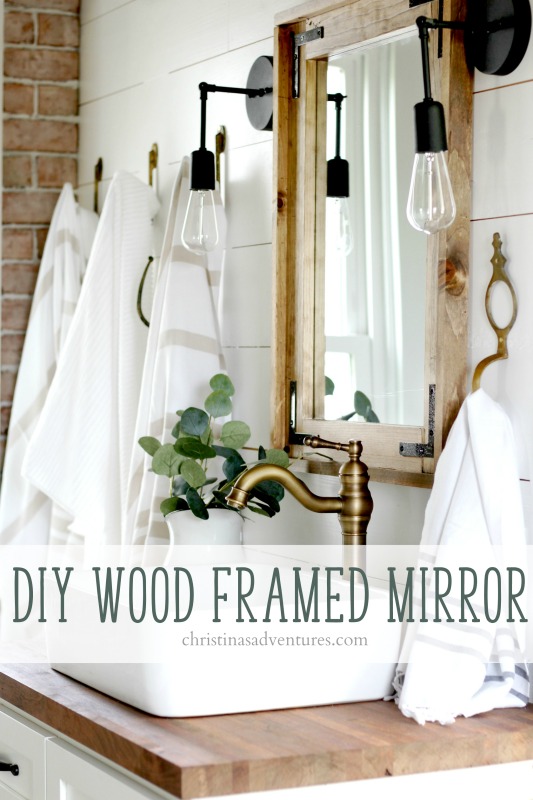
Learn how to make a DIY wood framed bathroom mirror – the perfect addition to any farmhouse bathroom design. Affiliate links are included – full disclosure here.
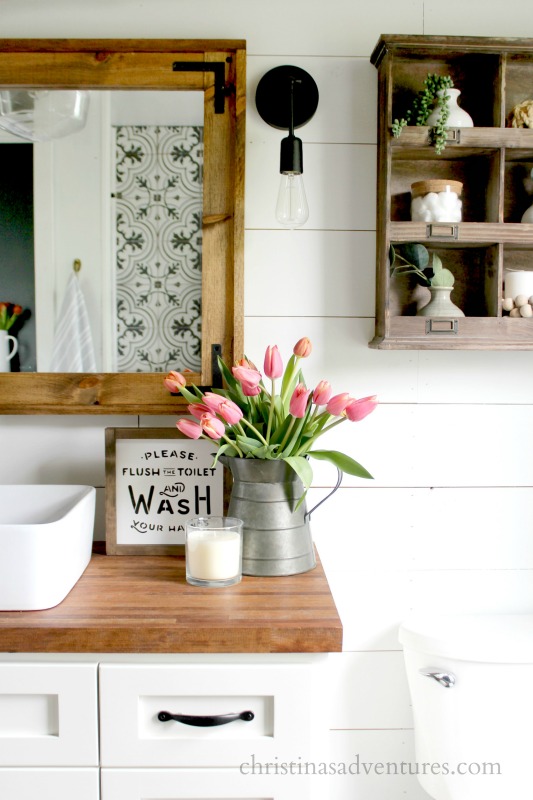
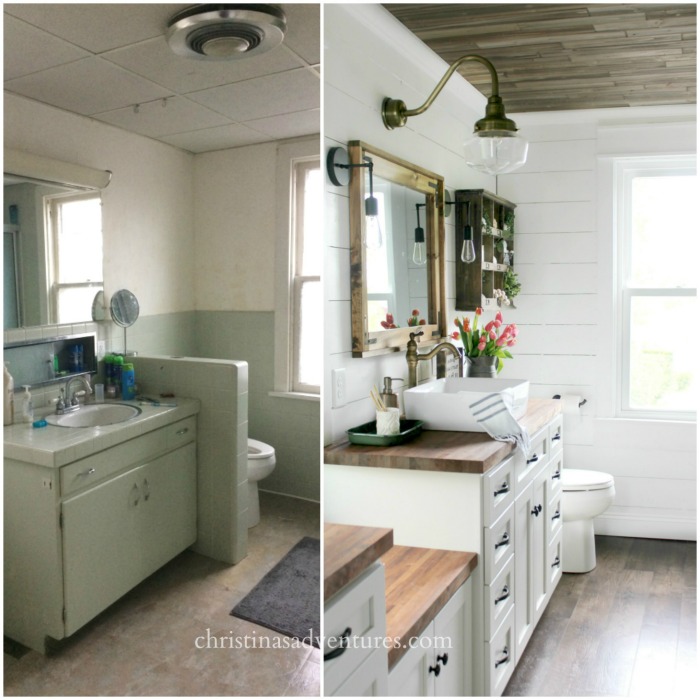
Almost every time I share a picture of our bathroom renovation, someone asks “…but where did you get those mirrors??” And every time I have to answer “We made them! I’ll share how…just let me figure out how to explain it!” Sometimes it’s hard to explain DIY tutorials that are made spur-of-the-moment like these, but I’ll do my best to explain how we made these!
Wood framed bathroom mirror:
Let’s back up a little bit – I had my eyes on this mirror. I loved it, and it was perfect for our bathroom. The price was more than I wanted to pay, but I was at the point of so desperately needing mirrors and so NOT wanting another DIY project on the list…that I was going to buy them. I went to purchase, and there was only ONE left. Ahhh!
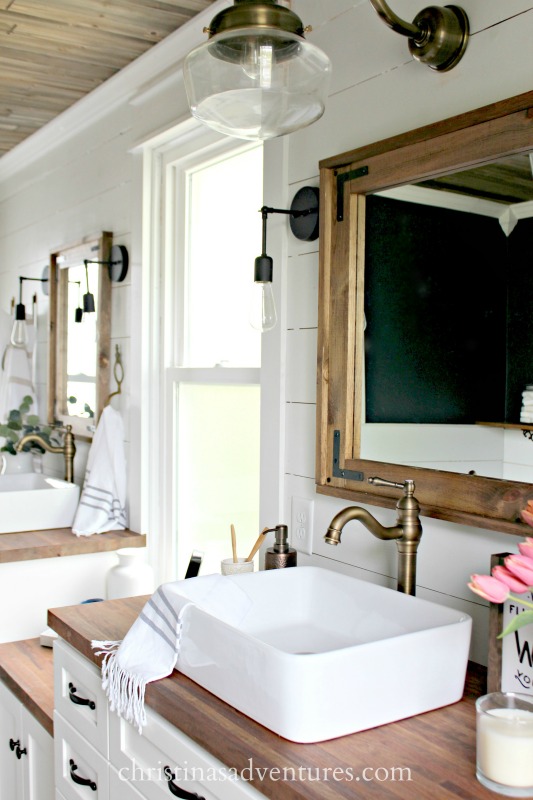
While I was so bummed (and so was my husband – no mirror = more work haha) it ended up being a major blessing in disguise. Since we had two different sized vanities, and had to work around sconce lighting we had already ordered, we could make our mirrors custom sized and totally fit our space.
We were making these at the last minute for our 6 week bathroom makeover, so you’ll have to forgive me for a lack of pictures documenting the whole process. We kind of made it up as we went, so I’l give you the best explanation I can.
How to build a wood framed bathroom mirror:
What you’ll need:
- Pine boards (1x3s and 1x2s)
- L brackets
- Spray paint (this is the kind I used)
- Frameless mirror (I got mine at Lowe’s)
- Adhesive
- Stain (this is the color/brand I used)
OK, so the beauty of this project is that you can truly build a custom mirror for the space that you have. You’ll want to customize the size so it’s the largest possible size for on top of your vanity. Keep that in mind when purchasing mirrors, and make sure you let them span the width of your vanity as much as possible.
After you determine your finished size of your completed mirror, you’ll need to figure out the dimensions of your wood. If you have specific measurements, you could even get your pieces cut down at your home improvement store.
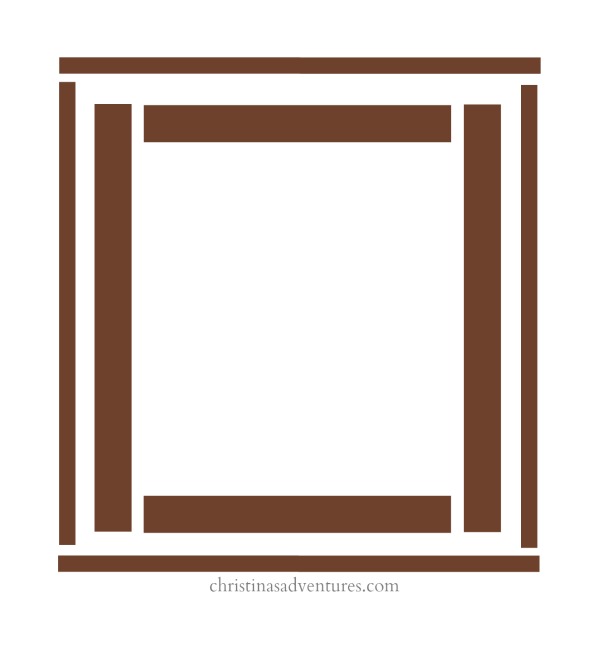
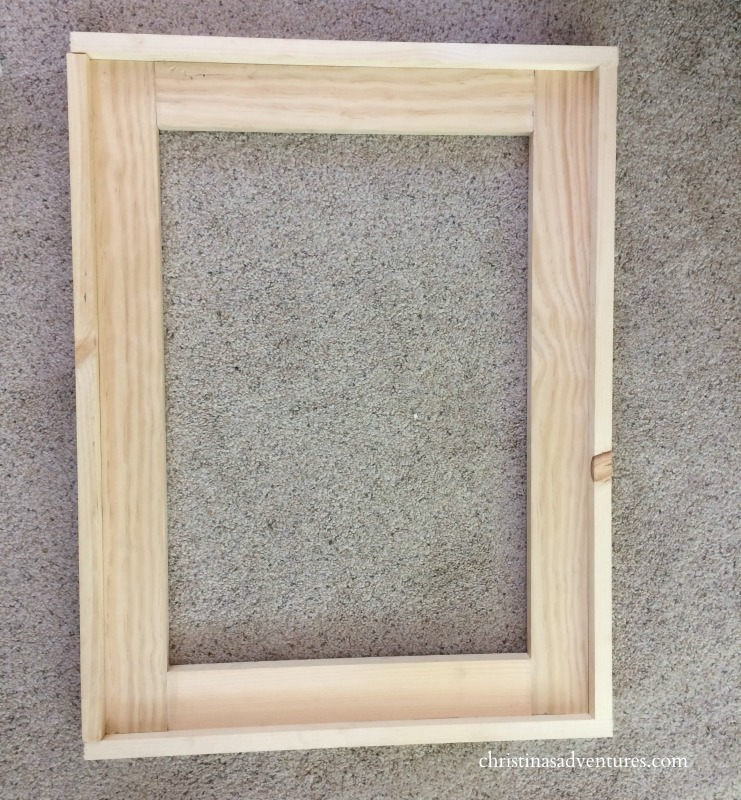
Imagine you took the mirror and pulled all of the wood pieces apart a little bit – this is how all of them will fit together. The boards on the inside are 1x3s and the boards on the outside are 1x2s, but turned on their side:
Now, we are not professionals. We don’t have a pocket hole Kreg jig, which is totally what you should use to assemble this mirror. But again, we aren’t professionals. So, we literally just hammered nails into the sides of the boards, and reinforced with a little bit of glue to keep it together.
Once the frame was assembled, I stained them. This is my most favorite stain at the moment – LOVE the color.
I have since learned everything that I was doing WRONG when I was staining wood. Come read this post to see all of my tips I learned from a professional woodworker on how to stain wood the right way.
We then glued the mirrors directly to the back to the wood frame with this adhesive.
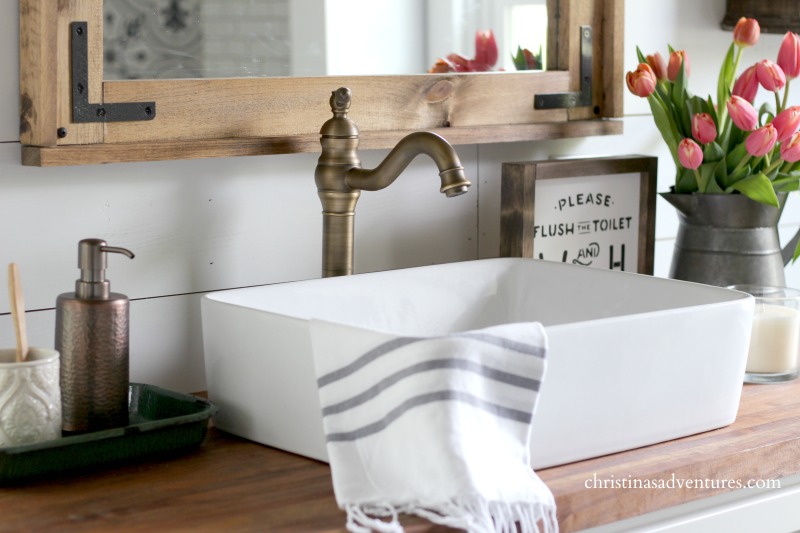
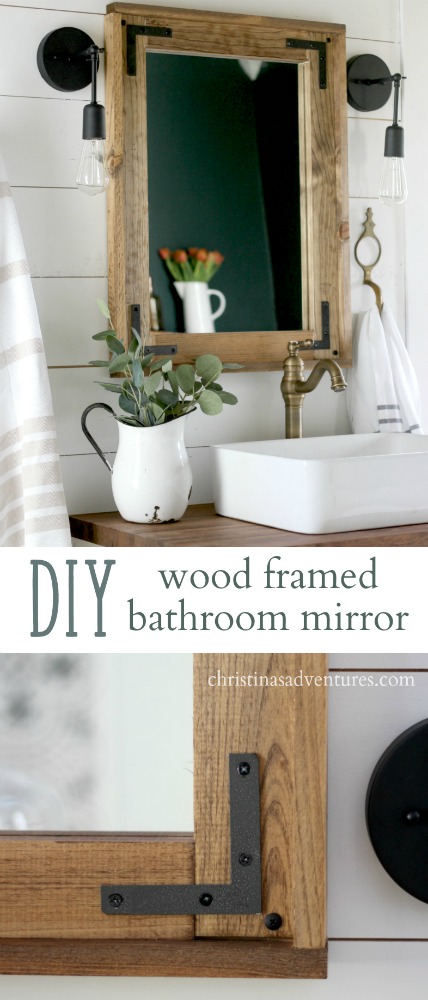
The next part is my favorite, because it adds function AND style. We added chunky L brackets to the corners of the mirror. This helped to reinforce the structure of the mirror, but it also gives it that rustic feel. I could only find silver colored brackets, so I sprayed them with this spray paint and they looked perfect. You can also spray paint the tops of your screws, but I forgot to do that. So, Sharpie paint pens for the win! Again – not a professional! 😉
We installed real shiplap to our walls, which is 3/4 inch thick wood on the walls. Since that was super solid on our walls, we screwed the mirrors directly into the shiplap on the wall. We used black screws so it added to the rustic feel.
And that’s it! I am in LOVE with these mirrors, and it cost us less than $60 for both of them.
The most amazing thing? YOU GUYS have loved this project so much! I have received so many pictures from you guys with pictures of this mirror you made in your own bathrooms – it makes my day every time!
 If you make this mirror with this tutorial – PLEASE share it with me on Instagram or Facebook! I’d love to see it and share your hard work!
If you liked this DIY wood framed bathroom mirror tutorial, please pin it here to save for later and share with others!


I am in love with these Christina! I am going to have to try that stain out–it’s so pretty! You did great job replicating the super expensive version and they are honestly hard to tell apart 🙂
I always admire these beautiful mirrors! Maybe, possiblyyyyyyy….it will be my weekend project for our downstairs bathroom ?
Love love this mirror! I plan on making one for my powder room. Can you share where you got your frameless mirrors? I am searching for one for a reasonable prices, thanks!
I got mine at Lowe’s!
Christina, I adore these and plan to make some but I’m wanting to know what size length of nails you hammered into the 1×3’s before you hammered the 1×2’s? 🙂 And did you hammer the 1×2’s onto the the 1×3’s?
You make the impossible look possible for this newbie to building. We are in the process of making over our playroom to be a man cave. I was going to try to find someone who would make these for me , but I was sure they would be too expensive, especially for how many I want and some of the sizes I want. Well howdy, because of you, I know I can do it myself. My husband will be so proud, especially when he sees how much money I saved. Thank you!
oh this is so kind! Thank you, Missy! I would love to see the mirror when you’re done! Either find me on FB or Instagram, or e-mail me a picture at [email protected]! I’d love to see!
Do your mirrors have the little clips on them? I want to do this in my new house and ours have clips..
they don’t – we got these at Lowe’s without any clips on them 🙂
How did you get the frame to stay on the mirror while the liquid nails was drying?
We turned it upside down so the weight of the mirror held it into place (you could also put paint cans/weights on the back to help secure it while drying)
Did your mirror fit the entire backside of the frame? Or was it a bit smaller? Going to attempt to make a few of these for our new home! Fingers crossed! I’ll buy two of the Lowe’s 36×48 frameless mirrors. I’m afraid the weight will be too much for liquid nails…but that stuff is supposed to be super adhesive so…. I’m nervous! LOL! Thanks! Kristine
exciting!! yes we got our frameless mirrors at Lowes too – and our mirror was a little bit smaller than the frame, yes! I’d love to see a picture when you’re done!
Love it, and hope to make one soon!
Hi Christina,
I love this look. What size mirror did you use? And does your mirror have the beveled edge? Did you include a backing after you glued the mirror to the frame? How did you hang the mirror to the wall? Sorry so many questions! Thanks in advance.
Did you poly after staining?
All I can find is beveled frameless mirrors is that what you used!?
no mine wasn’t beveled sorry!