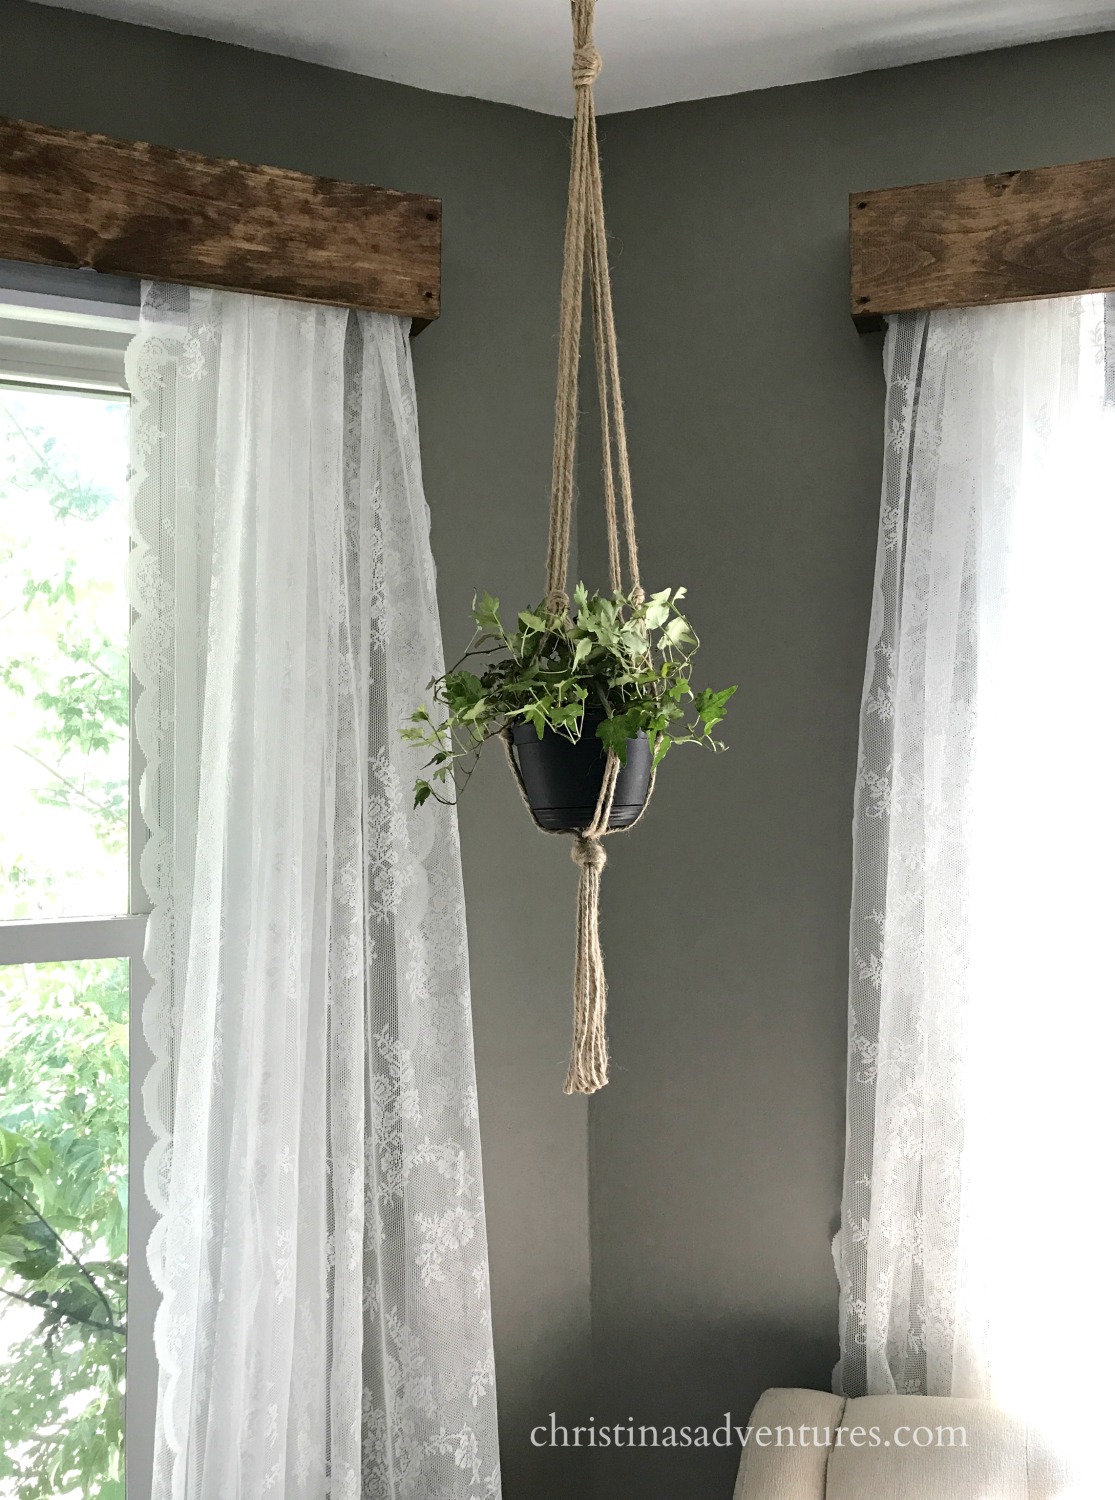
This DIY wood window valance pairs beautifully with lace curtains and adds the perfect elegant but rustic addition to your home decor. This post contains affiliate links – full disclosure here.
I’ve been sharing pictures of our bedroom makeover on Instagram, and I’ve NEVER got so many messages! It’s wonderful! But the #1 question – “How did you make those window treatments??”

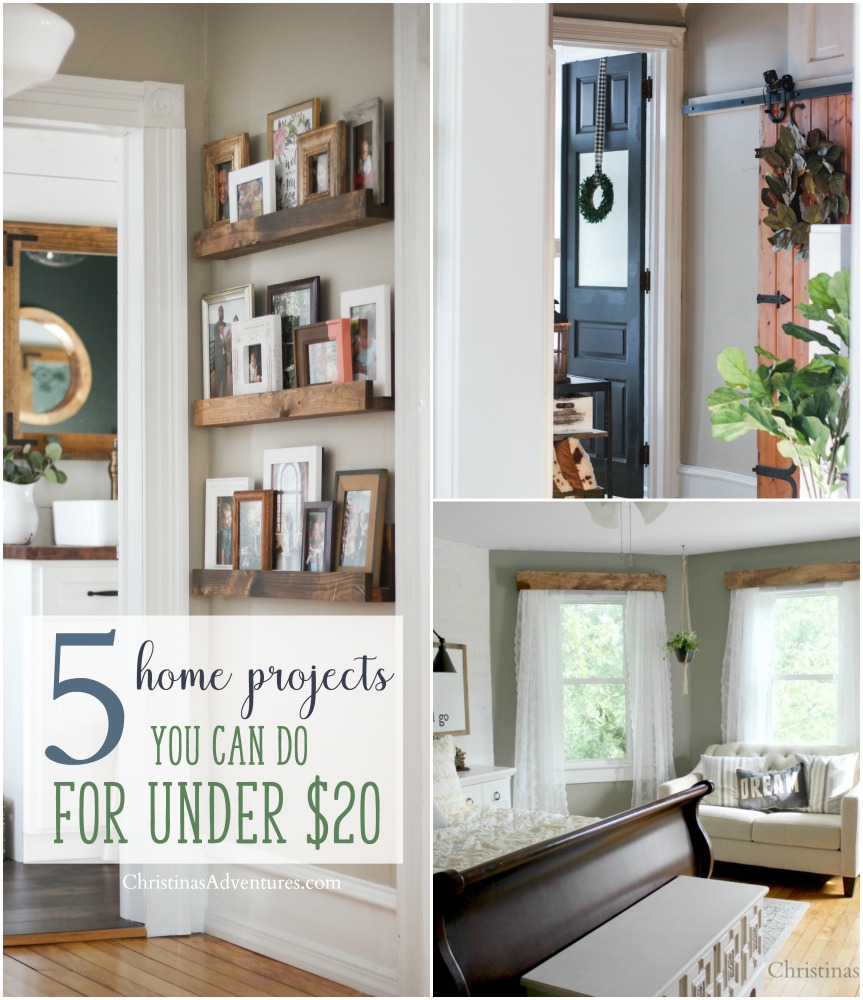
DIY wood window valance tutorial:
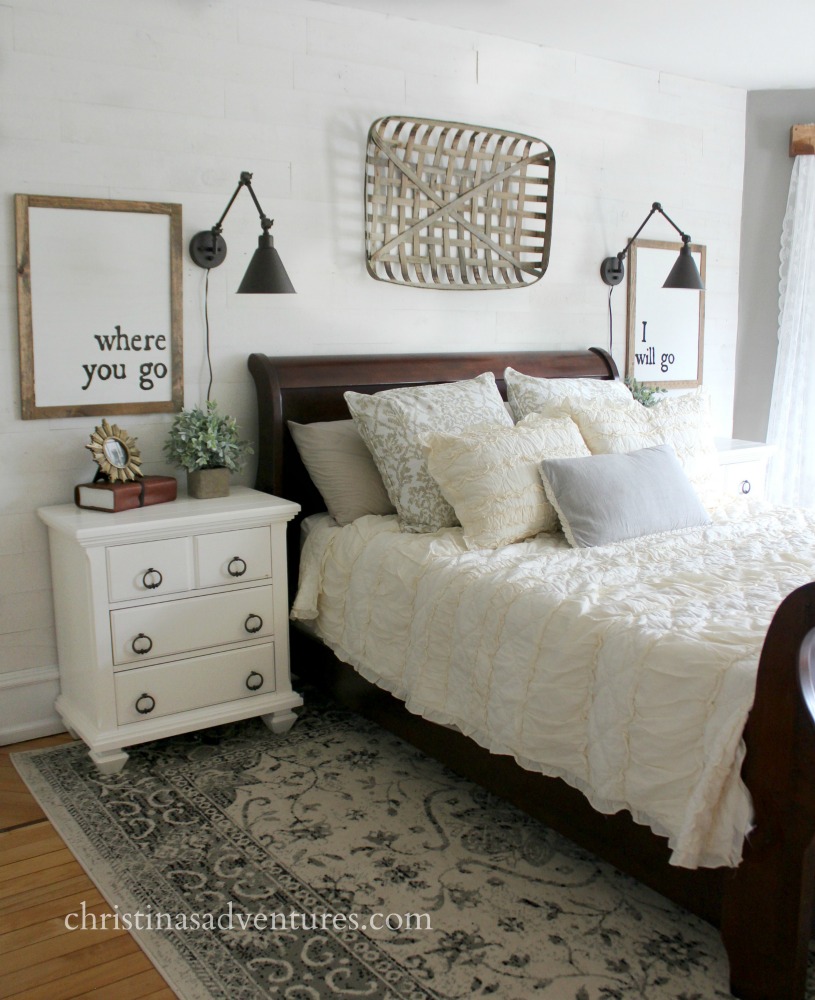
Come see our full bedroom makeover by clicking here
I’ve got great news for you – it’s SO simple and SO inexpensive! I promise, anyone could do this project. And it won’t put a big dent in your wallet at all!
I was inspired by this picture from one of my favorite bloggers, Liz from Love Grows Wild. The mix of the rustic wood beam softened with the lace curtains is just stunning.
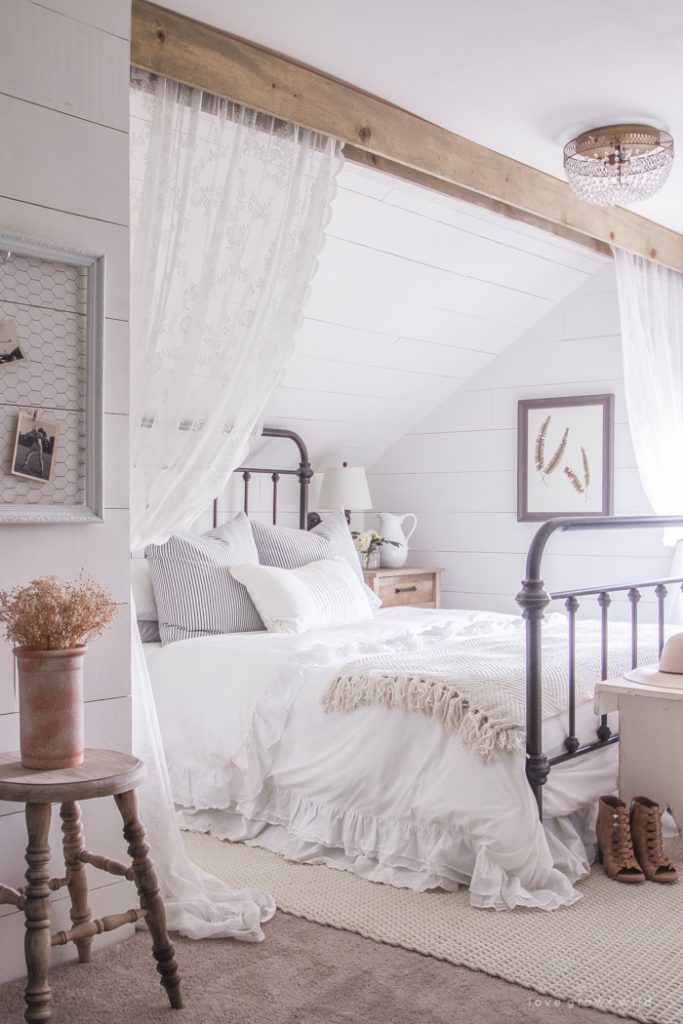
I bought the exact same curtains she did because I loved them so much! They’re from IKEA and they’re only $12.99 for a pair (and they’re extra long – huge win!)
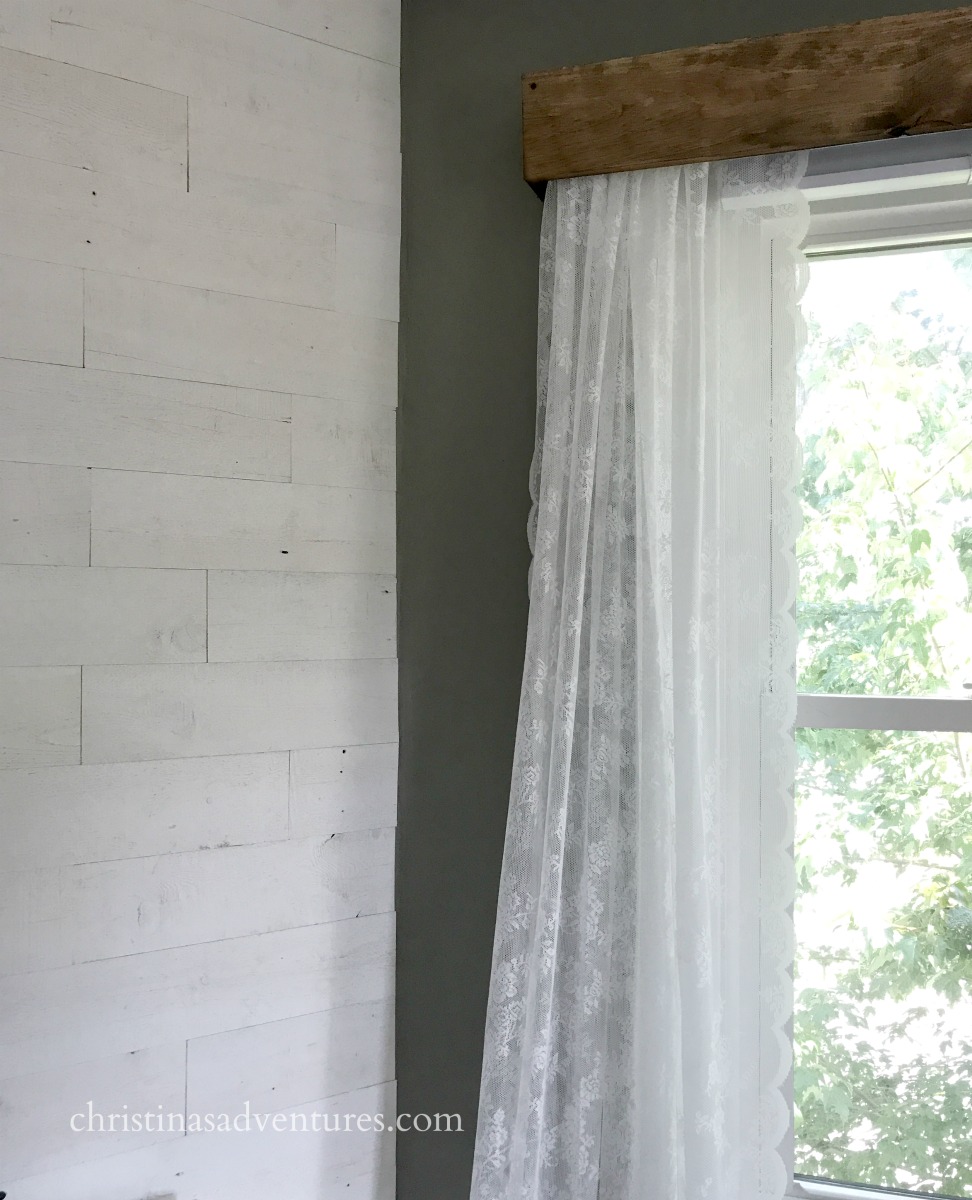
I took the same concept and just transferred it to our windows. It all started because I wanted to cover our blinds. They don’t fit inside our window box, so they awkwardly stick out from our windows, and I wanted to get creative with covering them. I couldn’t be happier with how they turned out!
What you will need:
- Wood (we used 1×6’s, but you could do 1×8’s to make them chunkier)
- Screws
- Stain (this is what we used – my FAVORITE)
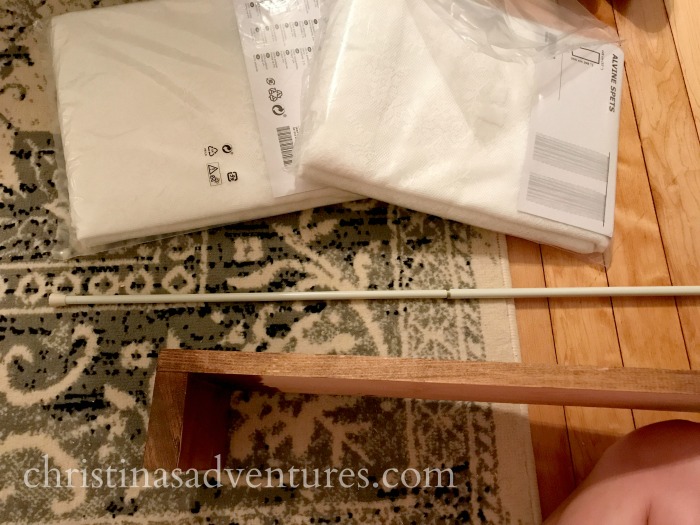
- Tension curtain rod
- Curtains
- we got ours from IKEA for super cheap, but if you don’t have an IKEA near you, there’s some great options here
Since I made this project, I learned how to stain wood the RIGHT way. You’ll want to read this post if you want your stain to have a smoother (not splotchy) finish.
How to build a wood window valance:
First – measure it out. I suggest going a few inches TALLER and WIDER than your window frame. This will help your windows appear even bigger than they are.
We used 1×6’s (but you could do 1×8’s or even 1×10’s!), and literally just screwed them together like this (and then stained them). Make sure you pre-drill the holes first so the wood doesn’t split.
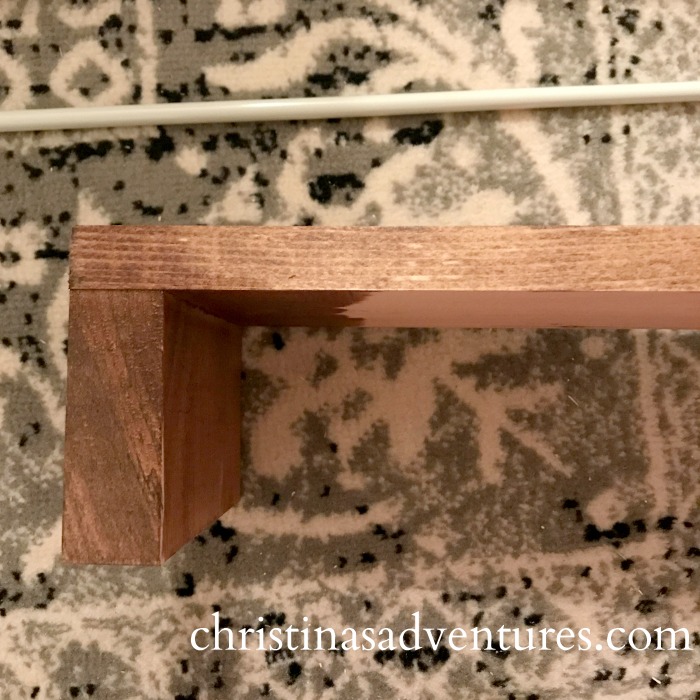
Get a tension curtain rod that fits the width of the inside of your valances.
Hang your curtains on that rod, and place it inside of your valance.

Now this is the part that gets tricky – you can choose to hang it a different way, but this is the way my husband came up with. We used really long screws & molly bolts in the wall, and had them stick out from the wall. We then screwed a hole into the back of the wood, like this:
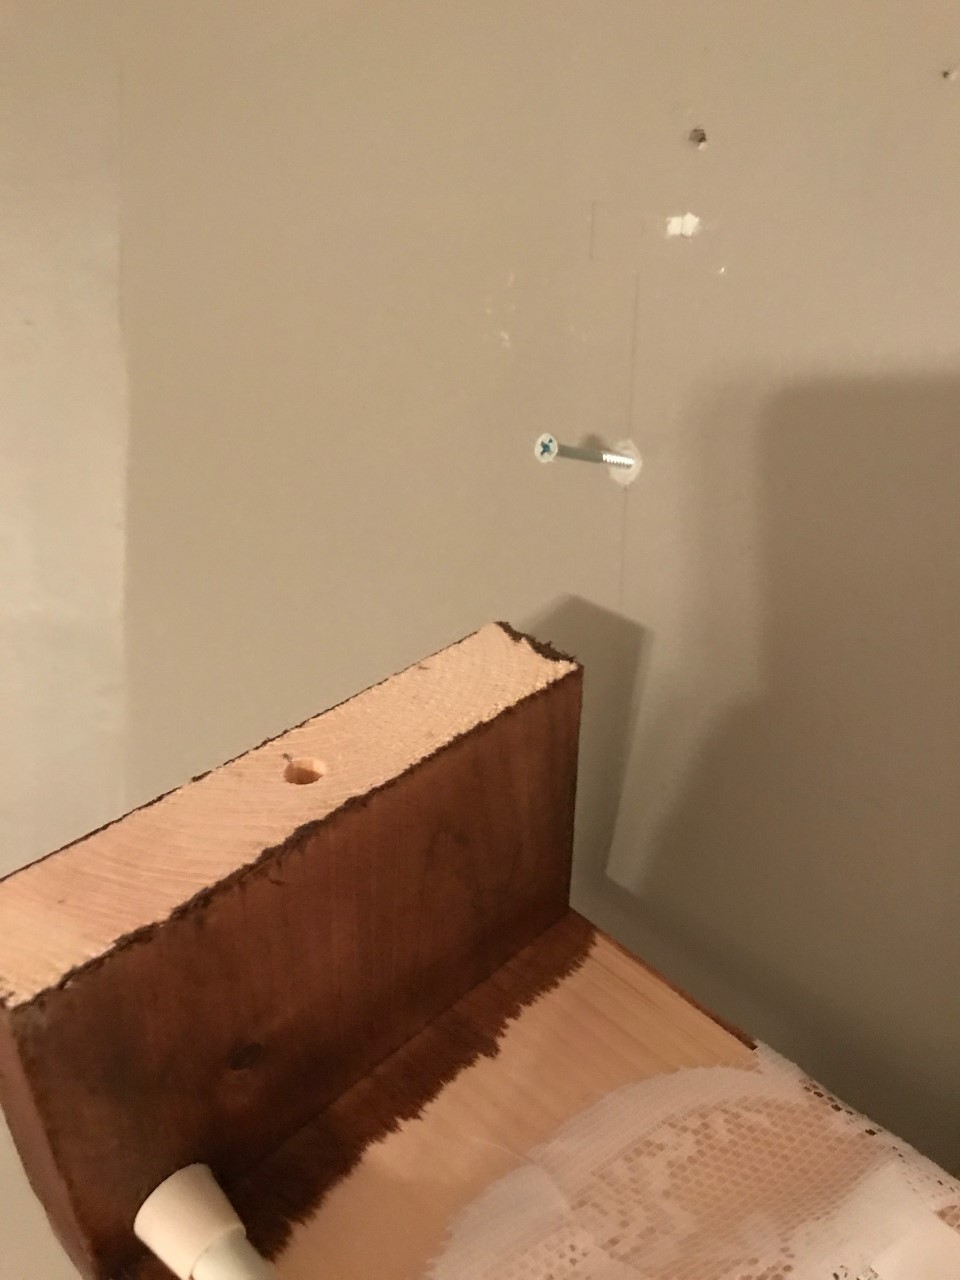
And that’s it! You’re done!

For 3 windows, this project cost us just about $50 total. I think that’s a major DIY win!
Like this project? Click here to pin it & share it with others!
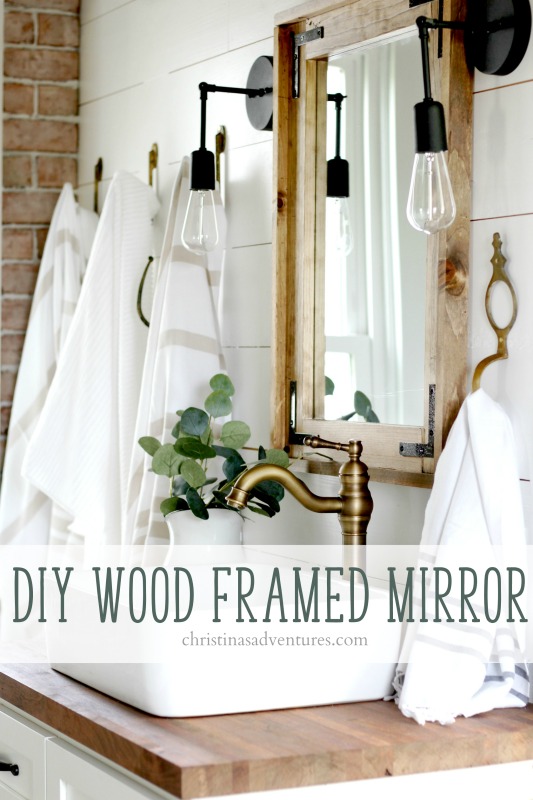
If you liked this simple build, you’ll love this tutorial for how we made our mirror frame on a small budget without any fancy tools:
And you can see every detail from our farmhouse bedroom makeover here:
This is also part of this great post – 5 projects you can do in your home for $20 or less – come see the other four here!

Christina!! Seriously, this is amazing! & soooooo afforadable!!! I can’t wait to do this in my bedroom and make a little oasis in our next home! Thank you!
These look fantastic! And you can’t beat how simple they are to put together 🙂
Best,
Kelly
Okay this freaked me out a little because I just did the SAME thing and it looks like we both used IKEA curtains?? Mine was made with old fence boards but seriously — looks almost identical! I swear — I never saw yours!! It sure does make an impact — I love the rustic with the soft, flow-y curtains! Great minds 🙂
That’s so funny!! And fun! I’m off to check out your project on your blog right now! 🙂
This valance/curtain combination is beautiful! Thank you so much for sharing. I’m going to try to do something similar on my living room window.
Thank you Katie!! I’d love it if you would share a picture with me when you’re done! 🙂
Hi there! Absolutely love what you did here! Random question, do you happen to recall the name of your wall paint? I am about to paint my living room and love this color! Thank you so much!
This was exactly what I was looking for and it turned out great! Awesome post
Love it, which color stain did you use on the balance in the photo?
Minwax “early american” 🙂