Learn how to stain wood, choose the correct finish, and use the right tools along the way. These woodworking tips are for beginning or even expert DIYers alike. This post is sponsored by Minwax. As always, opinions are always 100% my own.
I went to an event hosted by Habitat for Humanity’s ReStore and Minwax a few weeks ago, and it was so much fun! I met some friends, played around with some products, and truly learned just how little I know about staining & finishing wood.
I mean, I’ve been DIYing for years now – I wasn’t sure how much I would learn at this wood finishing workshop. I was so wrong!
The workshop was taught by Bruce Johnson, who is a wealth of knowledge for all of the things that go into woodworking projects. He blogs here & shares lots of woodworking tips & tricks.
Thanks to his wisdom, I can give you a guide so you can feel confident to tackle your next DIY – whether you’re a beginner or have been doing this for years (like me!)
How to stain wood:
Preparing the wood
(this post contains affiliate links)
- Sand the wood – always “with the grain”
- If you go against the gran of the wood, you’ll end up with scratch marks once you apply the stain.
- You can sand with 120 grit sandpaper for a smooth finish
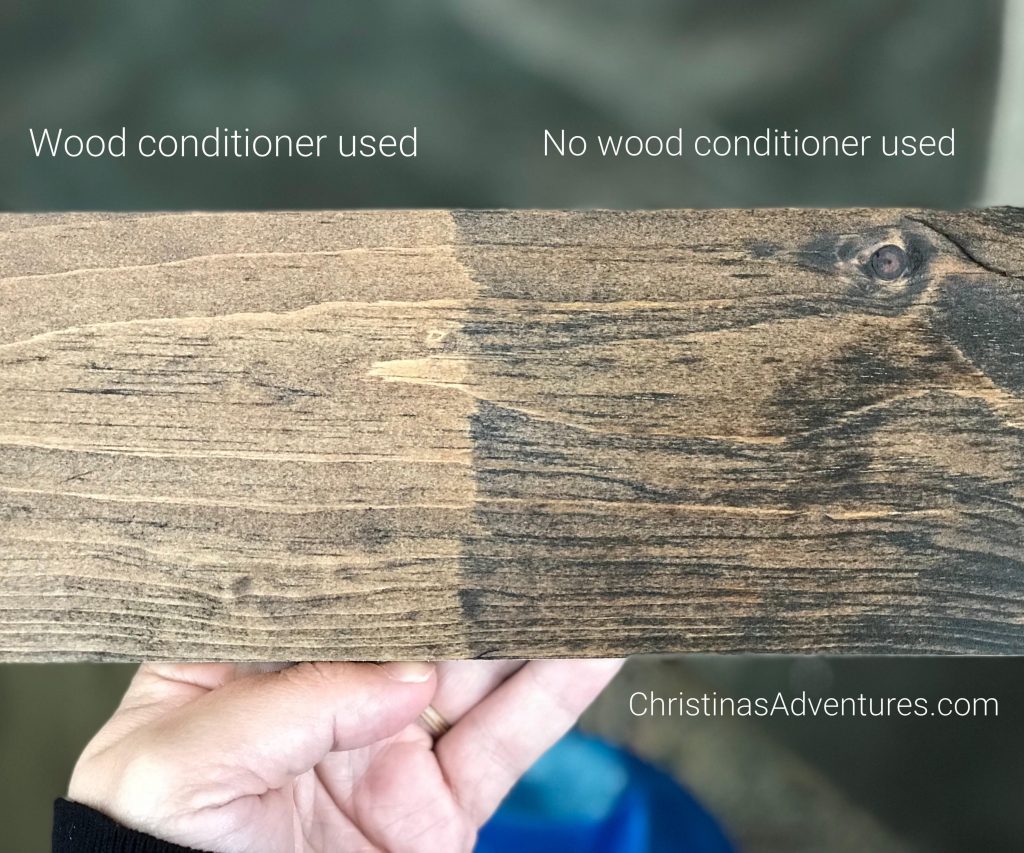
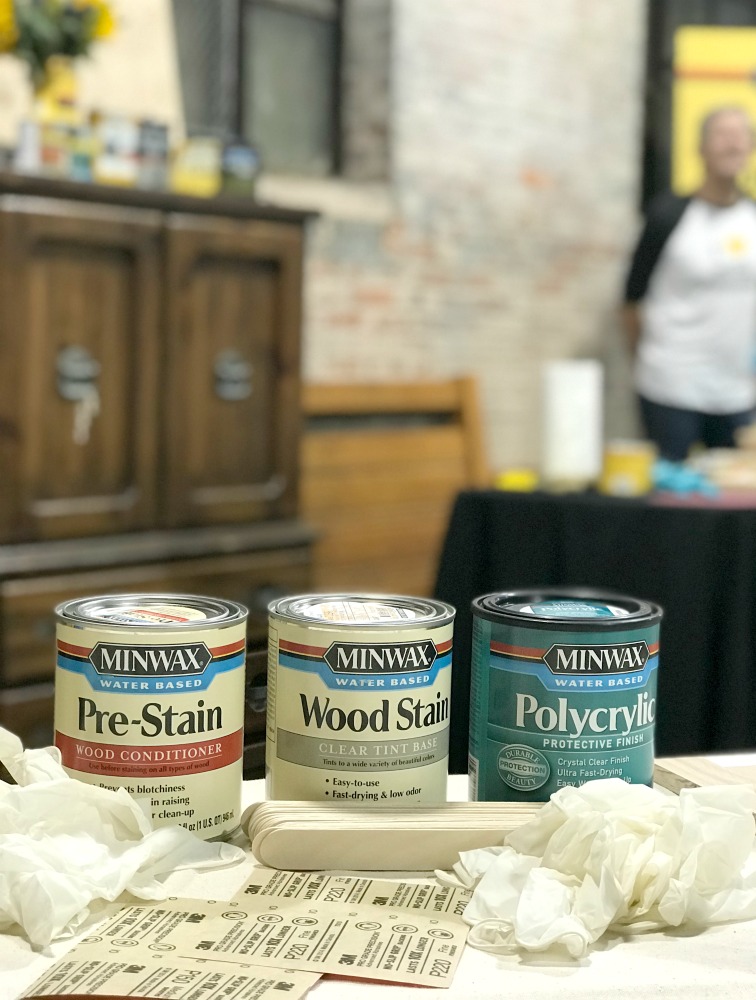
- Use wood conditioner
- This one was new to me – and now I won’t do another project without it!
- If you don’t condition the wood first, your stain will go on blotchy.
- You can see the difference in how the wood looks once it’s conditioned (this photo has not been edited in any way):
Applying the stain
- Using the right tools is really important for the next two steps.
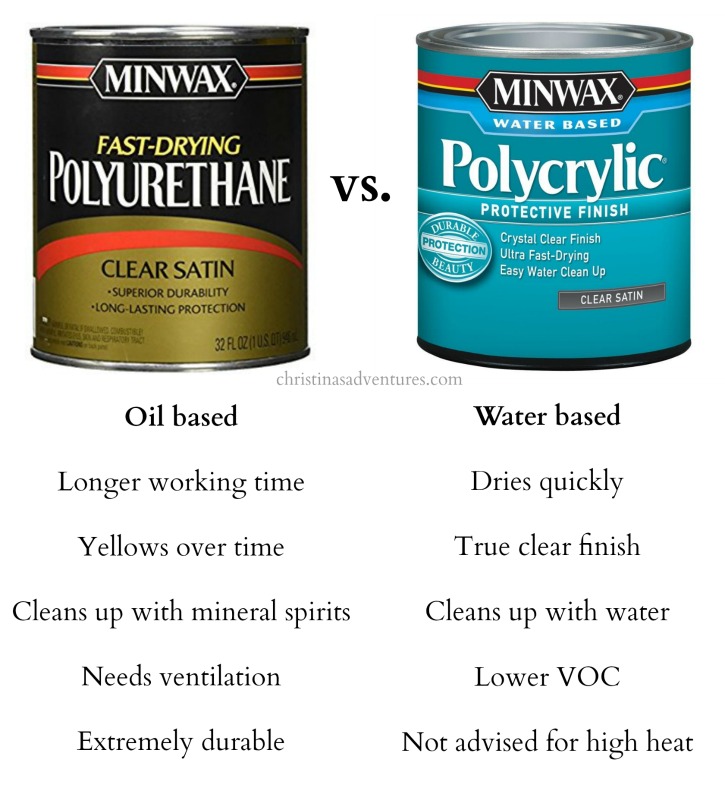
- Oil based vs. water based
- I personally like using oil based stains, but there’s a variety of choices of colors between water based or oil based stains.
- Oil based products give you a longer working time, while water based products dry quicker.
- If you use water based products, make sure you are using brushes with synthetic fibers. Otherwise, the bristles will soak up the water and the brush will expand and lose it’s shape.
- If you use oil based products, you can use a brush with natural fibers or a foam brush.
- Never shake the stain! It will get bubbles in it and can give you an uneven finish.
- When applying the stain, make sure you go with the grain. You can wipe off the excess stain after you put the first coat on (the longer you wait to wipe it, the more concentrated the stain color will be).
Finishing off the wood
- Again, you can choose to use oil based products or water based products. I personally love water based products for this part.
- Note: water based products dry a lot quicker, so they’re not as suitable for big projects (like floors). You want to be able to give a smooth final coat, and if you have a large space to work with, the water based products may not be able to provide you with enough time.
- It’s important to apply a finish coat – this will protect your wood from wear & tear, and it will also help lock the stain in and make it even more vibrant.
- If you’re not a fan of the shiny finishes, you can get them in satin or matte! Don’t let the high gloss finish scare you away if that’s not your style.
- Polyurethane (which is oil based) will amber, or yellow, over time. Polycrylic (which is water based) will always be clear and will not yellow.
- Just remember – you’ll have a longer working time with polyurethane than polycrylic. If you’re confident in your ability to work quickly, then go with polycrylic!
- Let your stain dry overnight before applying your top coat.
- When you’re applying your finish, you need the correct brush. Again – synthetic brushes = water based products and natural brushes = oil based products. Use a high quality brush for this portion of the project so you can get the smoothest finish possible
- Do one thin coat, wait overnight, sand *lightly* with a fine sandpaper, and reapply the finish. Repeat this process at least one more time before you can officially be finished.
Cleaning up
- I’m guilty of throwing my brushes in the refrigerator with a baggie over them at night…but I am sad to report that I was told that wasn’t a good idea. Boooo!
- Take the extra 5 minutes and thoroughly wash your brush out after every use. If you’re using an oil based product, clean with mineral spirits. If you’re using water based, you can clean with water.
- Make sure to hold your brush down while cleaning – otherwise product will build up near the base of the brush and ruin the shape of your bristles.
- You can use the little hole at the end of your handle as a hanger, so you can hang it to dry to keep the shape of the brush.
- Did you know you could keep that little cover it comes in to protect your brush after use? I always just threw it away – not anymore!
OK – phew. I know that’s a lot of information! It’s important to be informed, but it’s also OK to experiment and find your own special technique and style!
It’s easy for me to talk about Minwax products, because they’re basically all I use! Come take a peek at some of our past projects we’ve used Minwax products for:
Our bathroom counter tops:
I used Minwax “Early American” stain with the “Satin” finish polycrylic on top of our butcher block counter tops in our bathroom (they’re cherry butcher block slabs):
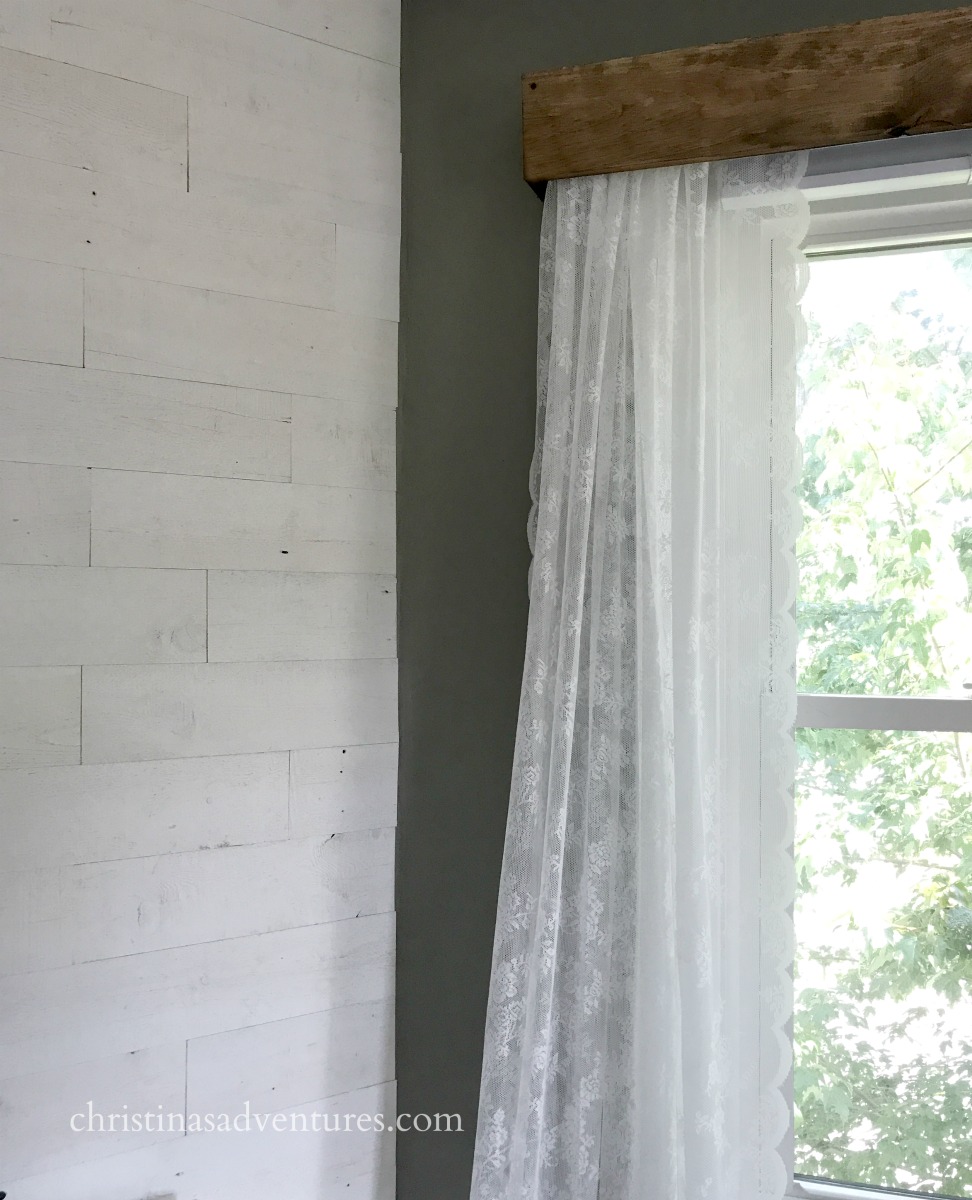
Wood window valance:
I used Minwax Early American to stain these pine boards to make our *easy* window valances. Now that I look back at these pictures…they look blotchy! I totally should have used wood conditioner first to give it a smoother stain application:
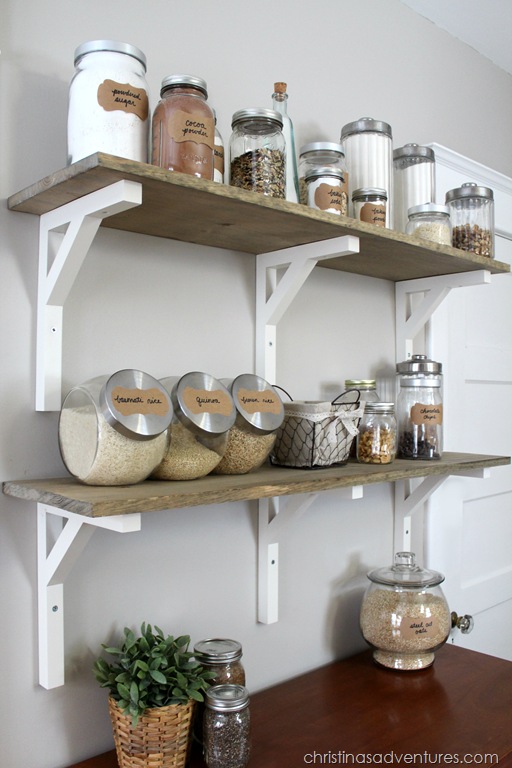
Open shelving pantry:
We used Minwax “weathered oak” on these shelves (pine boards from the hardware store) in our last house:
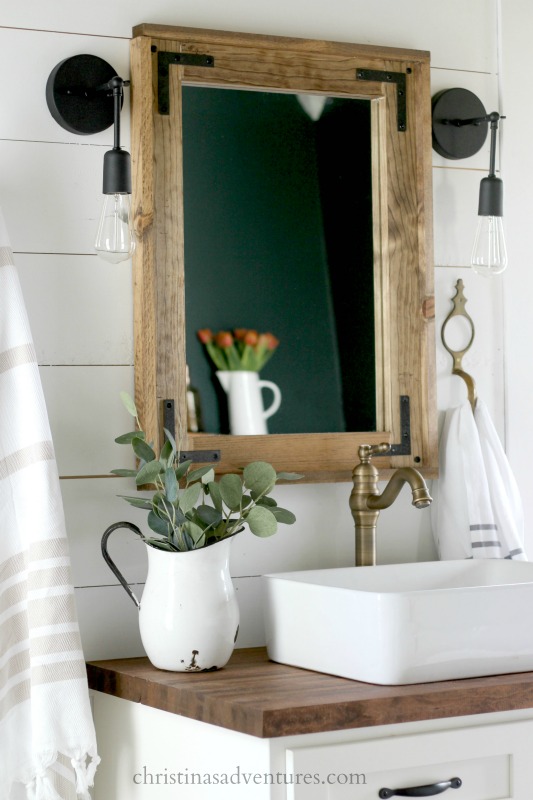
DIY wood framed mirror:
One of my favorite easy DIY projects – we used Minwax Early American stain on these (look at the difference in tones between that pine wood and the butcher block – we used the same stain!) I love how they look, but this is why it’s important to test a section first before you commit to a stain for your wood.
If you liked this post, or found it helpful, please share with others by pinning it!
Make sure you head over to Minwax’s Facebook page to “like” them and see lots of other tips & tricks that can help with all of your DIY projects! You can also find a LOT more specific product information on Minwax.com – they’re a great resource!
This post and the event I attended where I learned all about how to stain wood are all part of Minwax’s “Made with Love” campaign. Please visit their website for the cutest ideas and inspiration for your next DIY project! They’re working with some amazing friends of mine – see any familiar faces in this group?
Jen from Tiny Anchor Studios // Denise from The Painted Home // Charlotte from At Charlotte’s House // Me 🙂
Thanks again to Minwax for sponsoring this post & providing us with great products for all of our DIY needs.




Absolutely loved this tutorial and I love minwax! Thanks so much for sharing!
Great tips and wonderful projects! I would also recommend using a tack cloth after sanding your finish in between coats. It picks up every tiny little spec of dust so your finish is always nice and smooth.
Thanks for the tip, Angie! I usually use a damp washcloth 🙂
Such a great tutorial and we use Minwax all the time. Thanks for the tips!
These are such great tips that I never knew! Thanks for all the helpful info!
Loved your Christmas decor very simple very beautiful thank you for your tips on staining wood I need this
I totally didn’t know about the wood conditioner! Thanks for the tips!
Do you apply stain with a brush or rag? Do you wipe off excess with a rag or special cloth?
I apply stain with a brush – I used to do it with a foam brush. I do wipe off excess a few minutes after I apply the stain
Thanks for sharing this with us! I’m getting ready to stain shelves and no one told me about wood conditioner. I’m curious if you’ve ever used a rag to apply stain? I heard this is the most effective.
Wish I had read this before I started staining yesterday. Ahh well, live and learn. Thanks for the info, for next time lol
ahh so sorry I get it!! Try again! 🙂
I just did 1st project yesterday cigar wood box’s..looked nice yesterday but today I see greasy spots..can I fix this without doing over