Rolled book page wreath tutorial:
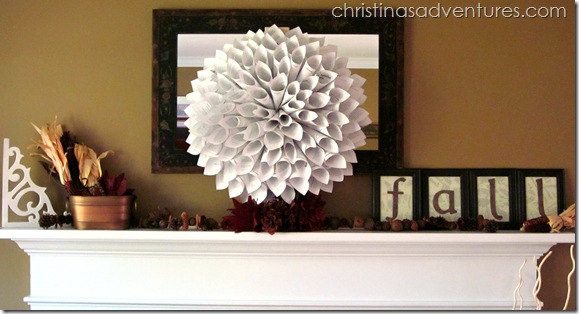
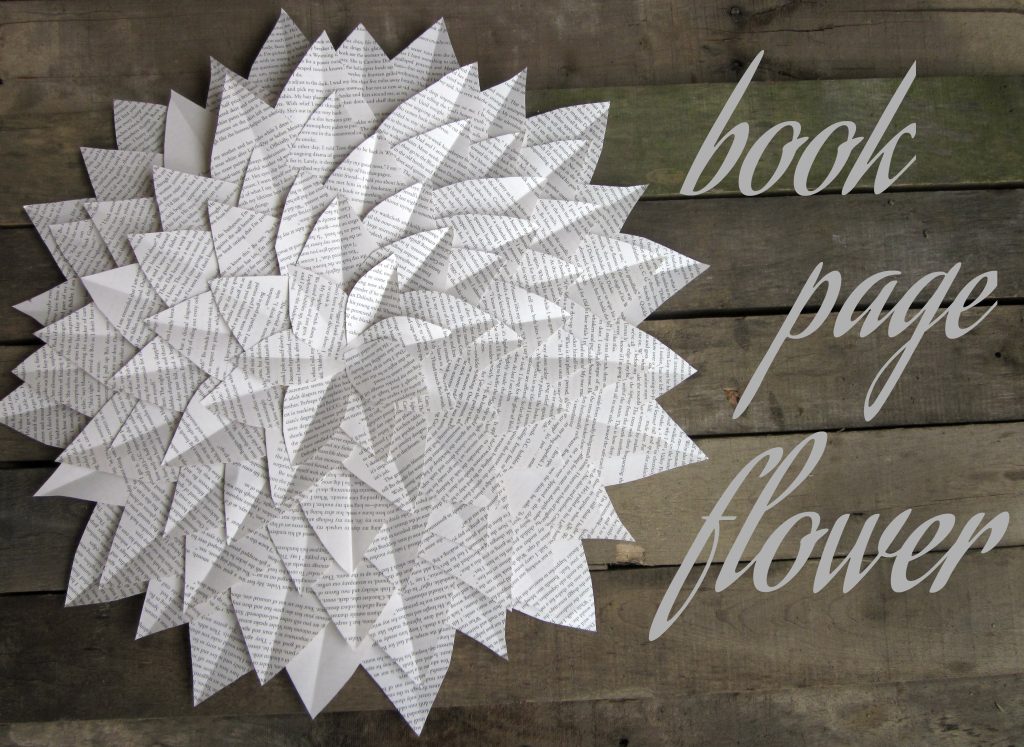
I shared my book page wreath in my fall mantel a few years ago, and a few people asked where they could find the tutorial for it.
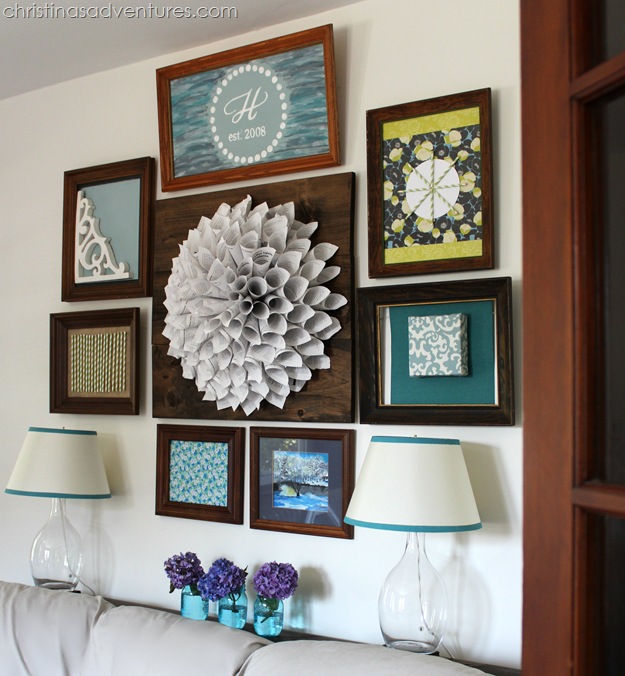
Then I shared it in our wood frame gallery wall, and a lot of other people asked where they could find the tutorial.
But the problem was – I hadn’t made a tutorial! So I figured I should finally just sit down, make another book page wreath, and share a tutorial with all of you!
So go get an unwanted book from your bookshelf and rip out the pages. Or rescue an unwanted book from the thrift store. You can go for a more antique-y look by getting an older book with yellowed pages, or you can get a newer book with crisp white pages. Neither is right or wrong, just two different looks!
What you’ll need:
- A book (either old or new!)
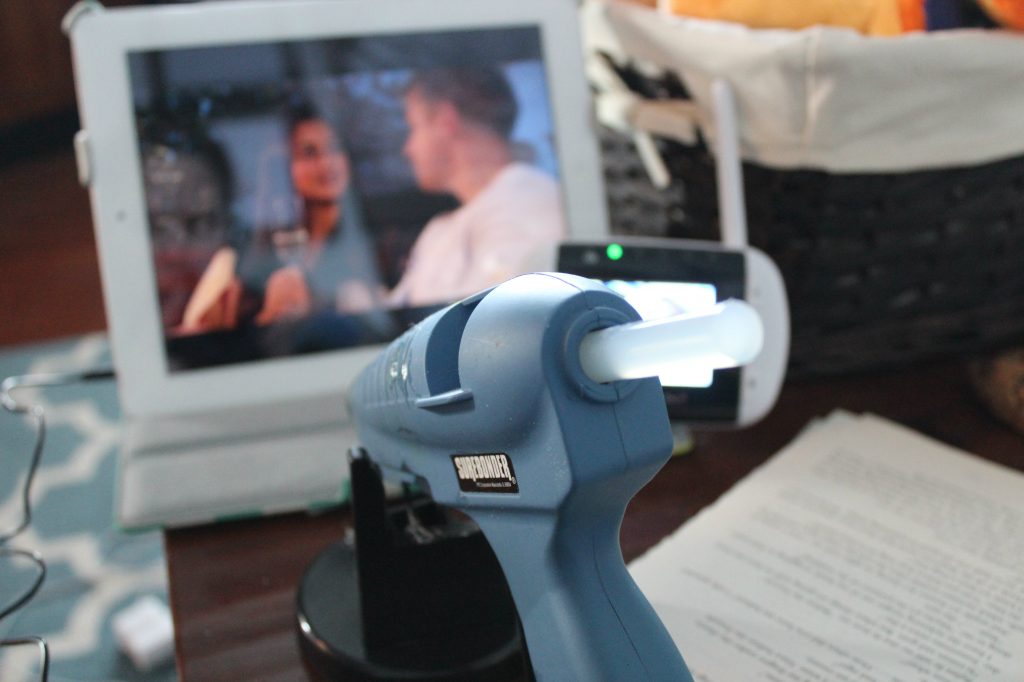
- Hot glue gun
- Base (I used cardboard)
- Scissors
- Ribbon or twine (to make a loop on the back)
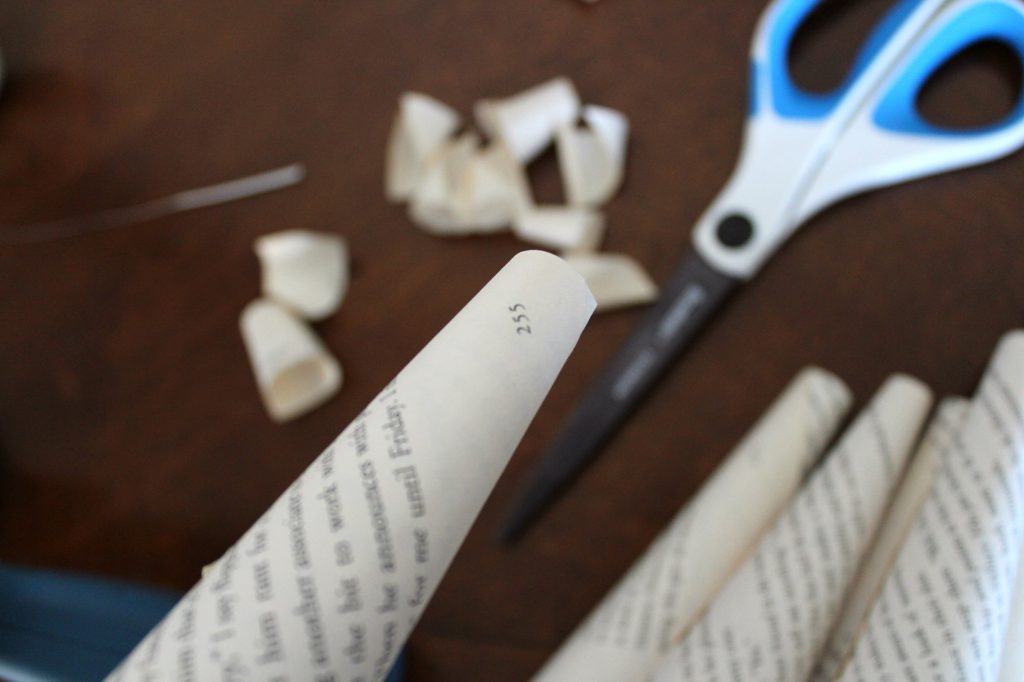
Tear out a stack of pages, and start rolling each page on an angle like the picture below. Secure with a dab of hot glue. Then roll, glue, repeat. Keep going until you think you might go a little crazy.
If you do this while watching The Bachelor, I won’t judge you.
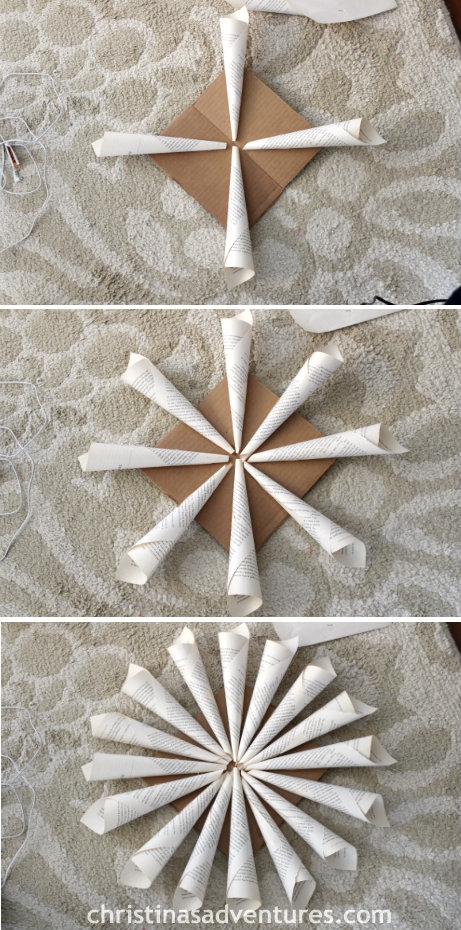
Once you finish rolling lots of pages, you can get started gluing them to your base. I use my favorite thrifty base – just a square of cardboard! I glue them so the square is divided in fourths, and then fill it in from there so the pages are evenly spaced:
After that, make your next layer by glueing the rolls in between the rolls on the base. You will want to make them a little bit shorter on each layer, so you can cut just a little bit off of the end of your rolls before you glue it down:
Soon it will look like this:
And it should look something like this from the side
Add another layer, and it should look like this:
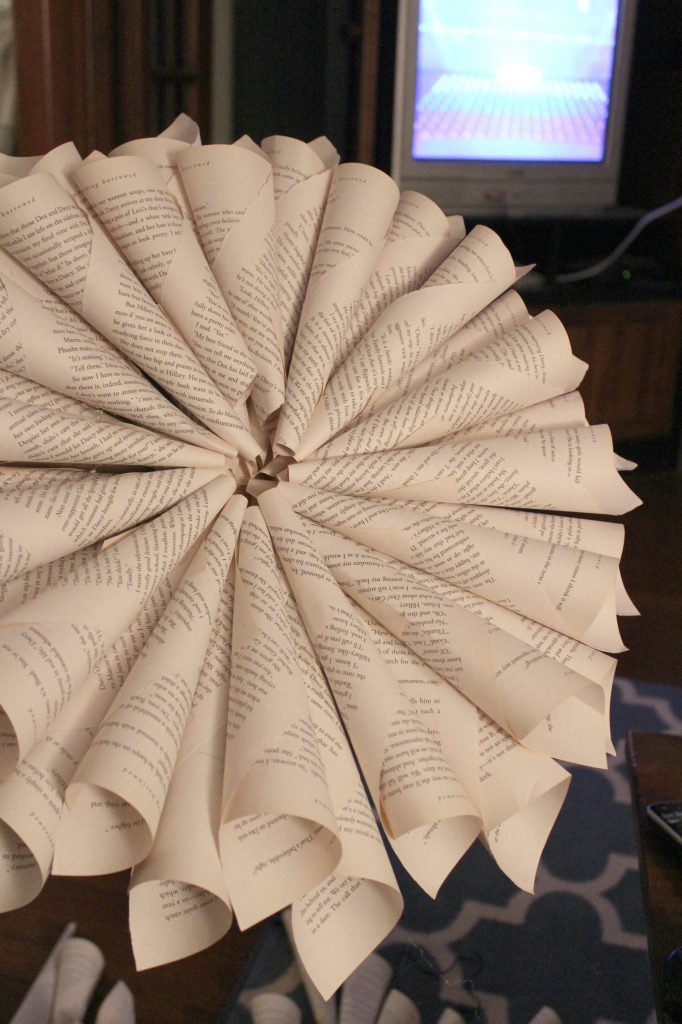
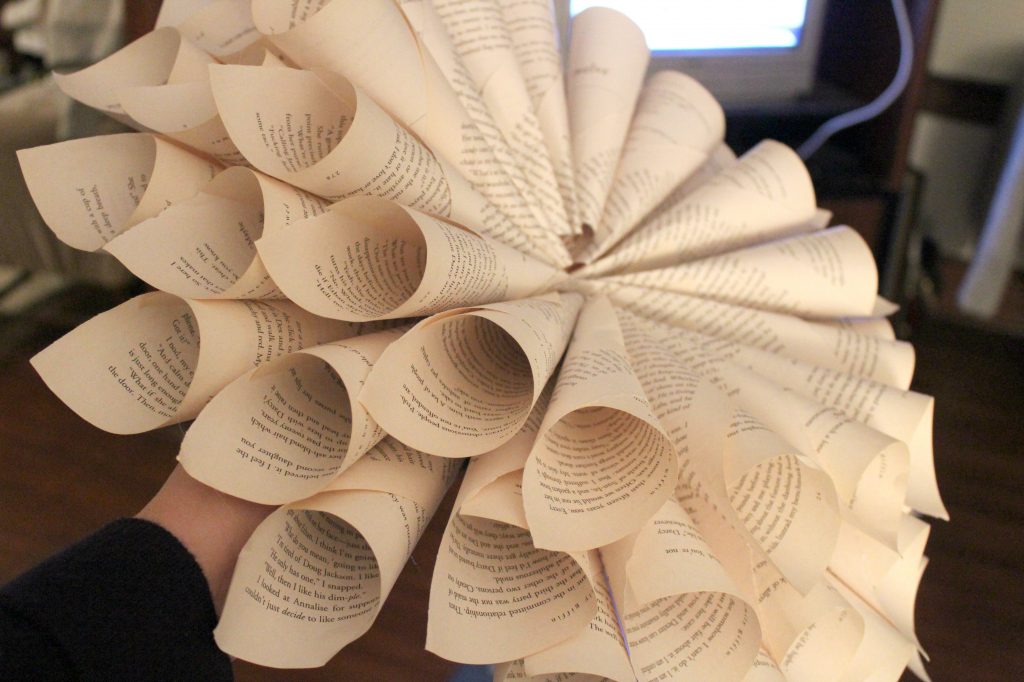
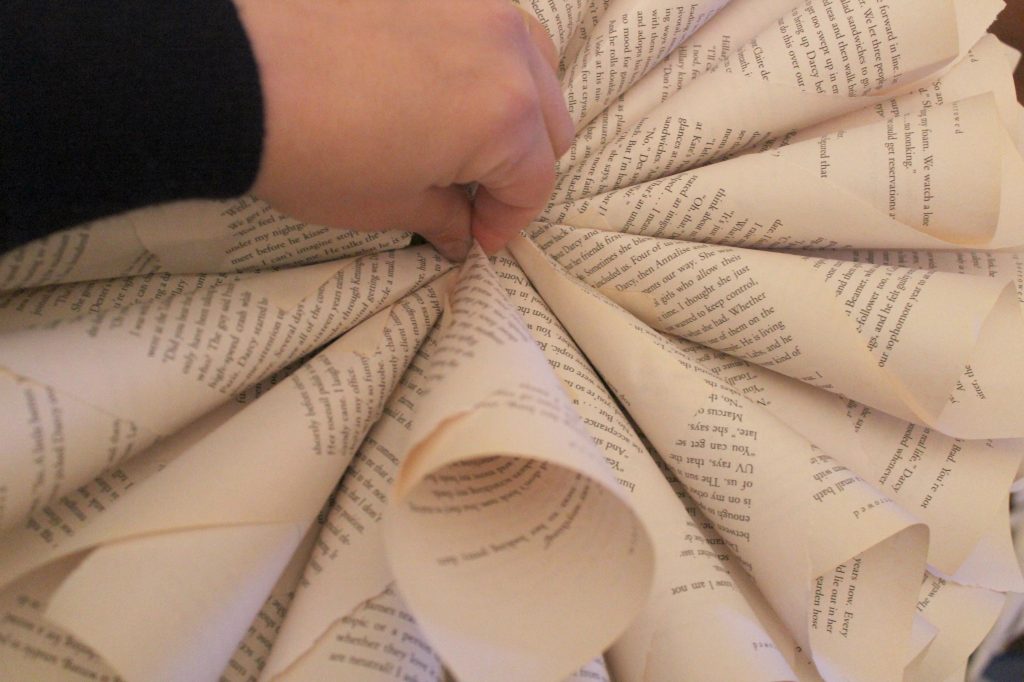
Now you’re going to want to start angling them in towards the middle so you don’t see the narrow end. This is hard to explain verbally, but it looks something like this:
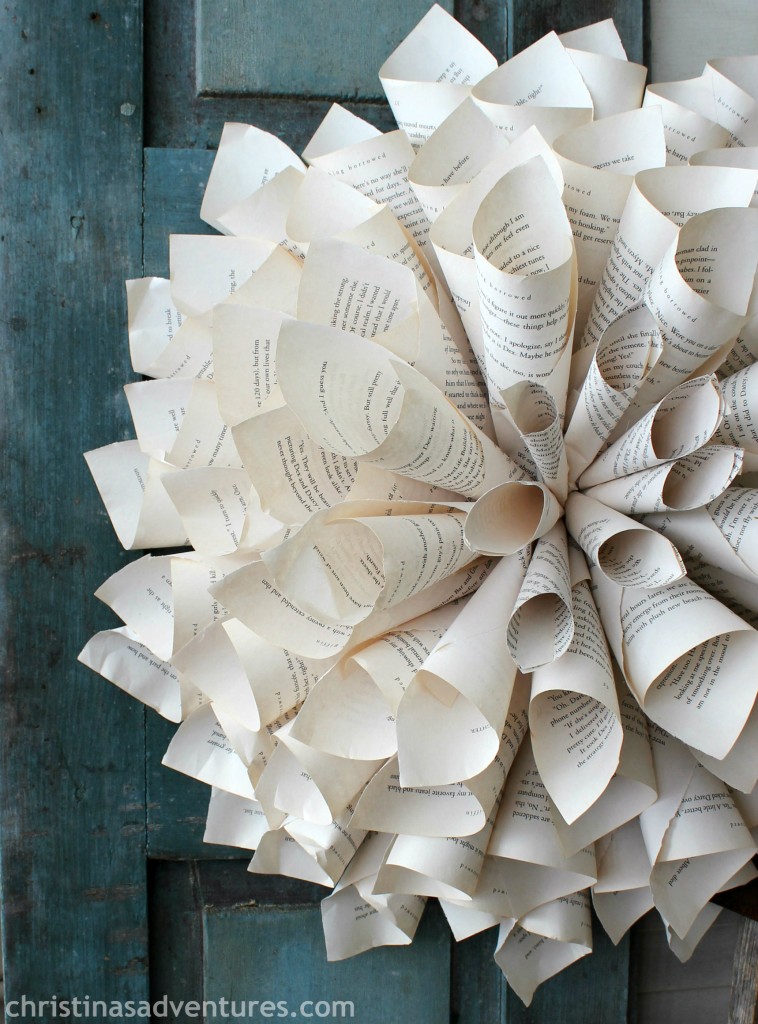
I made little rolls to fill in the middle, and made sure to stuff the narrow ends all the way into the center of the wreath – so the middle looks like this:
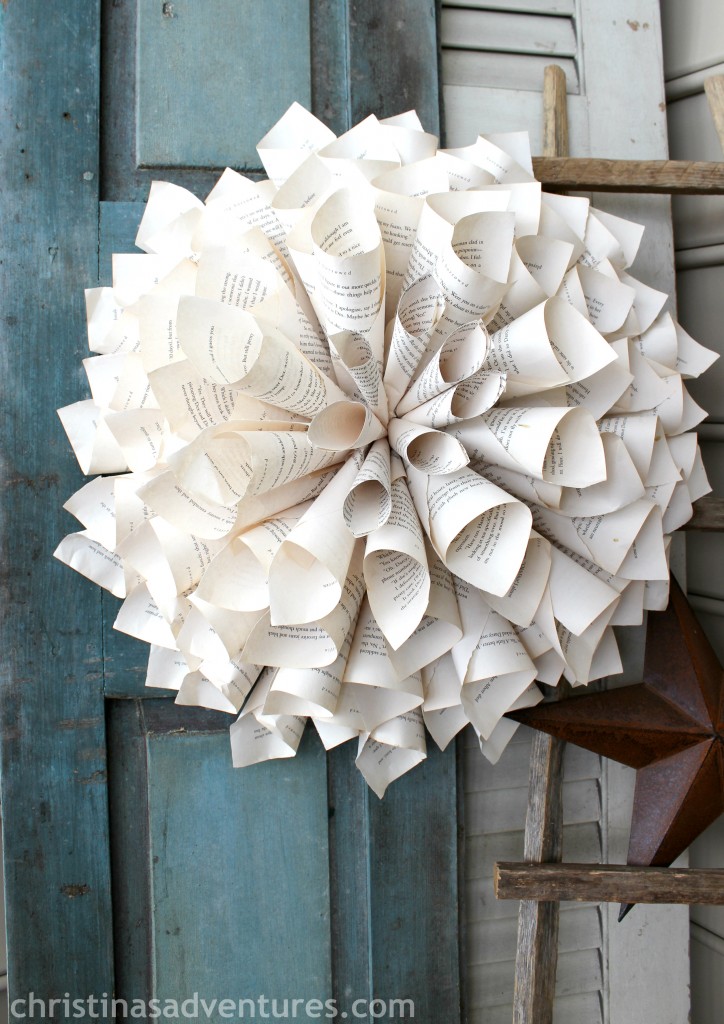
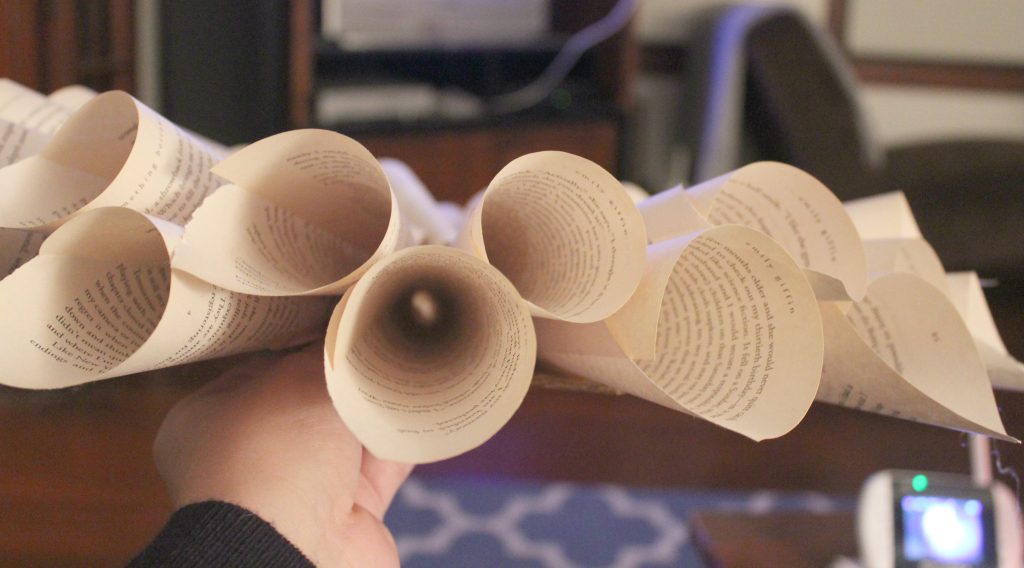
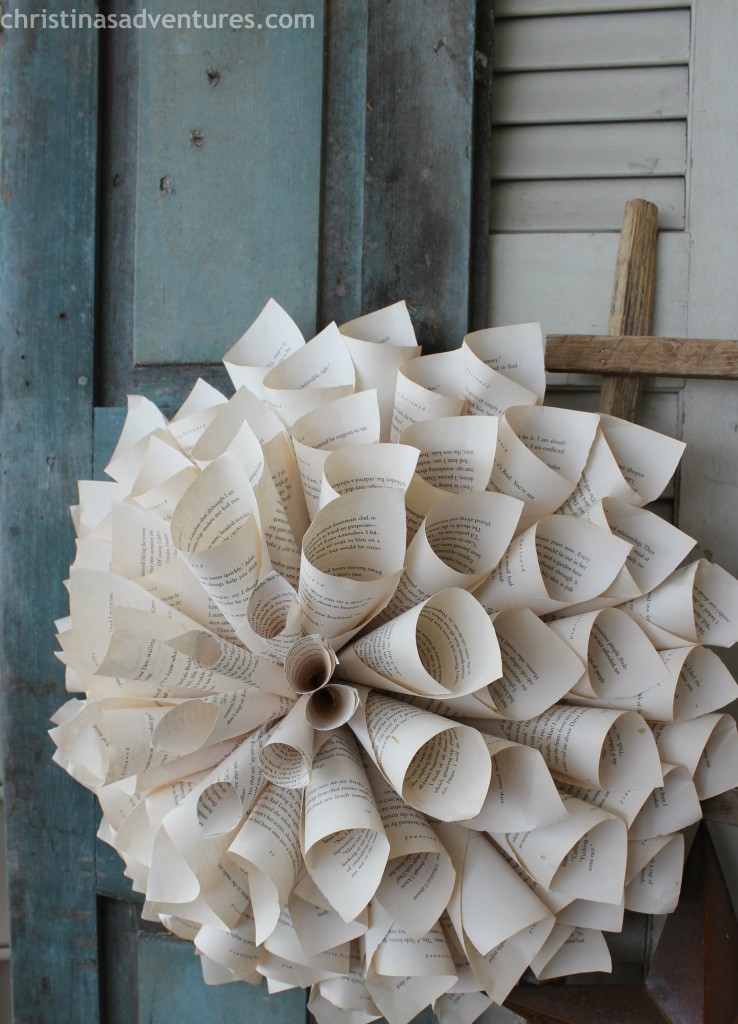
I add a little loop of ribbon on the back so I can hang it up. I just love the volume from the side view:
It really does make such a huge impact for such a thrifty project!
If you have time to make a few of these, they would make awesome party/shower/wedding decor!
And if you don’t want to make one at all, there are plenty of talented people who make them on Etsy! You could just buy one of these here instead (affiliate links):
Like this post? You’ll also like:
Craftsman Family Room Makeover




Christina I loved seeing the how-to photos of this! I’ve made one book page wreath and wasn’t totally thrilled with it. I knew in my head the basics of how to but instead of glueing the first ones on in a spread out pattern like you did I tried to just keep laying them beside the next one and form a circle. DUH! It helps to have a visual for how it’s done – cause I’m never patient enough to figure that out – I just go at it and want to get it done ASAP. Thanks so much!
Thank you so much for posting this very simple to follow tutorial! I just made my first (but certainly not last) book page wreath. I sacrificed a thrift shop copy of “Lasher” by Anne Rice, and a few christmas ornaments for the center, but it looks gorgeous! I can not wait to make these for gifts for friends and family! Thank you!
You’re so sweet, Angela!! So glad you were able to use the tutorial – hope you had a great Christmas!! 🙂
How many book pages would you say that book wreath is in the picture?
Good question Karen … I’m not sure! Maybe 100? Not a whole book…
How large is your cardboard backing?
maybe a foot diameter?