We finished up our kitchen remodel almost a year ago now, but the wall over our kitchen table always bothered me. I hadn’t found anything that I loved over the table, and it stayed blank for a year. Since it is a wall we can see well from most of our downstairs, I wanted to make something that I would love.
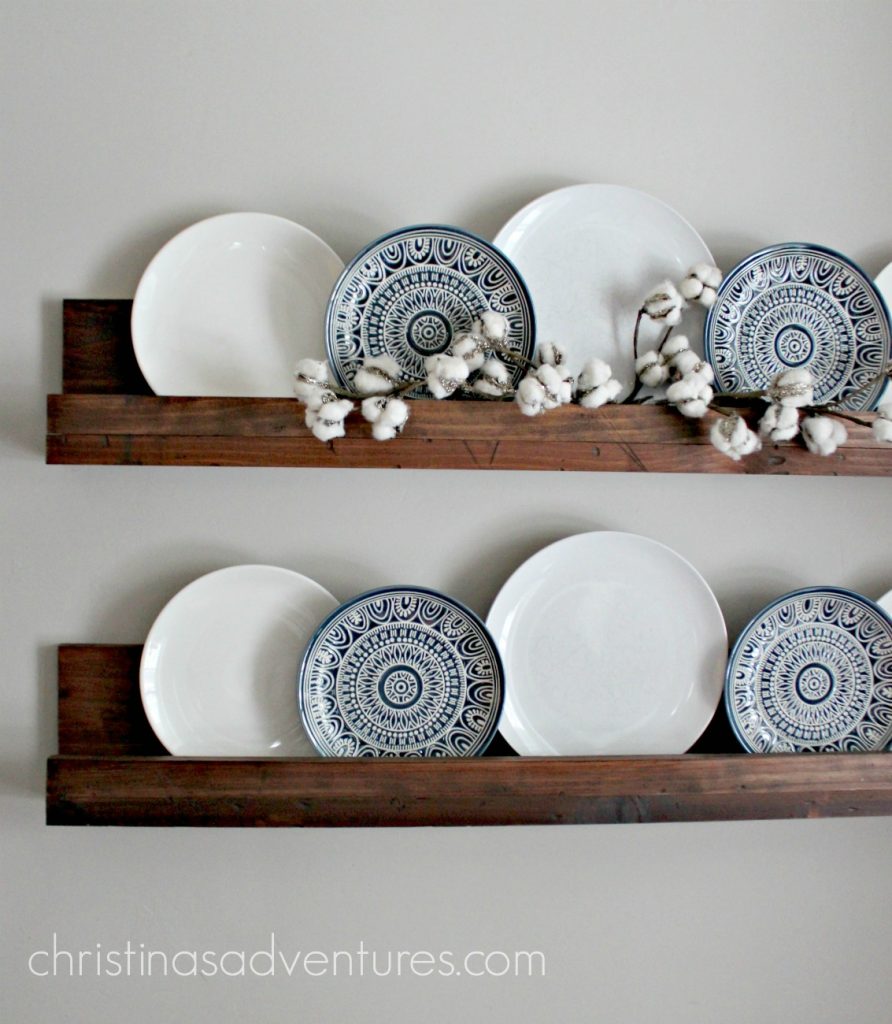
I came up with these simple DIY shelves:
I posted a picture on my Instagram and you guys told me you’d love to have a tutorial written up!
Guys – these shelves are SO SIMPLE. If you’ve never built anything before, this would be a really good first project. They took us about 30 minutes of “hands-on” time, and cost less than $20.
What you’ll need:
- wood (we used 1x6s and 1x3s)
- screws
- stain (this is the color we used on this project)
- I highly recommend using wood conditioner as well
- here’s a post all about how to stain wood like a pro – I’ve been doing it wrong for years!
First, figure out how long you want your shelves to be. We cut ours to be 4 feet long. If you don’t have a power saw (this is the one we have & love), you can have the people at the hardware store cut them down for you.
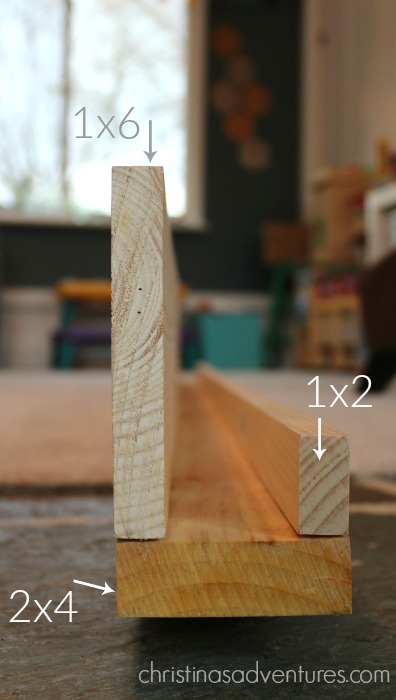
My husband has informed me that that’s not a 2×4 on the bottom – sorry! It’s 1.25 inches thick and can be found with the trim wood at your hardware store. Hope that helps!
Here’s the dimensions we used – you could also use a 1×4 on the bottom if you’d like, but we had extra 2×4’s we wanted to use up. If you wanted to make the shelf deeper, than use a 1×6 on the bottom.
Screw the pieces together (from the bottom board) and then stain with your desired color – I used this stain color.

Screw the back board directly into the wall (We plan on keeping these up for a loooong time)
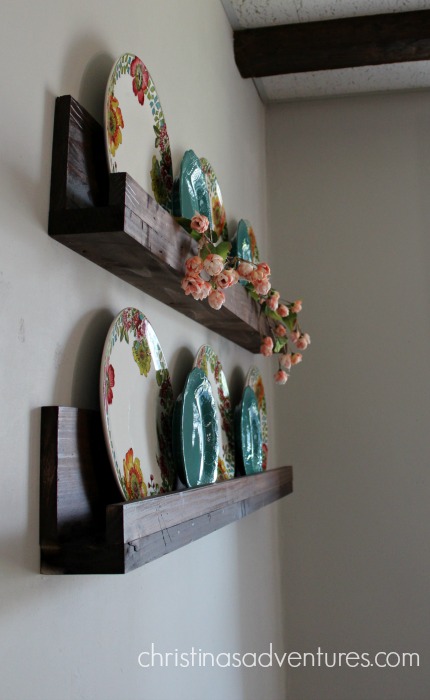
I decorated the shelves with some fun colored dishes for spring & summer (floral plates found here) I’m really excited to decorate these shelves for different seasons!
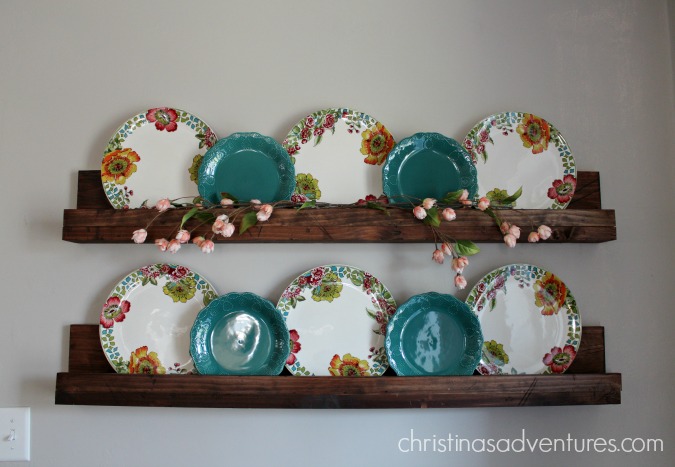
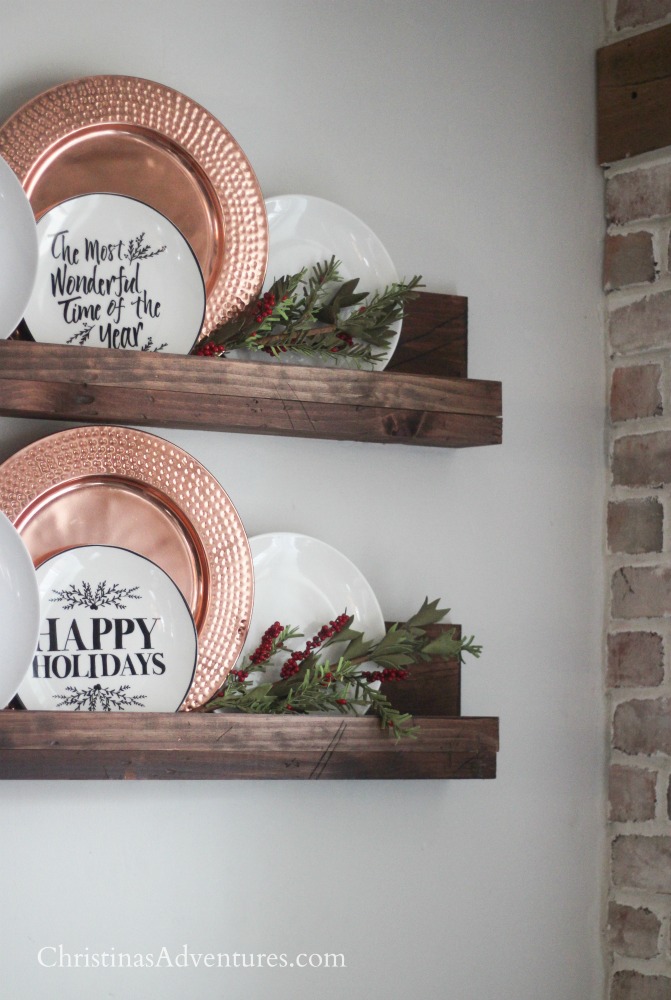
I love how they looked decorated for Christmas:
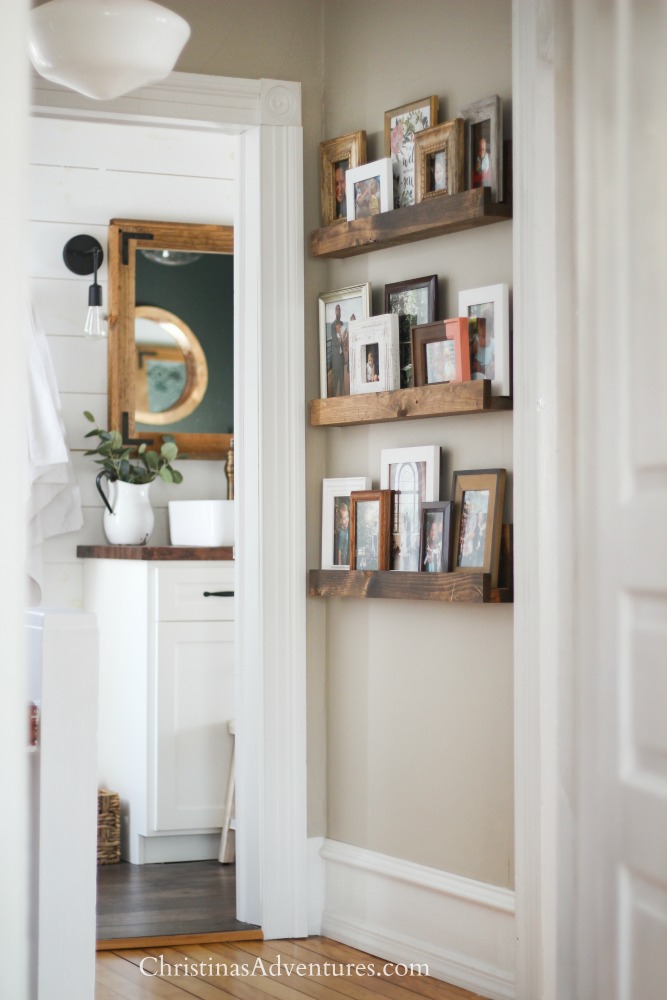
We love these shelves so much, we added them upstairs in our hallway! We really love how they look with the picture frames – come see the whole post and tutorial here:
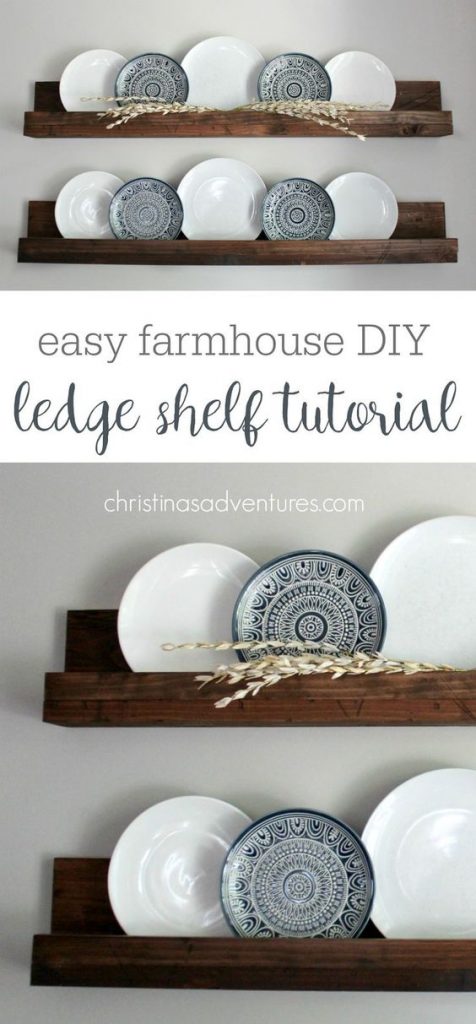
Like this DIY ledge shelf tutorial? Share with others and save for later by pinning here.
Make sure you’re following me on Instagram, Facebook, and Pinterest for more creative inspiration! And to have more simple DIY projects sent to your inbox monthly, sign up for my e-mail newsletter!
If you like this post, you’ll also like:


These are super cute. Thankshe for sharing!
Brilliant and a great tutorial. I am making these this weekend. Thank you for the inspiration!
I love them! How did you attach them to the wall?
That’s awesome! Thanks for sharing !
sure! Hope it’s helpful to you 🙂
This is just what I was looking for to display my grandparents’ old plates in my dining room! Can’t wait to make them and get it up on the wall! Thanks!
yay Chelsea! I hope you love it – I’d love to see a picture when you’re done if you’re willing to share! 🙂
I love the plate display! Where did you get the Dark blue with white print plates located in the 1st two pictures of this tutorial?
Ah thanks – I just added a link to the post!! SUPER budget friendly 🙂
Love the shelves, and it seems so easy to make!! How big are the plates that you display?
Do you by chance recall where you got the plain white plates?
IKEA! 🙂
My husband built some for me from scrap wood. I love it! I was wondering about the blue plates can you tell me where you got them. I’d love to get some. Thanks
Love these! How did you hang them?
We screwed the back wood board directly into studs in the wall 🙂