This easy DIY method shows how to match and fake old trim. This can be used to add character to a new home, or to match existing old trim in an older home.
When we made over our bathroom upstairs, we moved a doorway to expand our bathroom’s footprint (we took out a closet so we could add another vanity). So far, we’ve done SO many of our renovations by keeping the existing floor plan, so we haven’t had to worry about replicating our beautiful old trim.
When we had to replace the trim around our bathroom door and in the hallway, I wasn’t quite sure how to “match” our old existing trim.
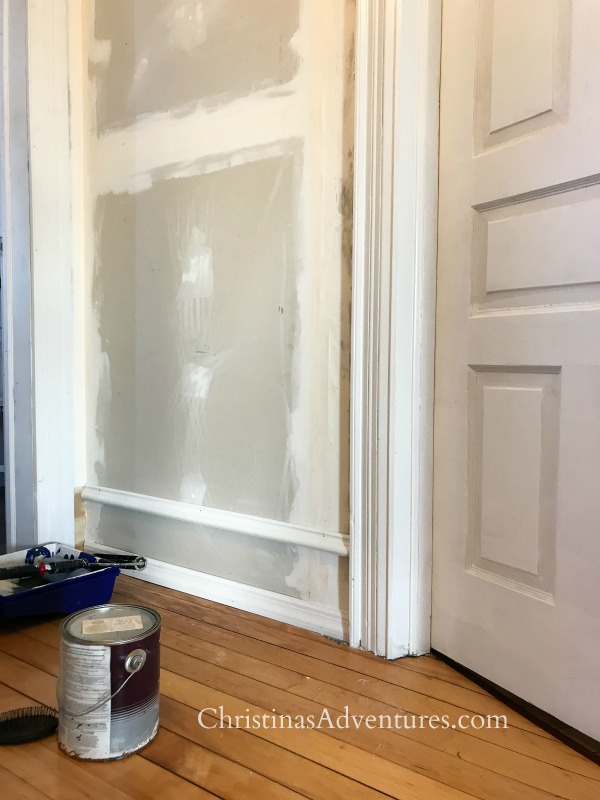
So, in typical Christina fashion…I procrastinated and didn’t touch it for over 6 months. Ahh – yes. This is embarrassing, but it’s real life!
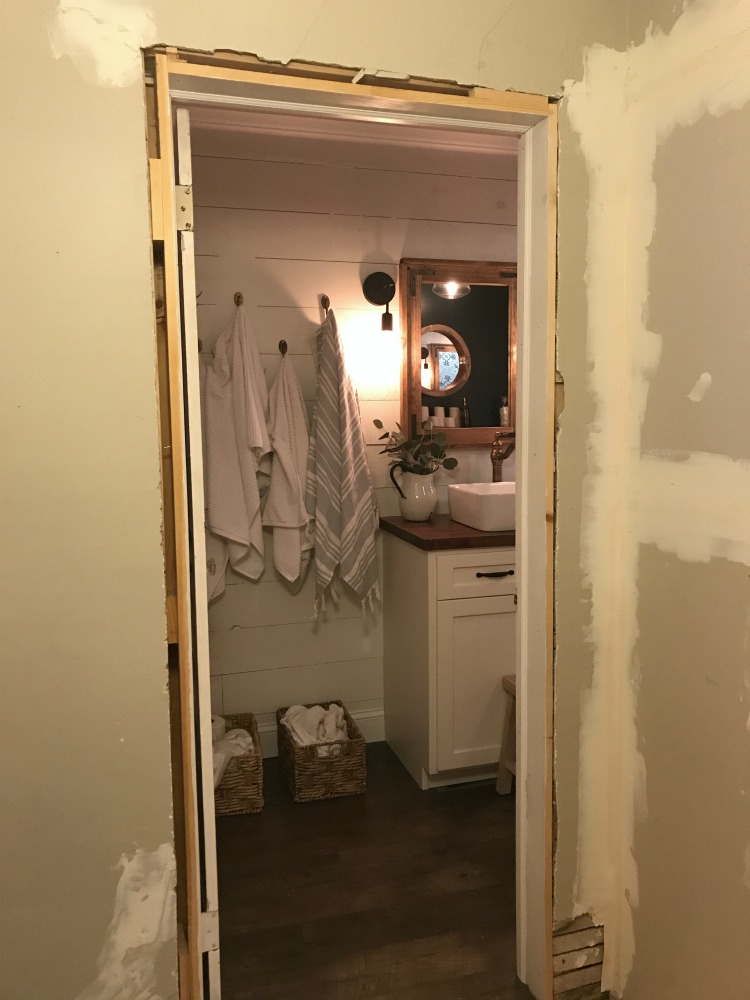
Yikes! I am SO happy to tell you it doesn’t look like that anymore! Here’s what it looks like today:
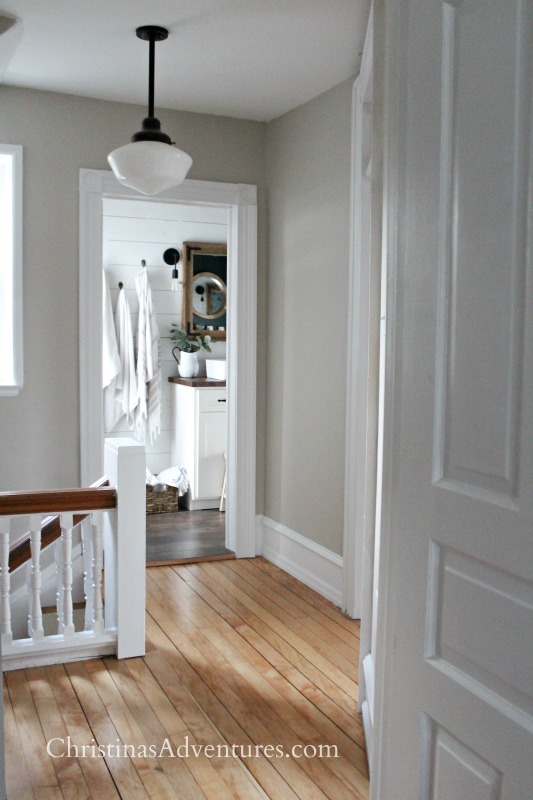
I still can’t believe how well it turned out! It was SO simple, inexpensive, and I’m kicking myself for not doing this sooner!
How to fake old trim:
Here’s the fun part about this method: it’s a great way to match existing old trim, but it’s also a way to add character to your builder-grade home.
We got all of our trim from Lowe’s, and the pieces were not expensive!
Here’s what our trim looked like around our door before we painted/caulked: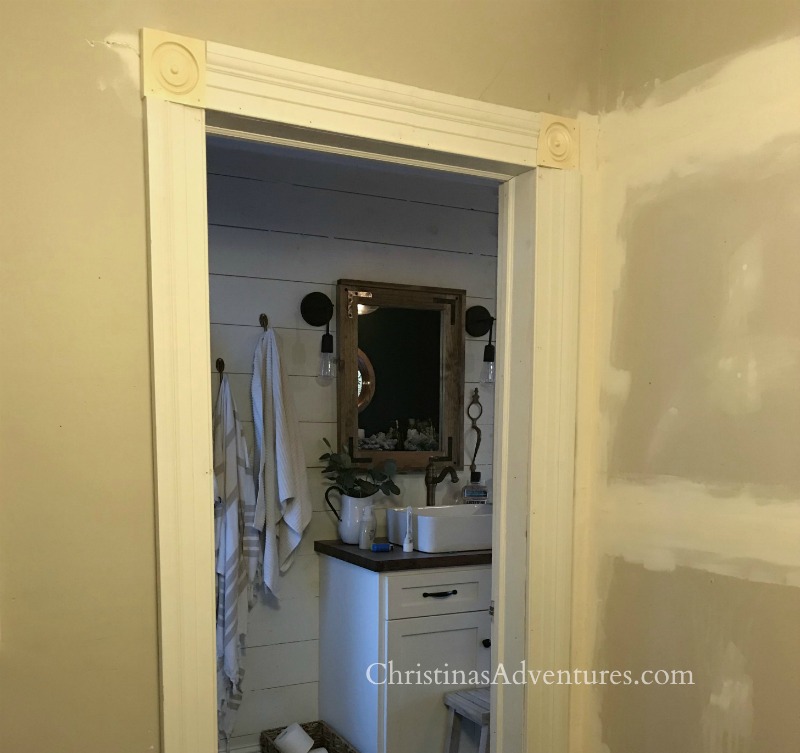
In hindsight – we probably would have picked corner pieces that were one size bigger. These work, and they’re fine, but the size is a little close to the molding around the sides of the door and it would look really beautiful if it was a little larger.

But the real trick was the molding at the bottom of the wall. If you look above, you can see that we do not have any wood between the two thinner trim pieces. We measured so it was the same height as our existing old trim, and placed the top piece at the same height.
Once you get your trim pieces nailed in, you’ll want to make it all look like one piece. This will start with paint!
Come see the trim paint we use at the bottom of this post
Paint the trim pieces and the space between them:
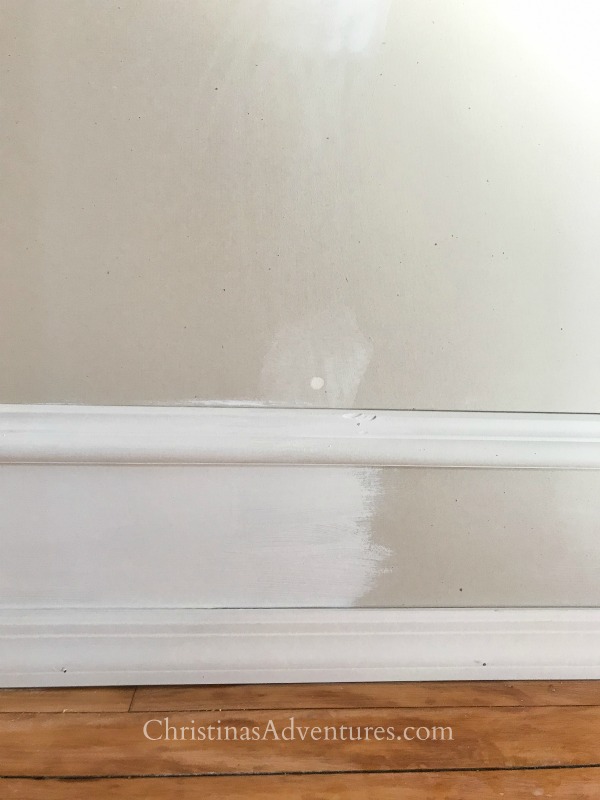
Once you’ve painted one solid coat on, you’ll need to caulk. This is truly what makes it all look like one piece!
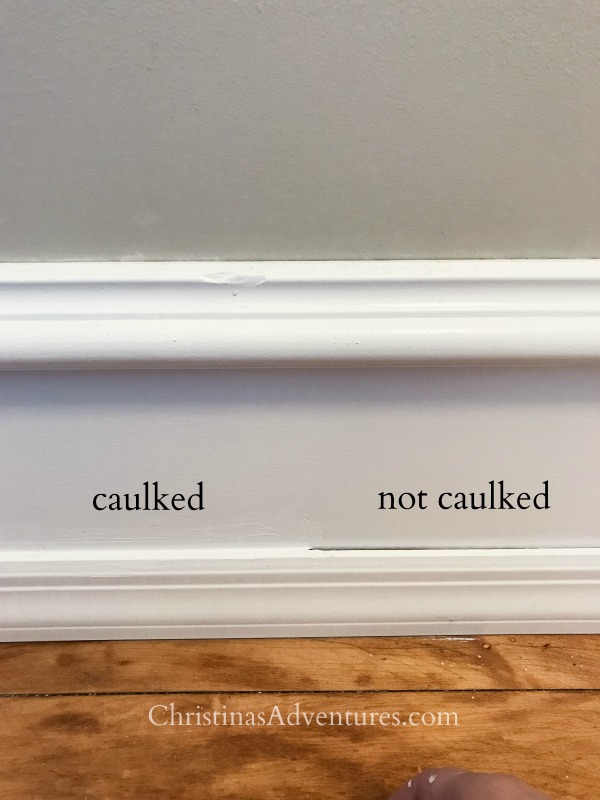
See the difference?! Make sure you use paintable caulk, because you’ll need to paint a second coat on top of the caulk.
Once you’ve done two coats, step back and enjoy your trim!
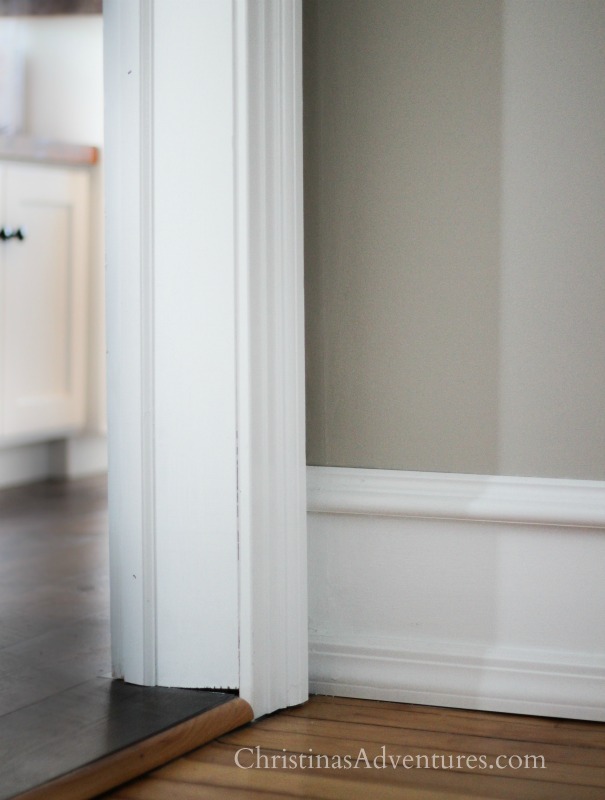
Here you can see the DIY trim on the left hand side, and the existing old trim on the right hand side: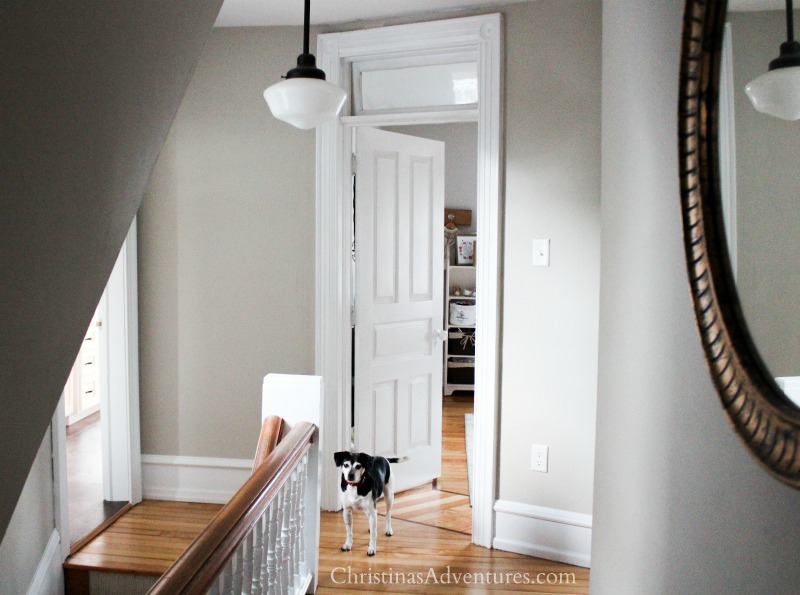
I seriously can’t get over how much cleaner this space looks! We FINALLY have an entryway to our bathroom that doesn’t make you wonder if spiders will crawl out at any minute 😉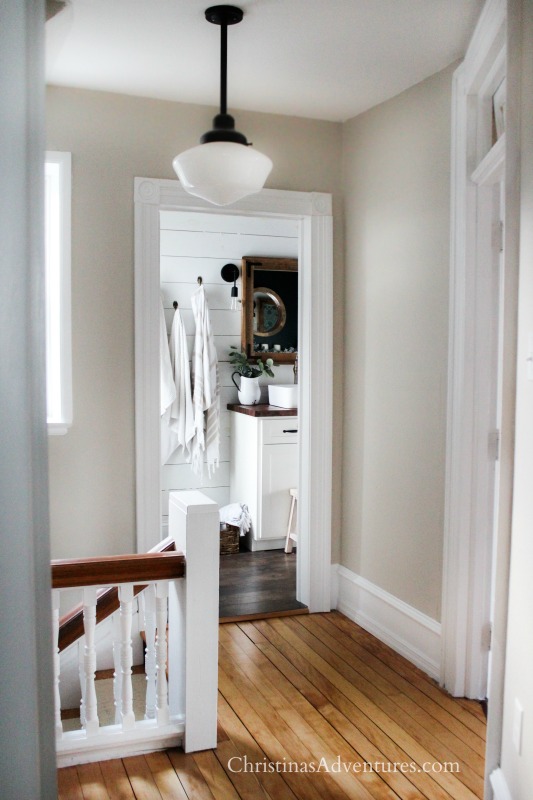
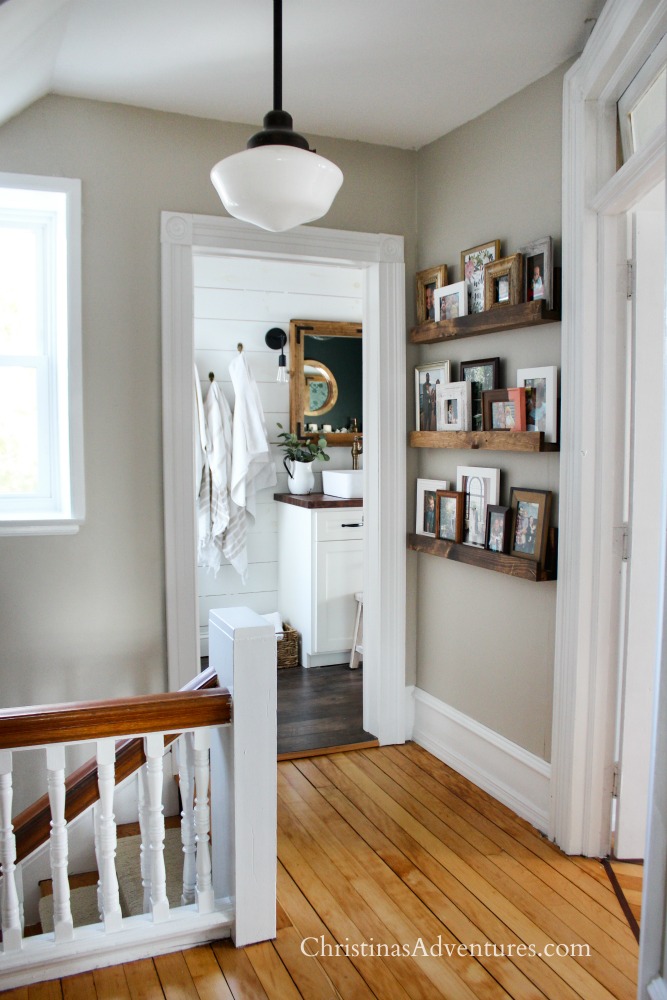
Guess what? It didn’t stay like that for long! We added a great, easy and budget friendly DIY project to that space above our fake old trim…come see all of the details here!
Did you find this helpful? Please share with others/save for later by pinning it here!
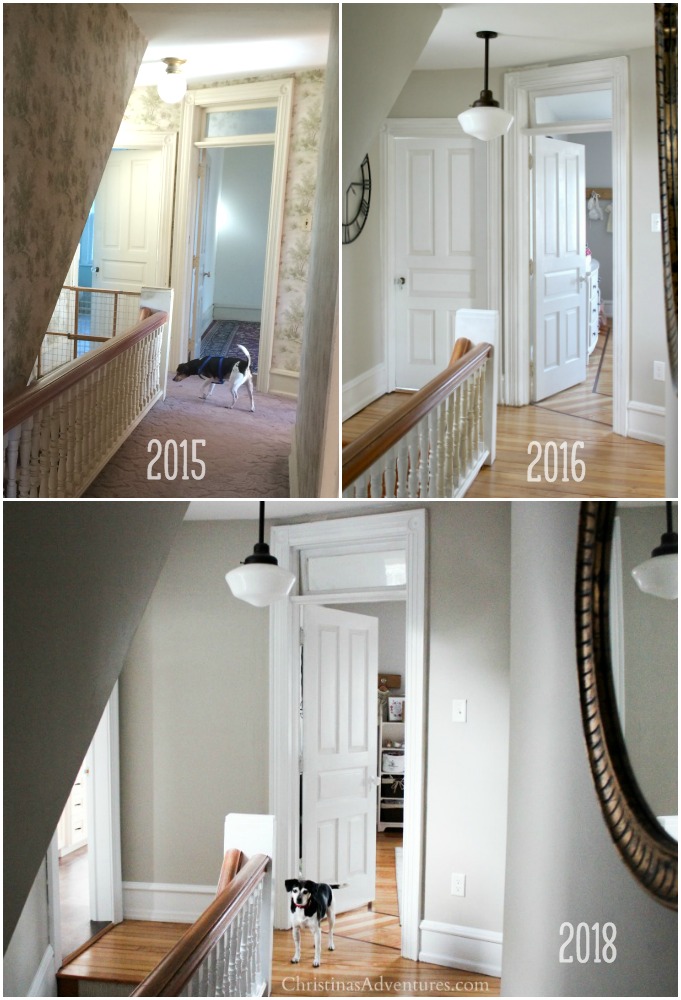
It’s so fun to see how this hallway has transformed through the past few years! See all of our before/after transformations here:
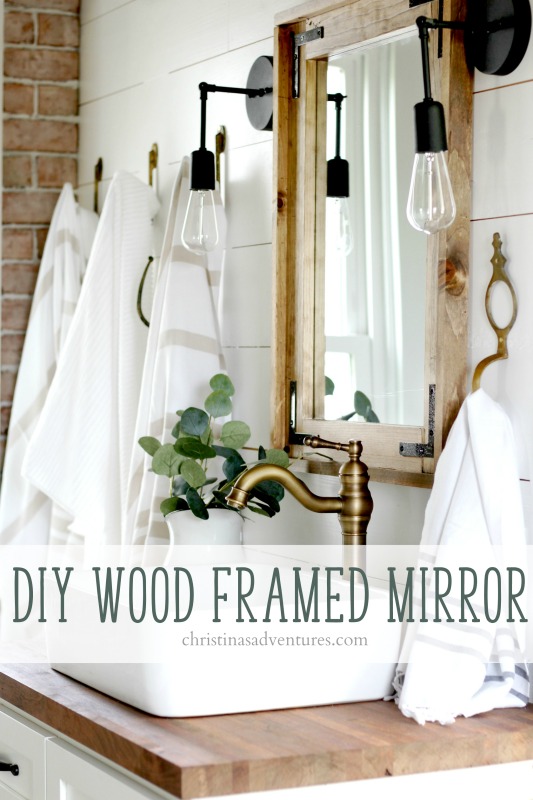
Looking to find a light fixture just like this one? Here’s my favorite suggestions:
(these are affiliate links, which means I make a small commission from any purchase at no cost to you)

Like this post? You’ll love these:
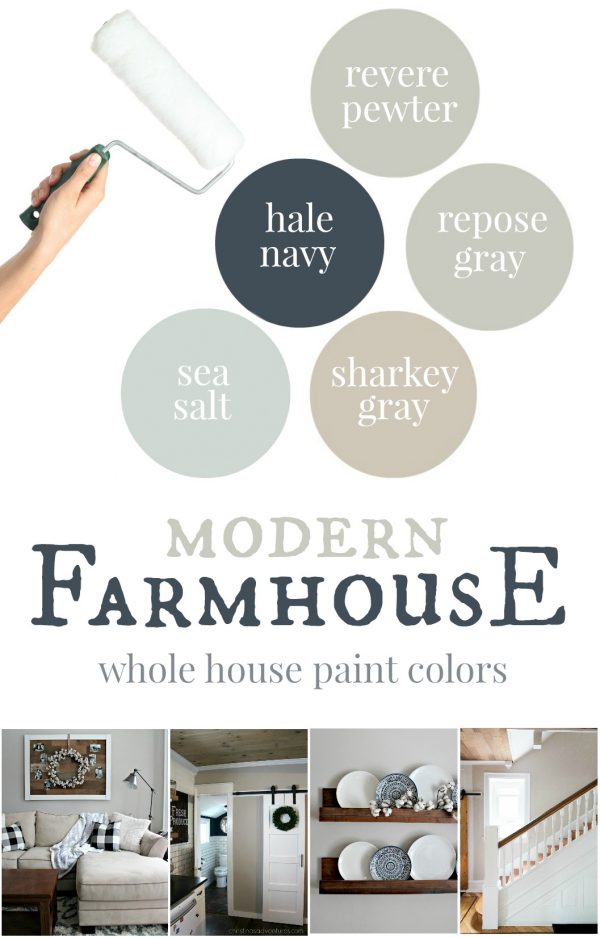
All of the paint colors in our home:


Love the molding and i forgot about this option!
Thank you Kristin! It’s seriously simple and we’re so happy with how it turned out!
HI wehere didn’t you get the bathroom lights? Love them !!
I meant where did you get the bathroom lights lol
This is my first time here but I’m glad I have found your blog. I also love the light fixtures and the trim looks beautiful. It’s so amazing what a little trim and paint can do to a home isn’t it.
so kind of you Janis! I really appreciate it!
Hi! Not sure if this was mentioned, but how many inches are between the 2 pieces of trim? This is a great “faux” tall base trim project!
I don’t remember how many inches are between our trim pieces – I’m sorry! I think it’s around 5 inches. We just matched the trim we had on the other side of the hallway 🙂
Love your décor and the changes you make by moving things around during the seasons. The baseboard tip if so cool. Thanks for sharing!
thank you Lucille!!
Fabulous make over.the trim.really finishes.it off flooring is.lovely
thank you so much Mary!! The flooring is original to the house – built in 1902!!
I am visiting from Remodelaholic. Thank you for this wonderful tip. We are putting wainscoting in our breakfast nook and are short 6 inches. I was going to do a 6 inch chair rail but was unsure of the look. This here might be the answer. It looks wonderful
Oh thanks so much for coming over! Nice to “meet” you – and I’m so glad this was helpful to you!!
What color is the paint on the interior? Its gorgeous!!
BM Revere Pewter! Thanks! 🙂
Do you think doing the base trim like you did would work with a textured wall?